- Computers are NOT needed for lab this week
- Three separate experiments are performed; the order performed does not matter:
- Single- and Double-slit interference (two stations)
- Wavelength of red and green lasers (3 stations)
- Limits of vision (1 station)
- The window blocks need to be used this week
- The interference experiment is qualitative - no calculations necessary. The other two experiments are quantitative
- Interference:
- The laser and screen positions don't matter for this experiment. I keep the holder for each flush with the end of the track. The pointer of the holder for the slit apertures is kept at the 5.0 cm mark
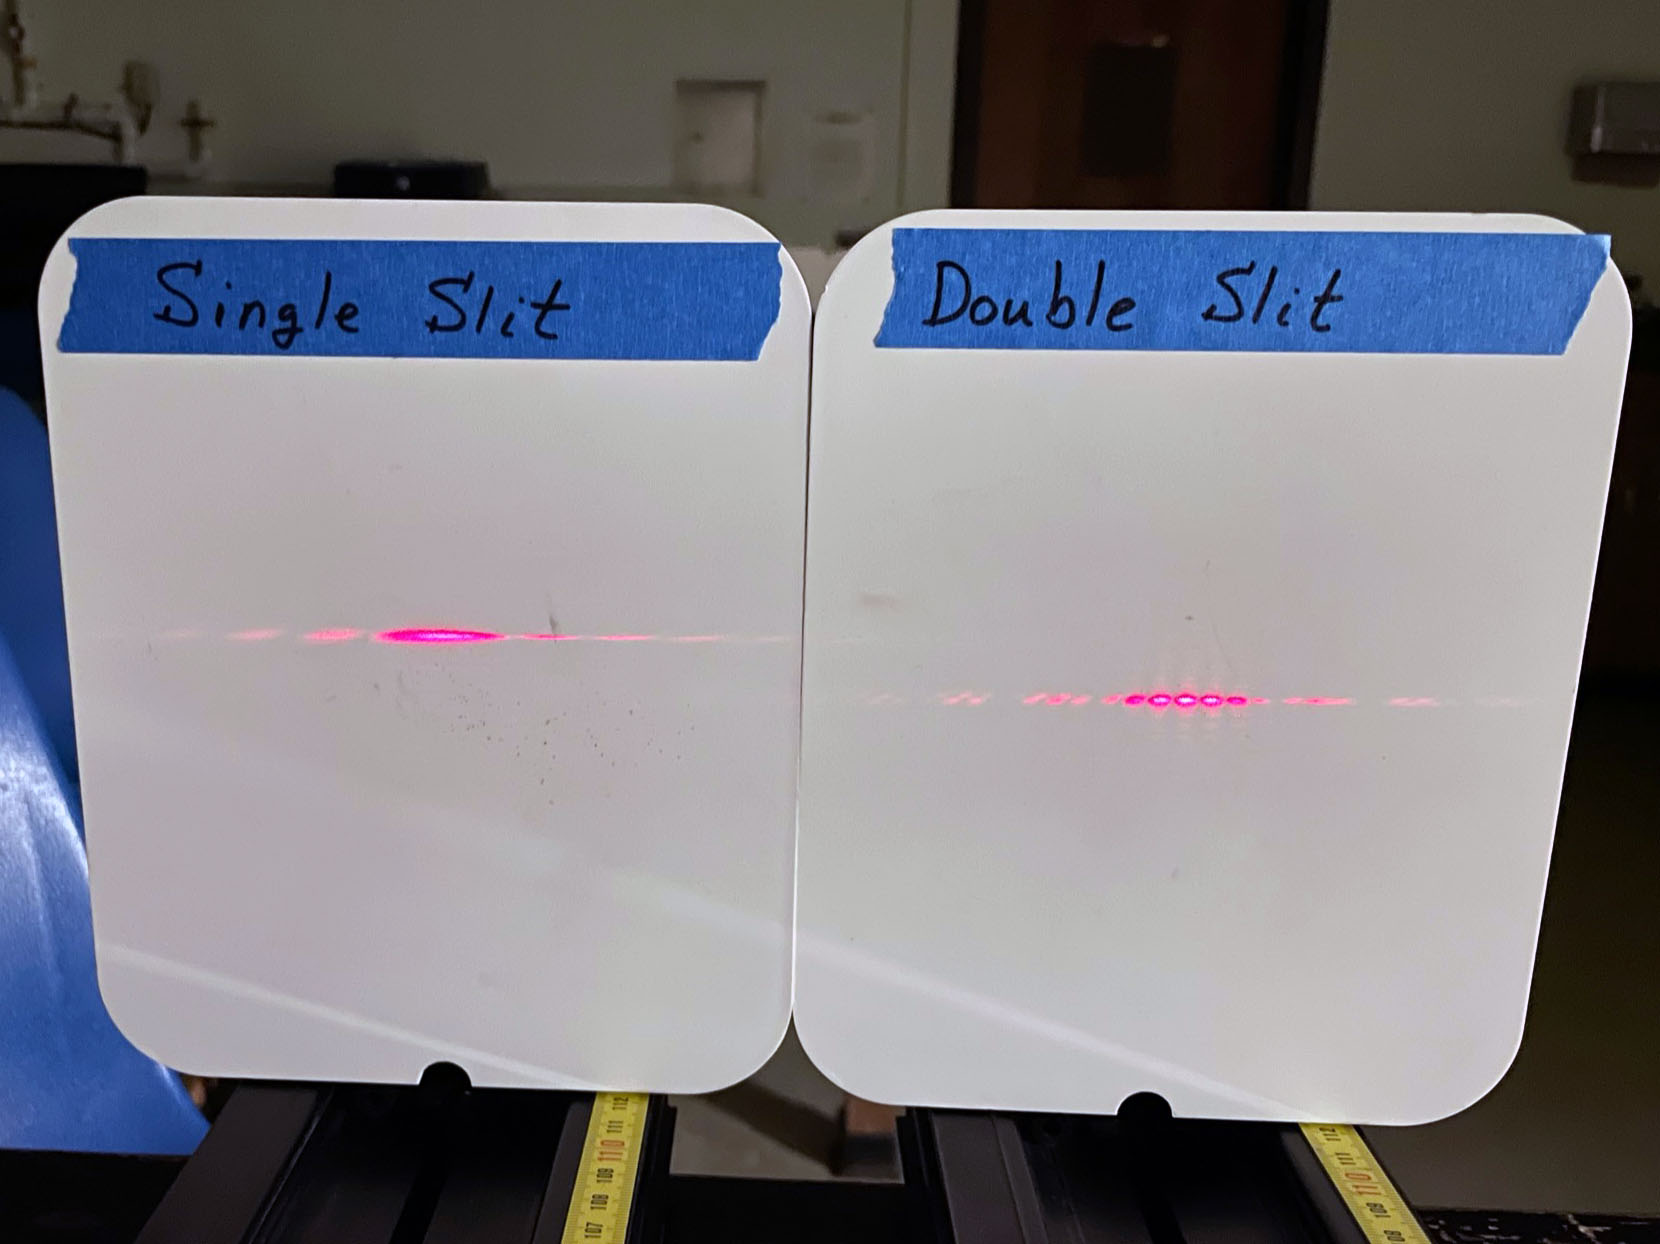
- The single-slit aperture wheel is set to Variable Slit, and the double-slit wheel is set to Variable Double Slit. Students will slowly rotate the wheels counterclockwise which increases the width of the single-slit and increases the separation of the double-slits (Figures 1 through 3)
- Students frequently turn the wheels too far, or forget to reset them to their starting position when finished. You'll need to check the aperture wheels periodically to make sure they are in the proper position for the next group
- When the double-slits are at the maximum separation, students need to look closely at the pattern to see that interference minima are visible (and very numerous)
- You'll note that I've taped the laser power cords to the underside of the benches to keep students from getting tangled up in them
 |
 |
 |
| Figure 1: Single-slit at narrowest width, double-slits at closest separation |
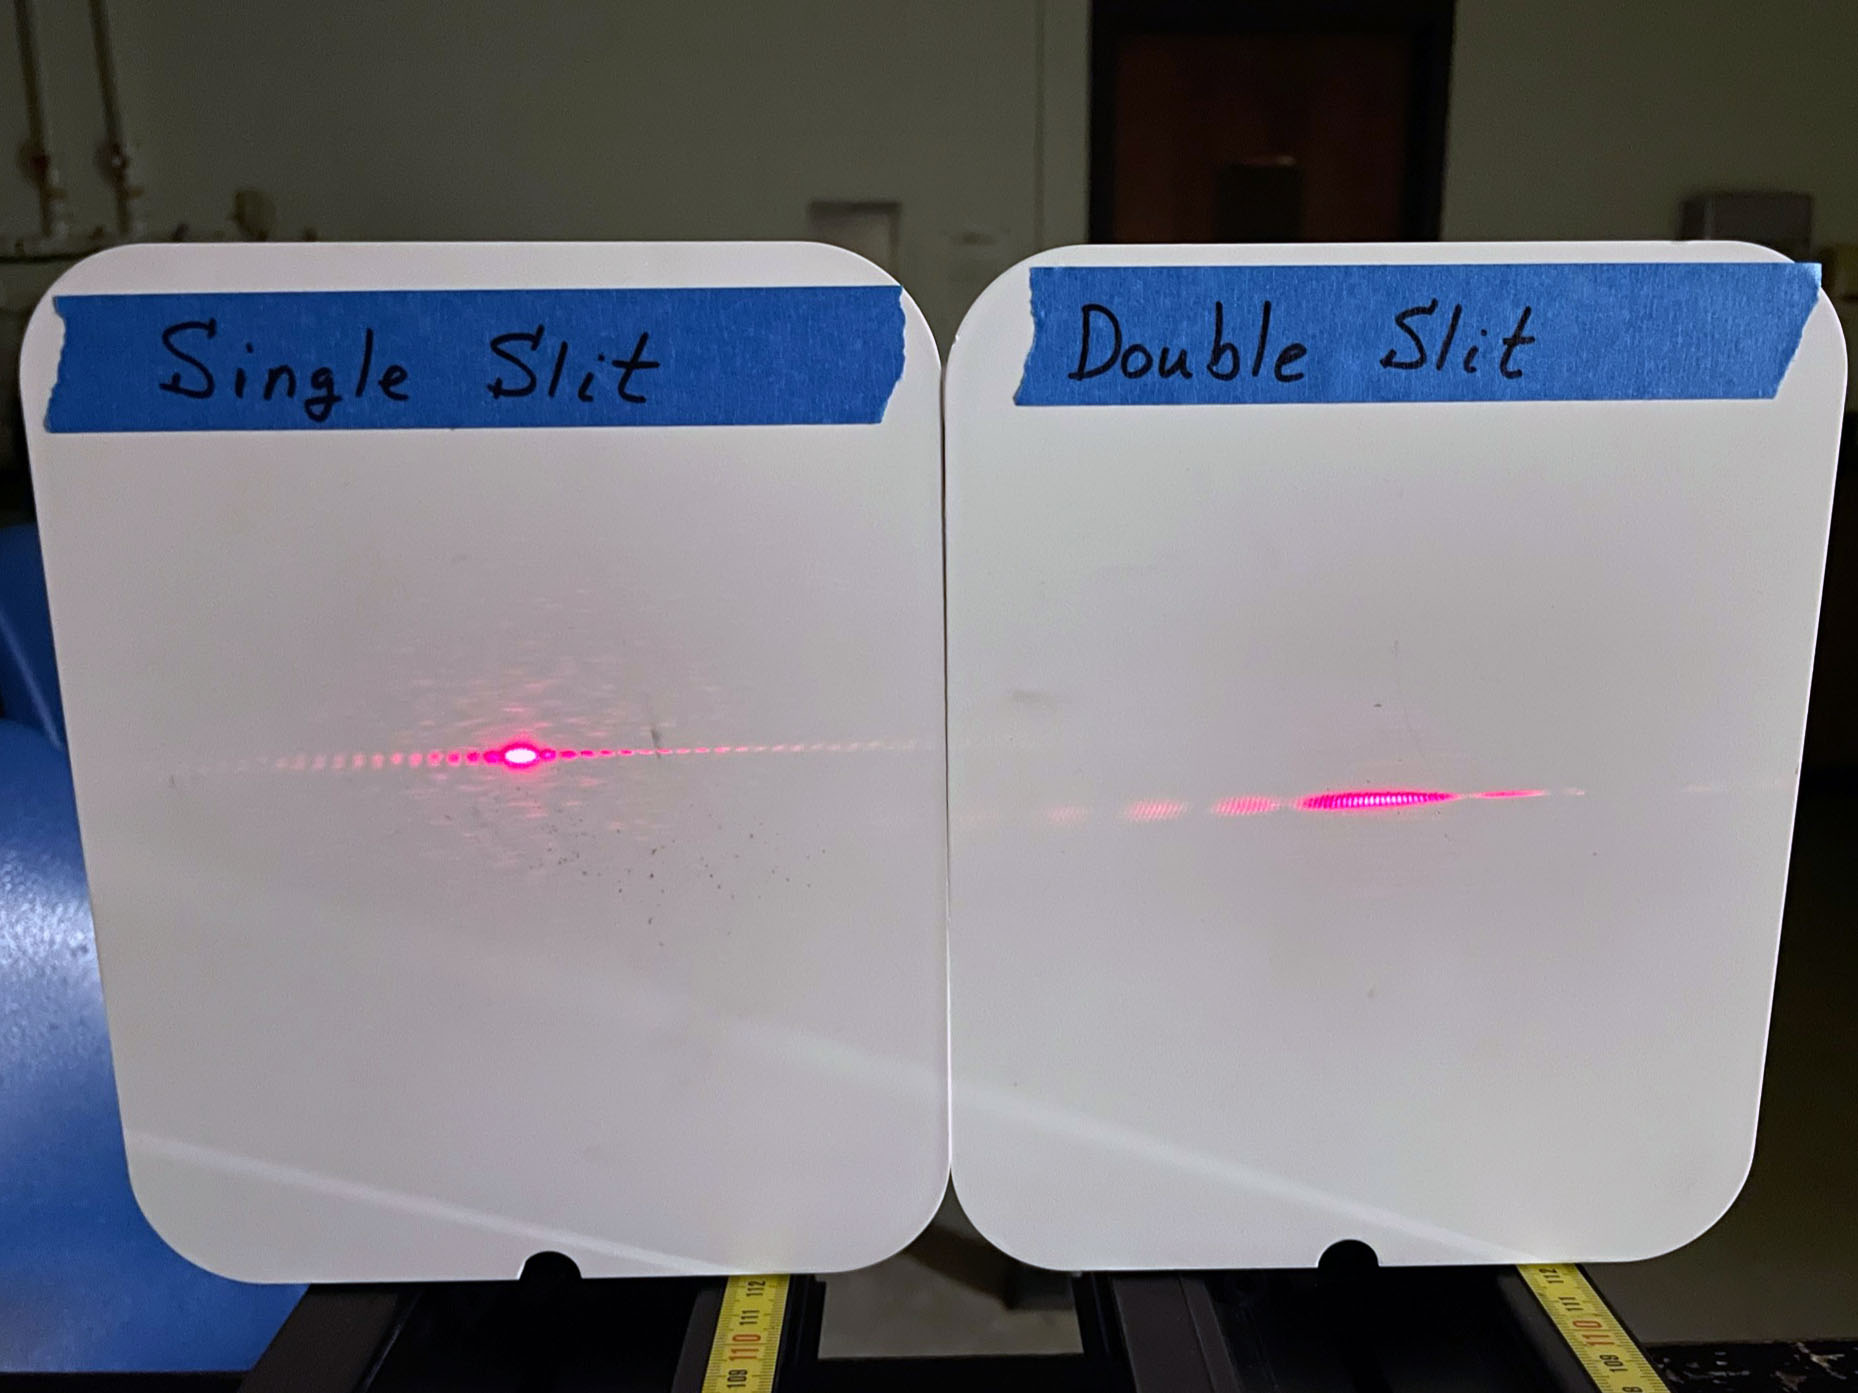
Figure 2: Single-slit at widest width, double-slits at medium separation |
Figure 3: Single-slit at widest width, double-slits at widest separation |
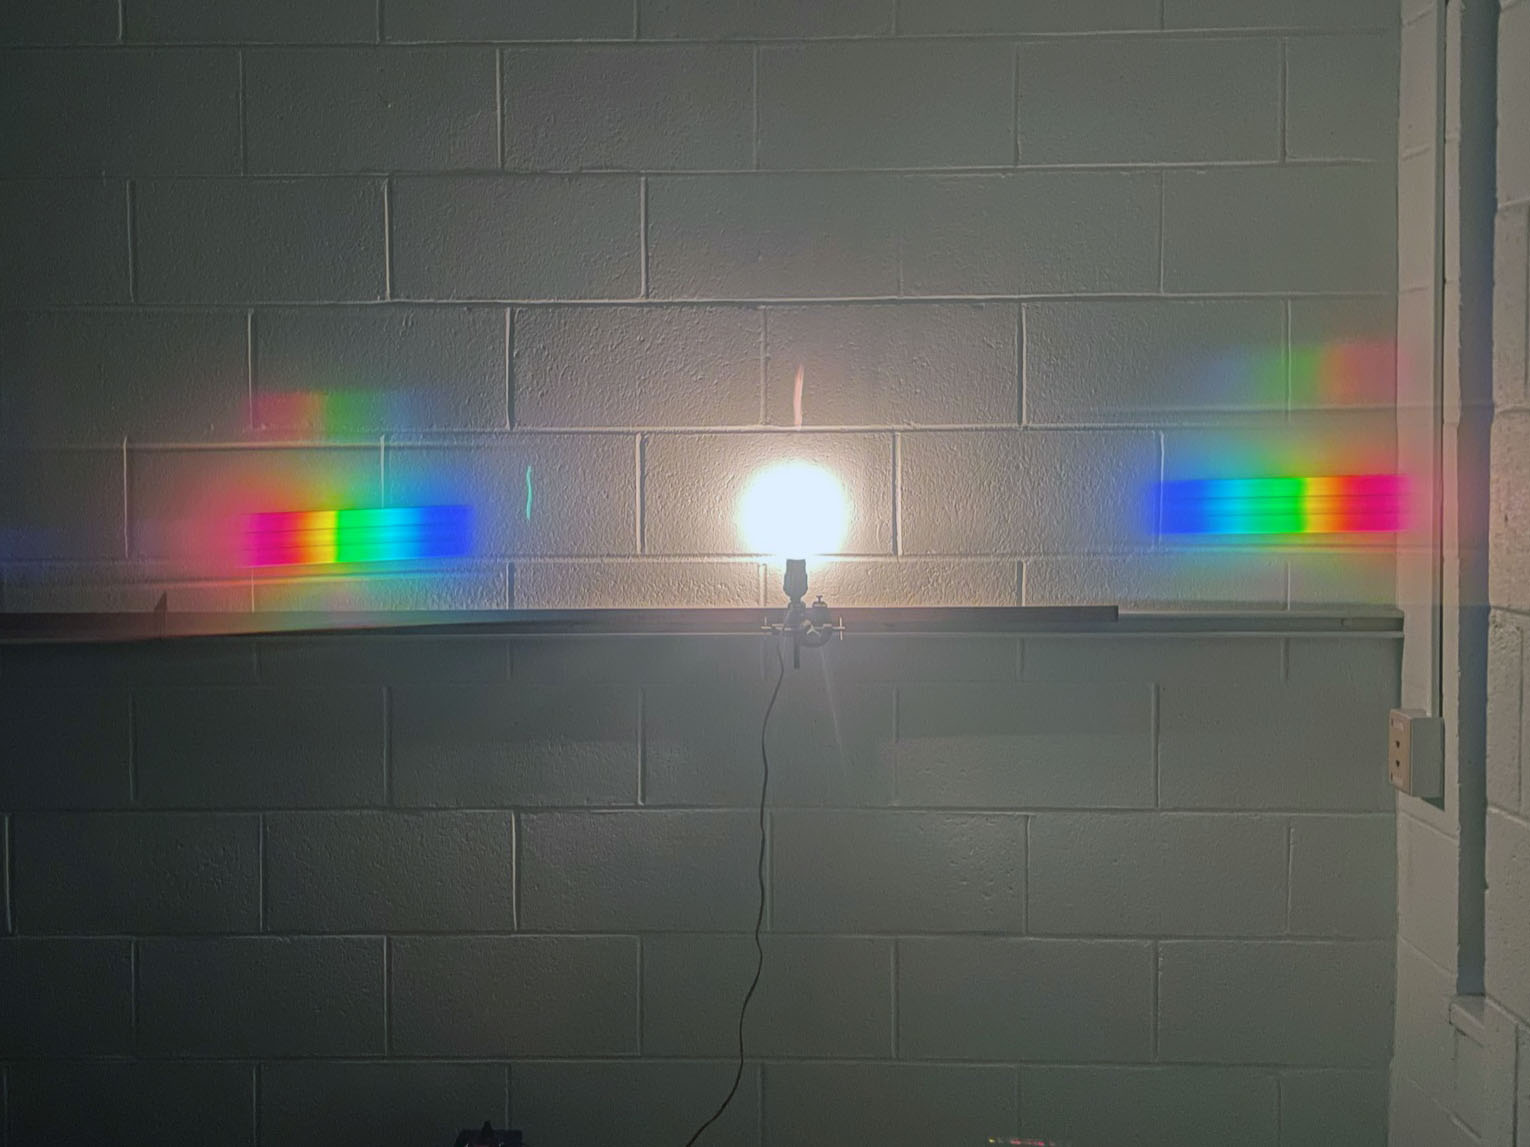
- Laser wavelength:
- All lasers have a piece of black tape on the back that obscures the actual wavelength (λred = 650 nm; λgreen = 532 nm). However, the wavelength still appears in small print on the laser front, but I can guarantee that no body has ever found it. These wavelengths are given in the instructions
- The aperture wheel remains fixed in place at 4, the 4-slit aperture setting. Note that d = 0.125 cm
- I have a spreadsheet to check students calculations; this is helpful when checking their wavelength when they've screwed up their measurements. Here is a copy of my data from that spreadsheet
- Component positions:
- Laser: holder is flush with end of bench
- Screen: the front of the screen is at the 112.0 cm mark
- Aperture wheel: the pointer on the aperture wheel holder is set to the 5.5 cm mark for both lasers. Note that this positions the grating wheel at the 3.0 cm mark, so D = 112.0 - 3.0 = 109.0 cm!
- Two optical benches are placed side by side so that their screens touch. This allows students to gently tape a single sheet of graph paper that spans both screens and mark images from m = 0 to m = ±5 (Figure 4)
- Students are marking the position of the brighter spots, not the fainter fringes between the bright spots
- It's worth pointing out to each group that some of the spots are faint but can still be seen and counted. In the photo below, the m = ±3 red spot is faint but can be seen well enough to be marked. If there's a significant error in their wavelength, they most likely skipped a spot but didn't skip a number.
- Common mistakes:
- They'll get the wrong value for D. Since it's just over a meter, a difference of a couple of centimeters is significant
- They forget that m = 2, 3, … when calculating the wavelength for higher orders
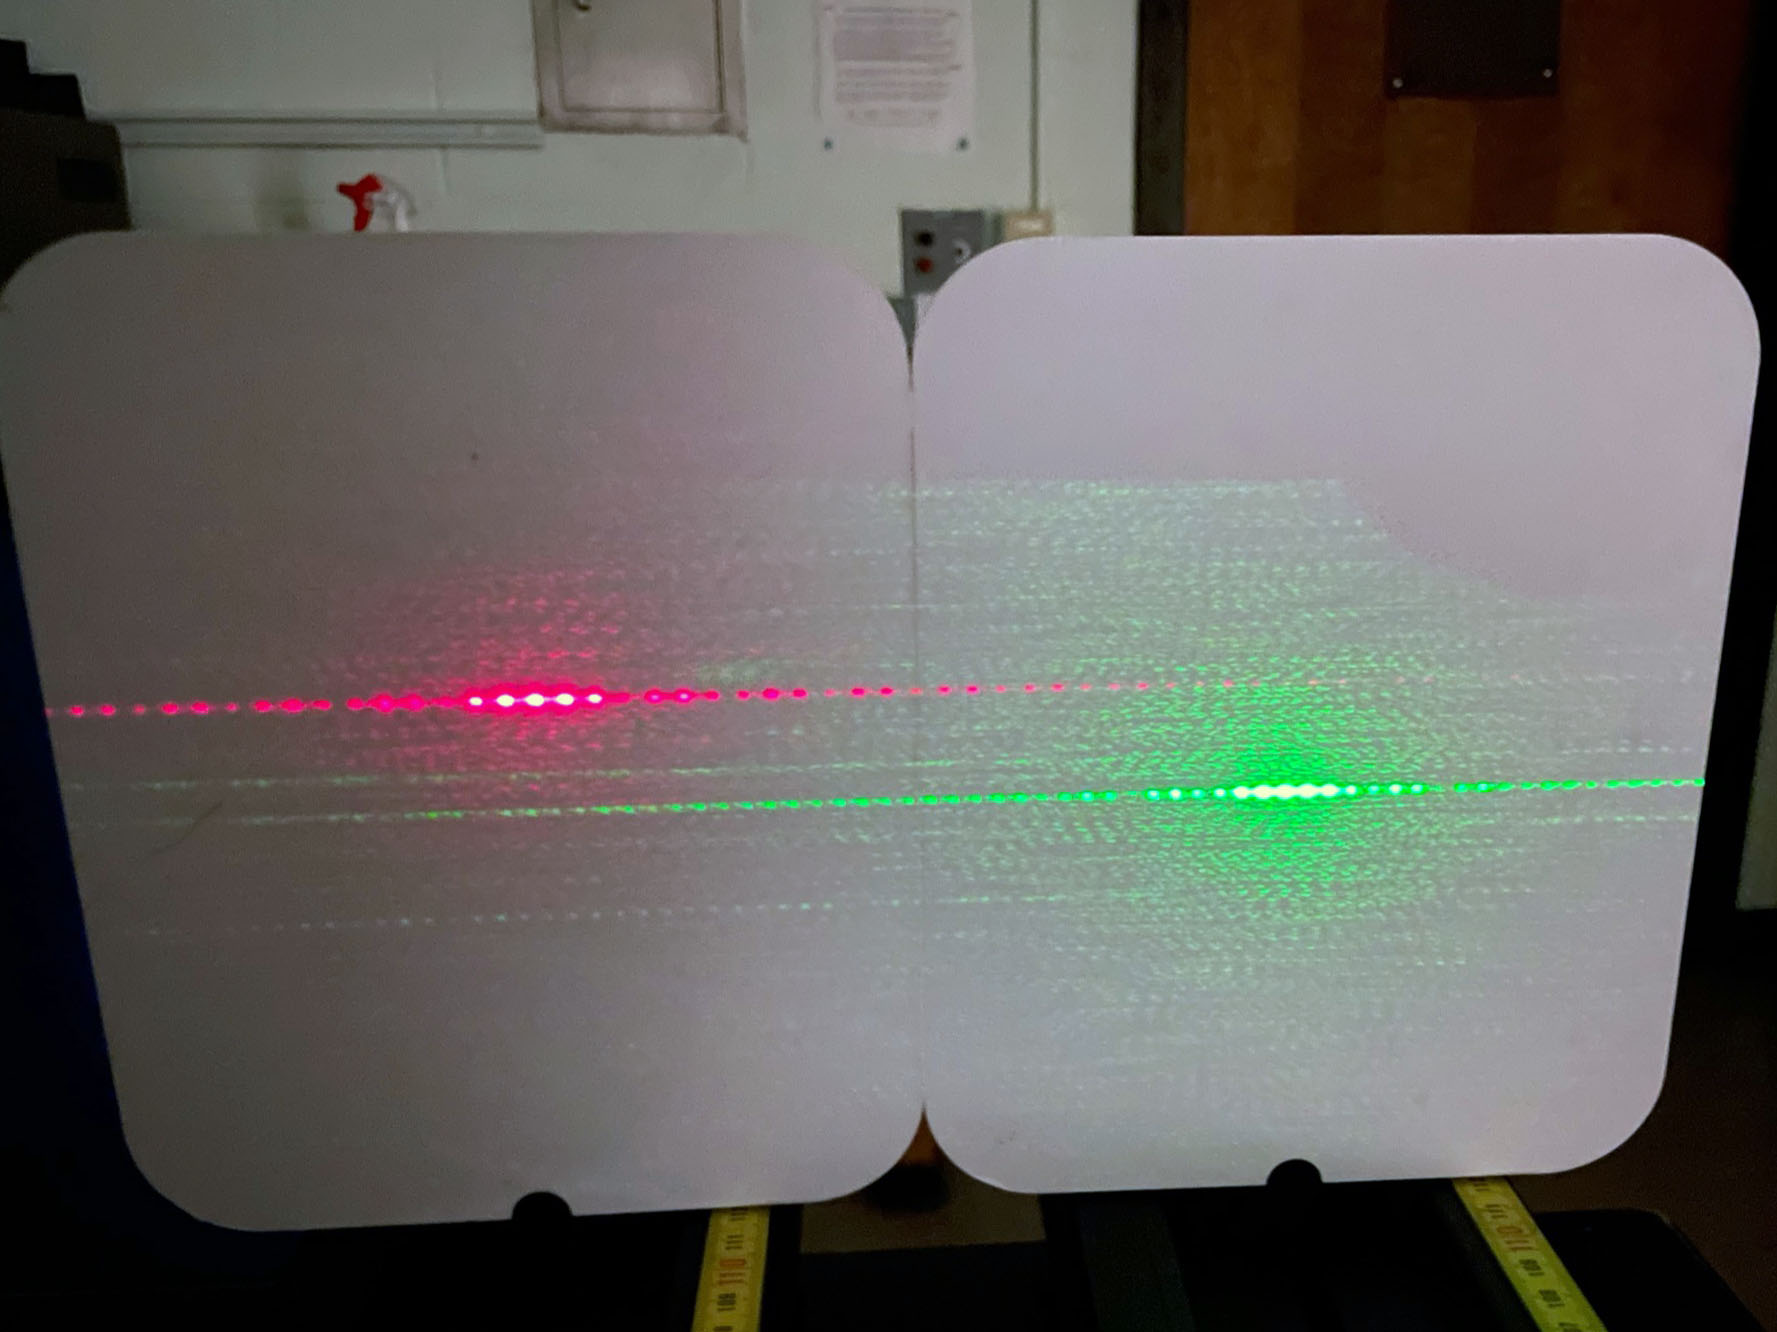
Figure 4: Red & green laser through the same 4-slit aperture
|