| Notes: |
A bulb is placed at the center of the classroom (use window blocks to eliminate ambient light). Each student gets their own orange. They can move the orange around their head to observe the change in the shaded area. Spinning in their chairs with the Moon at a specific phase allows them to estimate rising, transit and setting times of a particular phase. Can also discuss solar and lunar eclipses.
Stuff needed:
- Bag(s) of oranges (enough for 1 orange per student)
- 1 50-cm long rods
- 2 parallel clamps
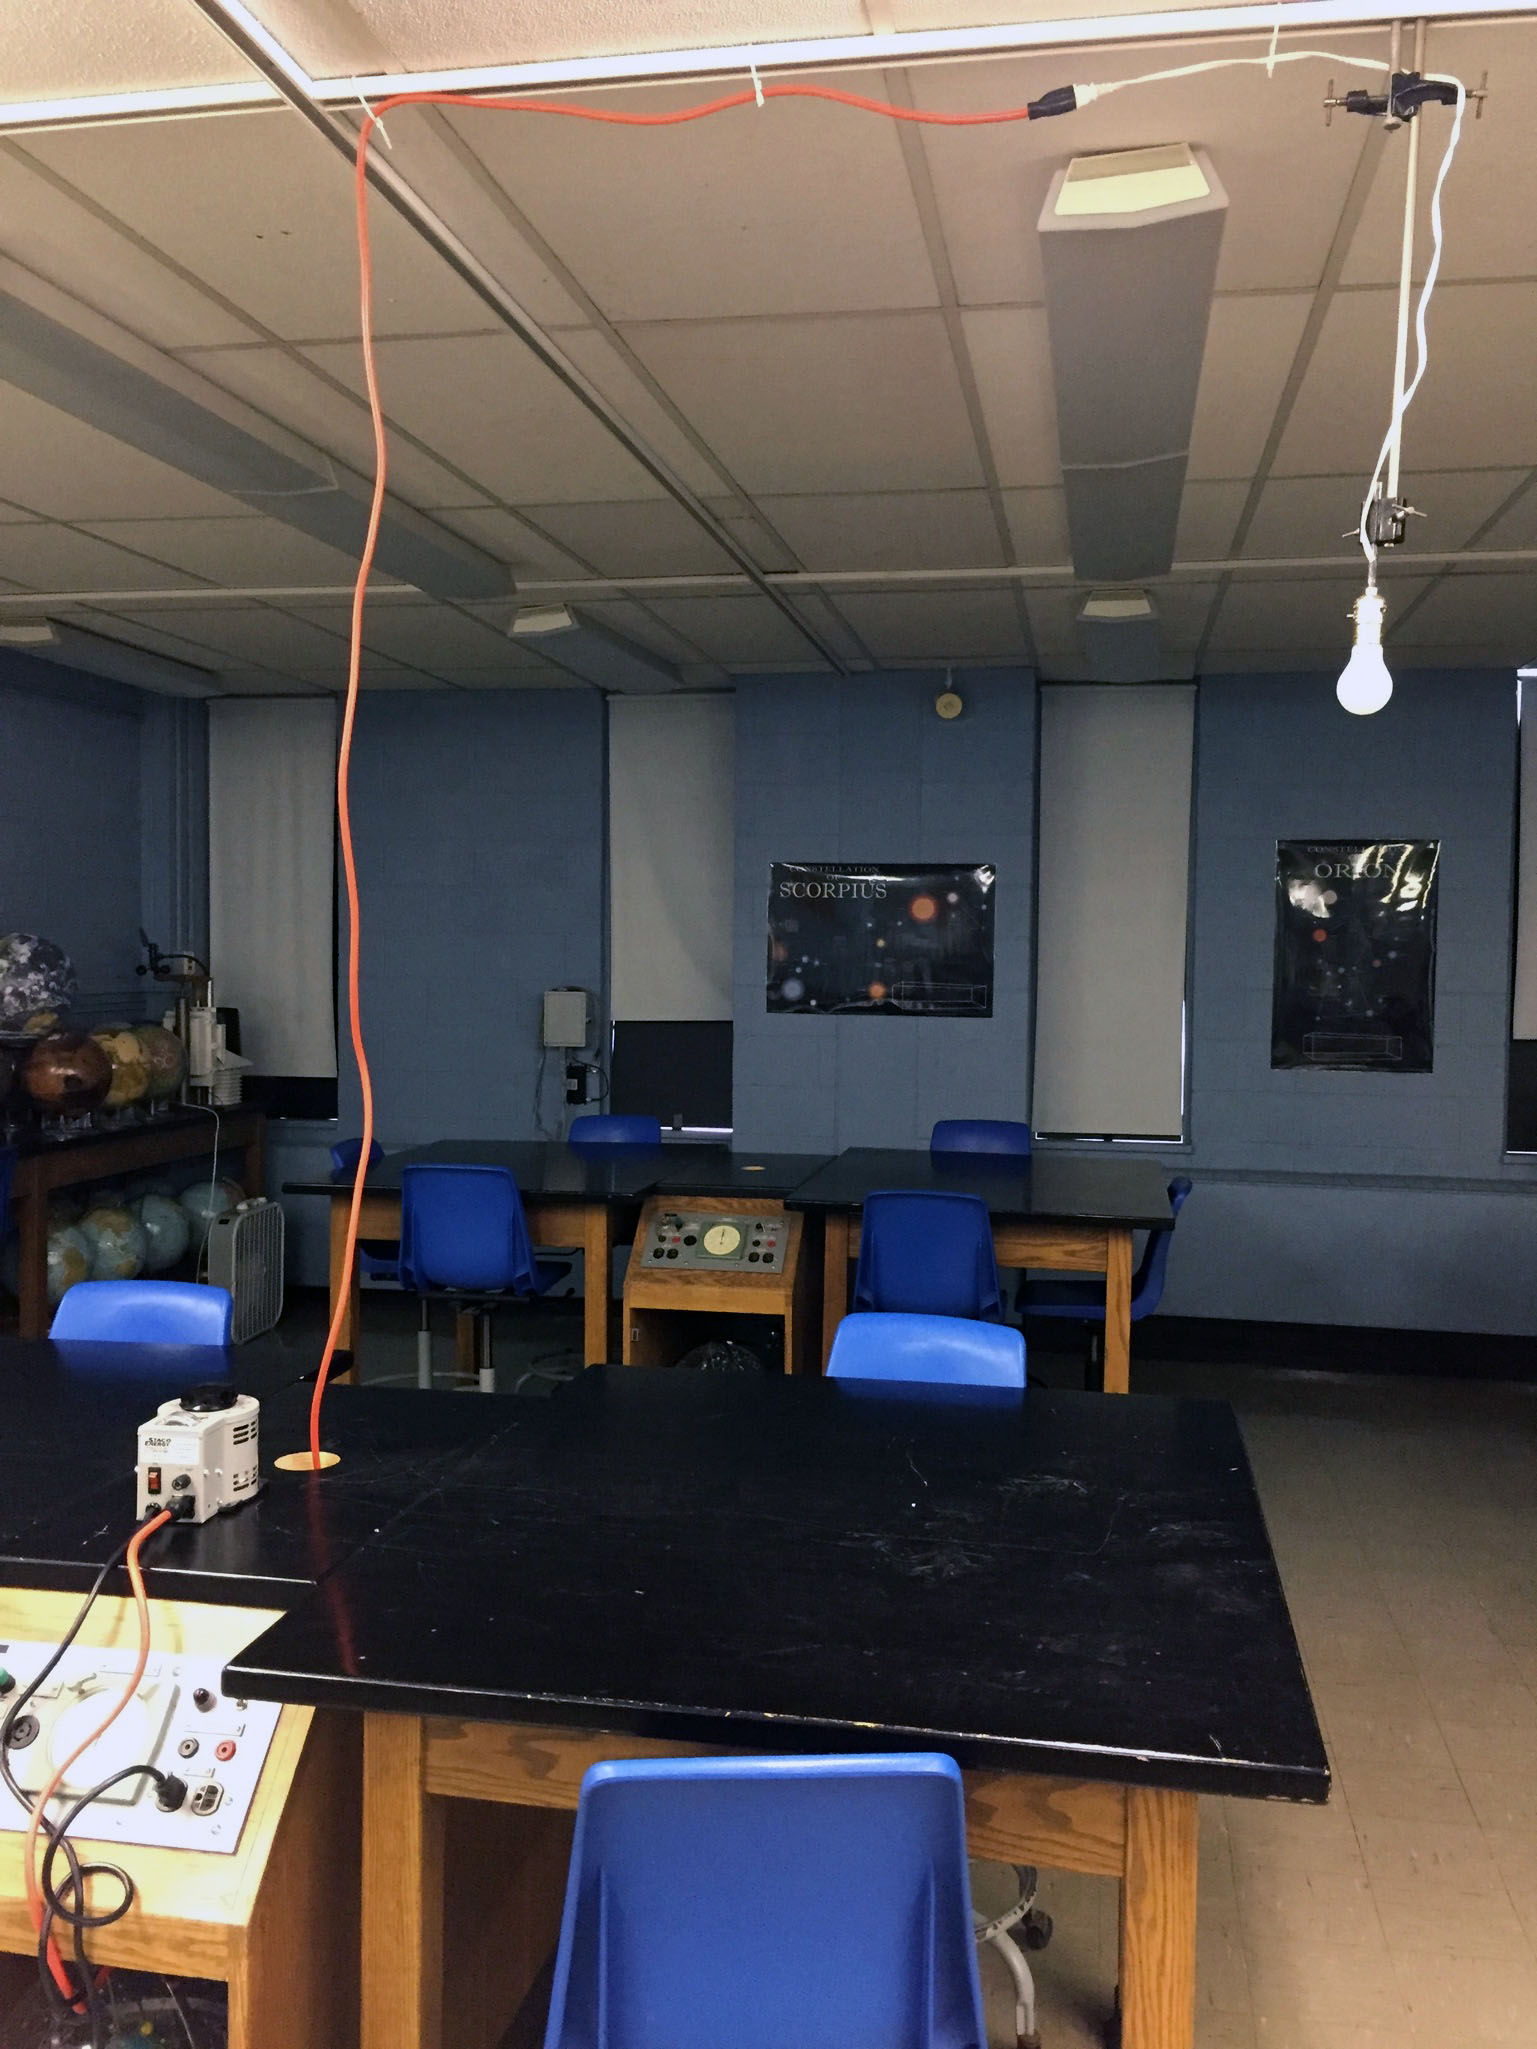
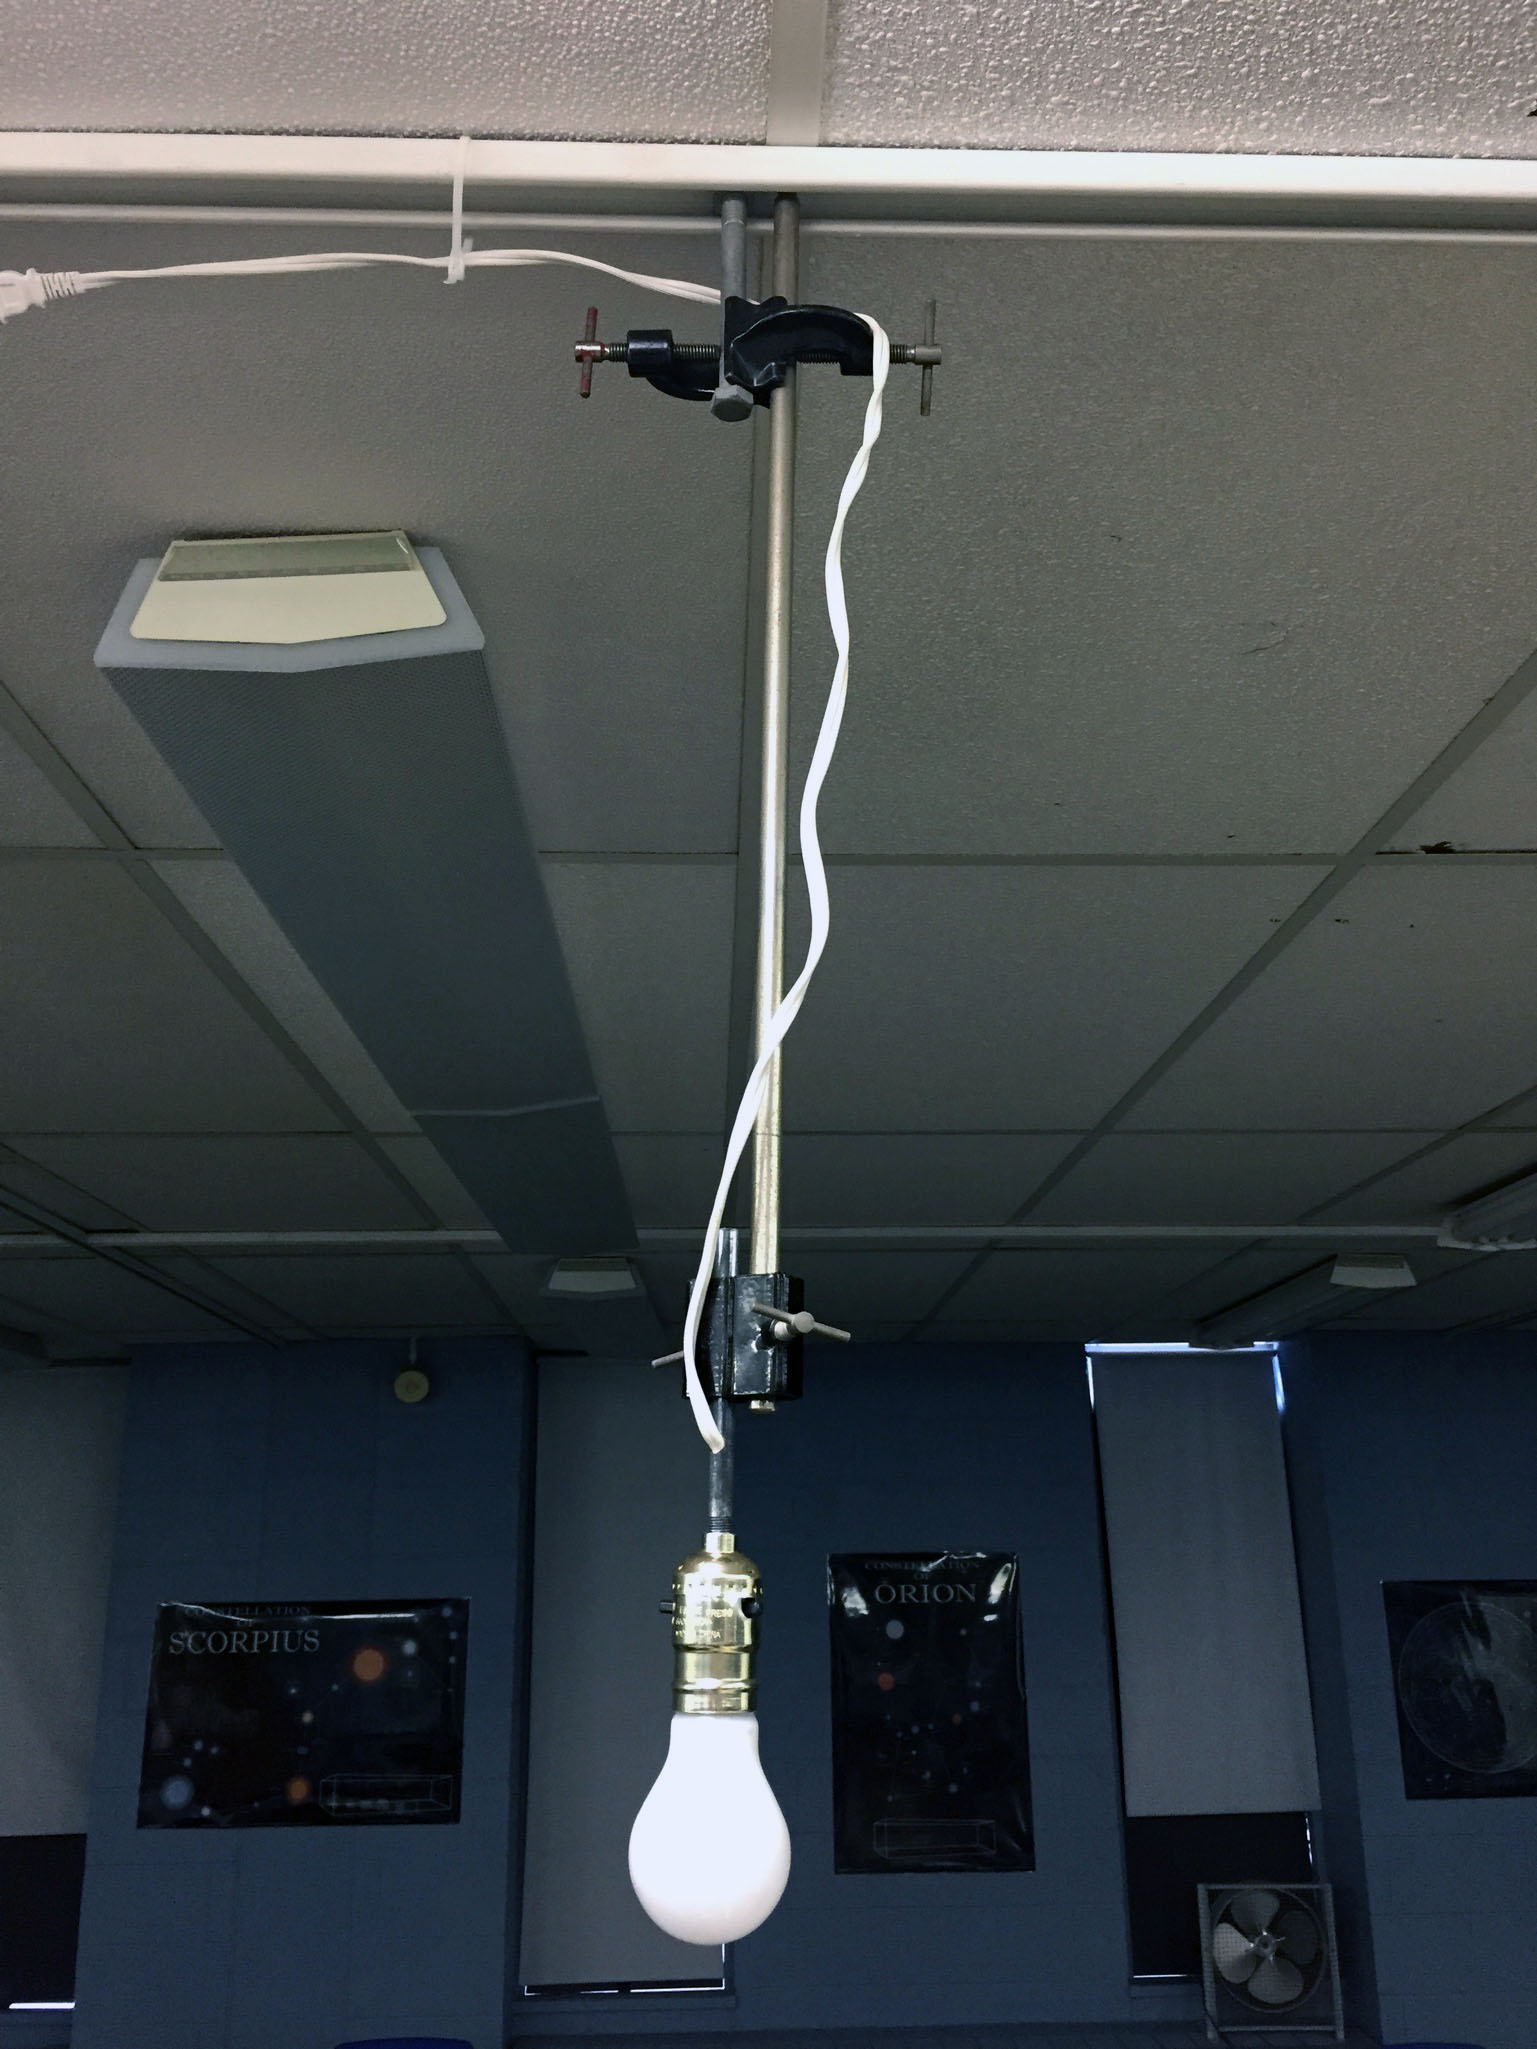
- Brass bulb holder
- 100-W bulb
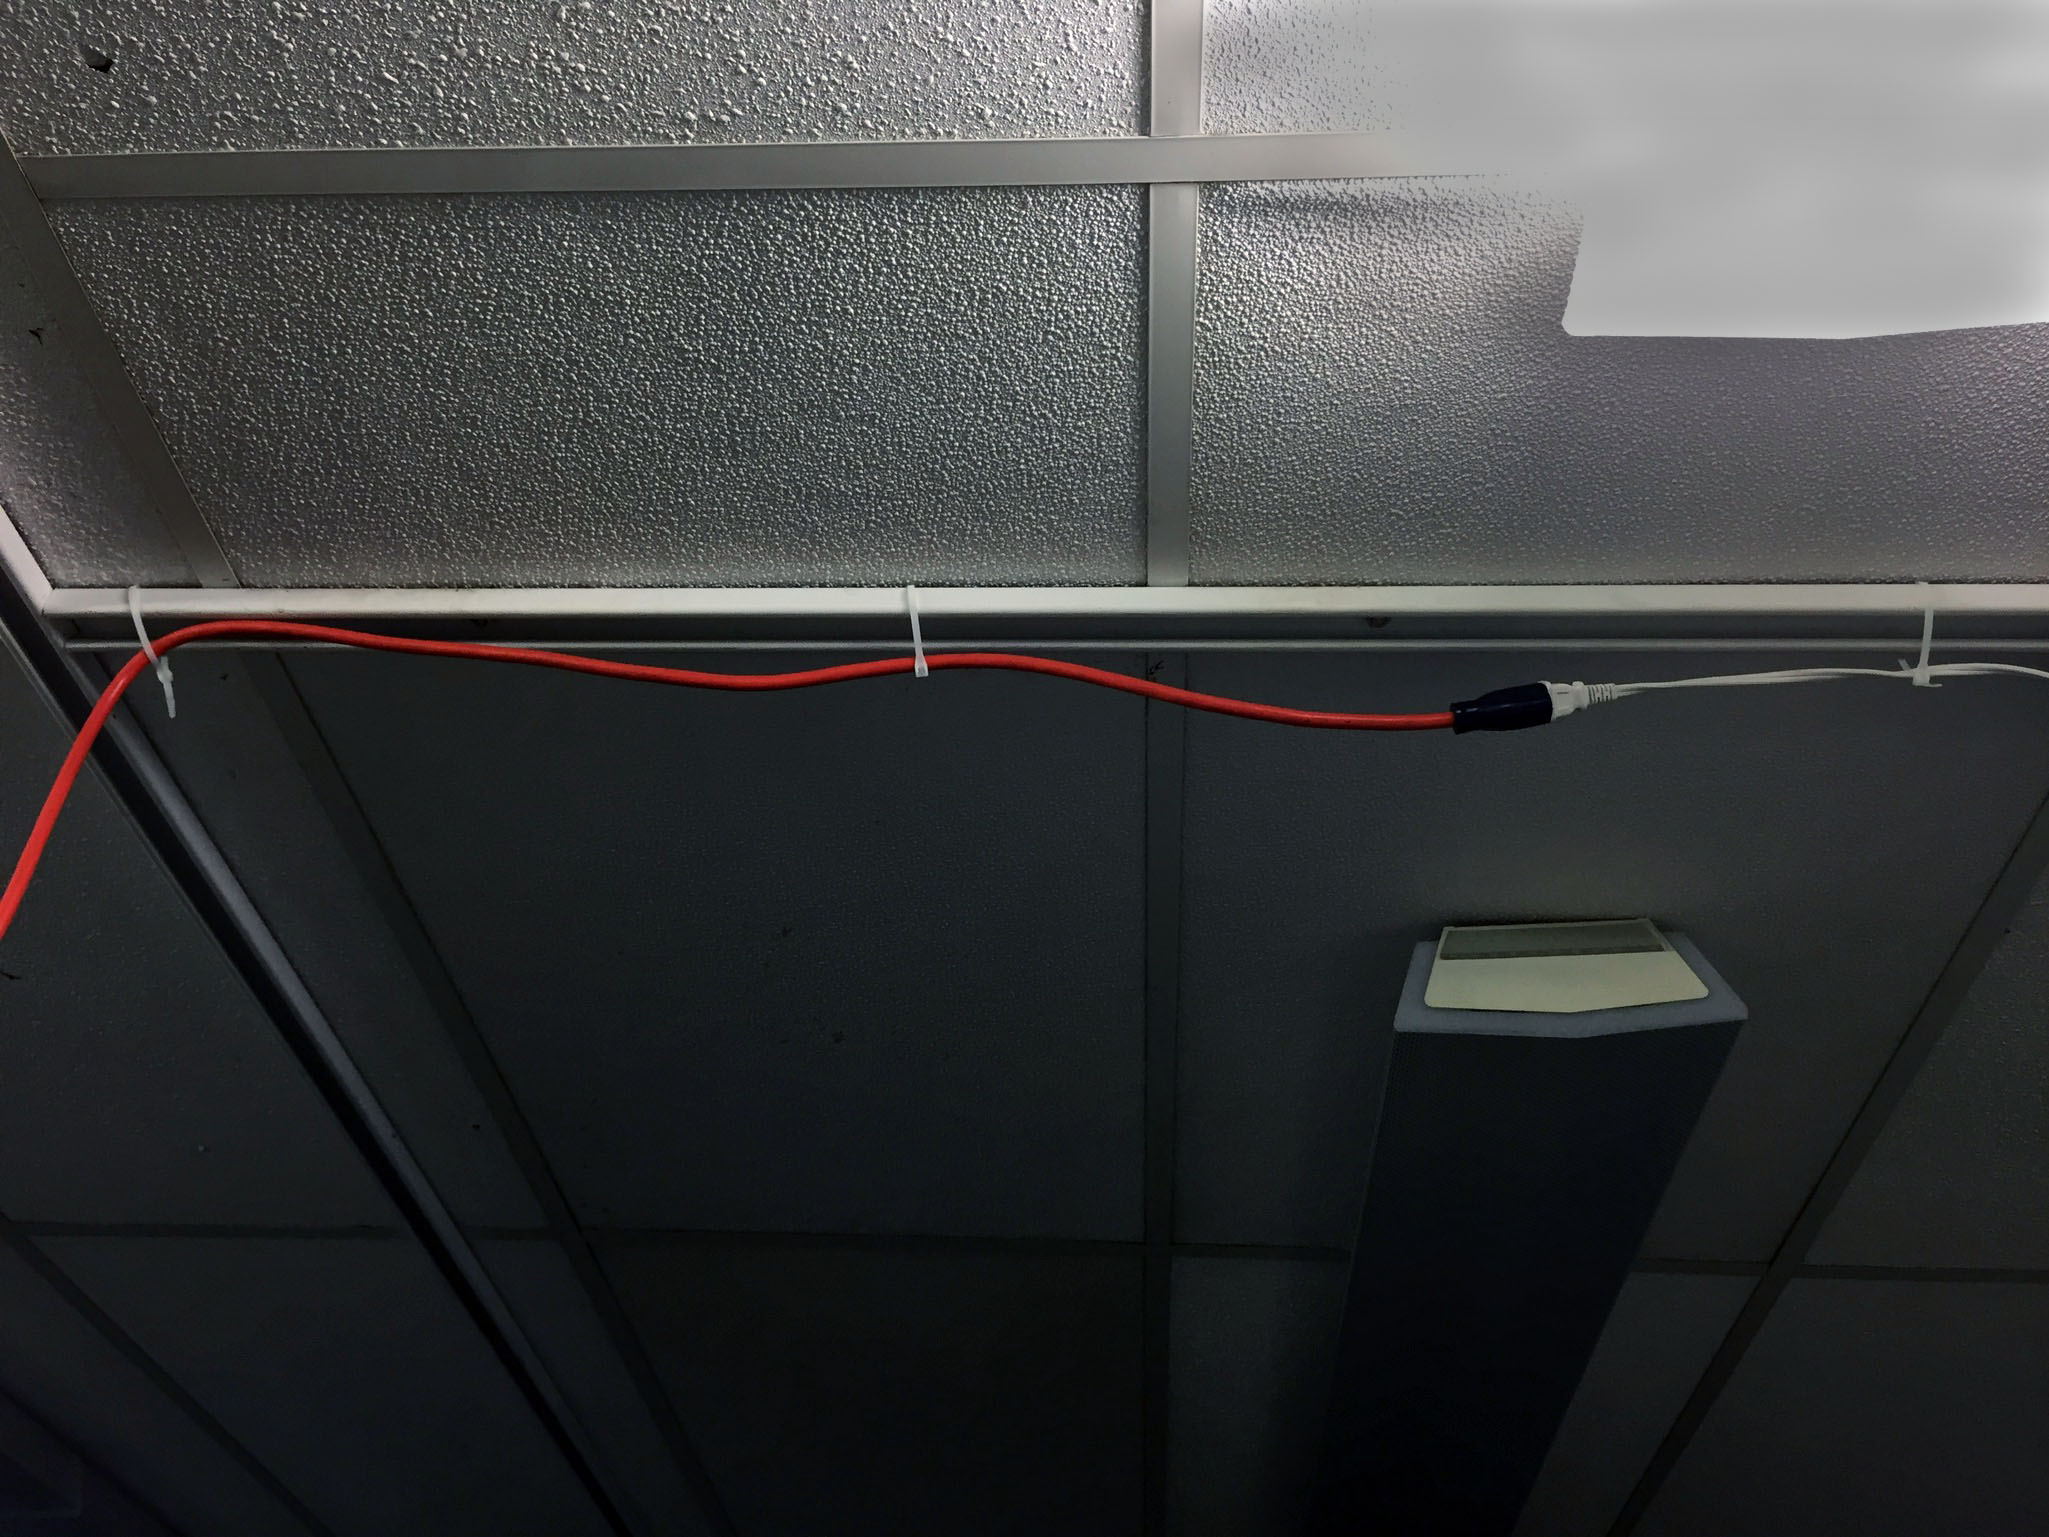
- Extension cord
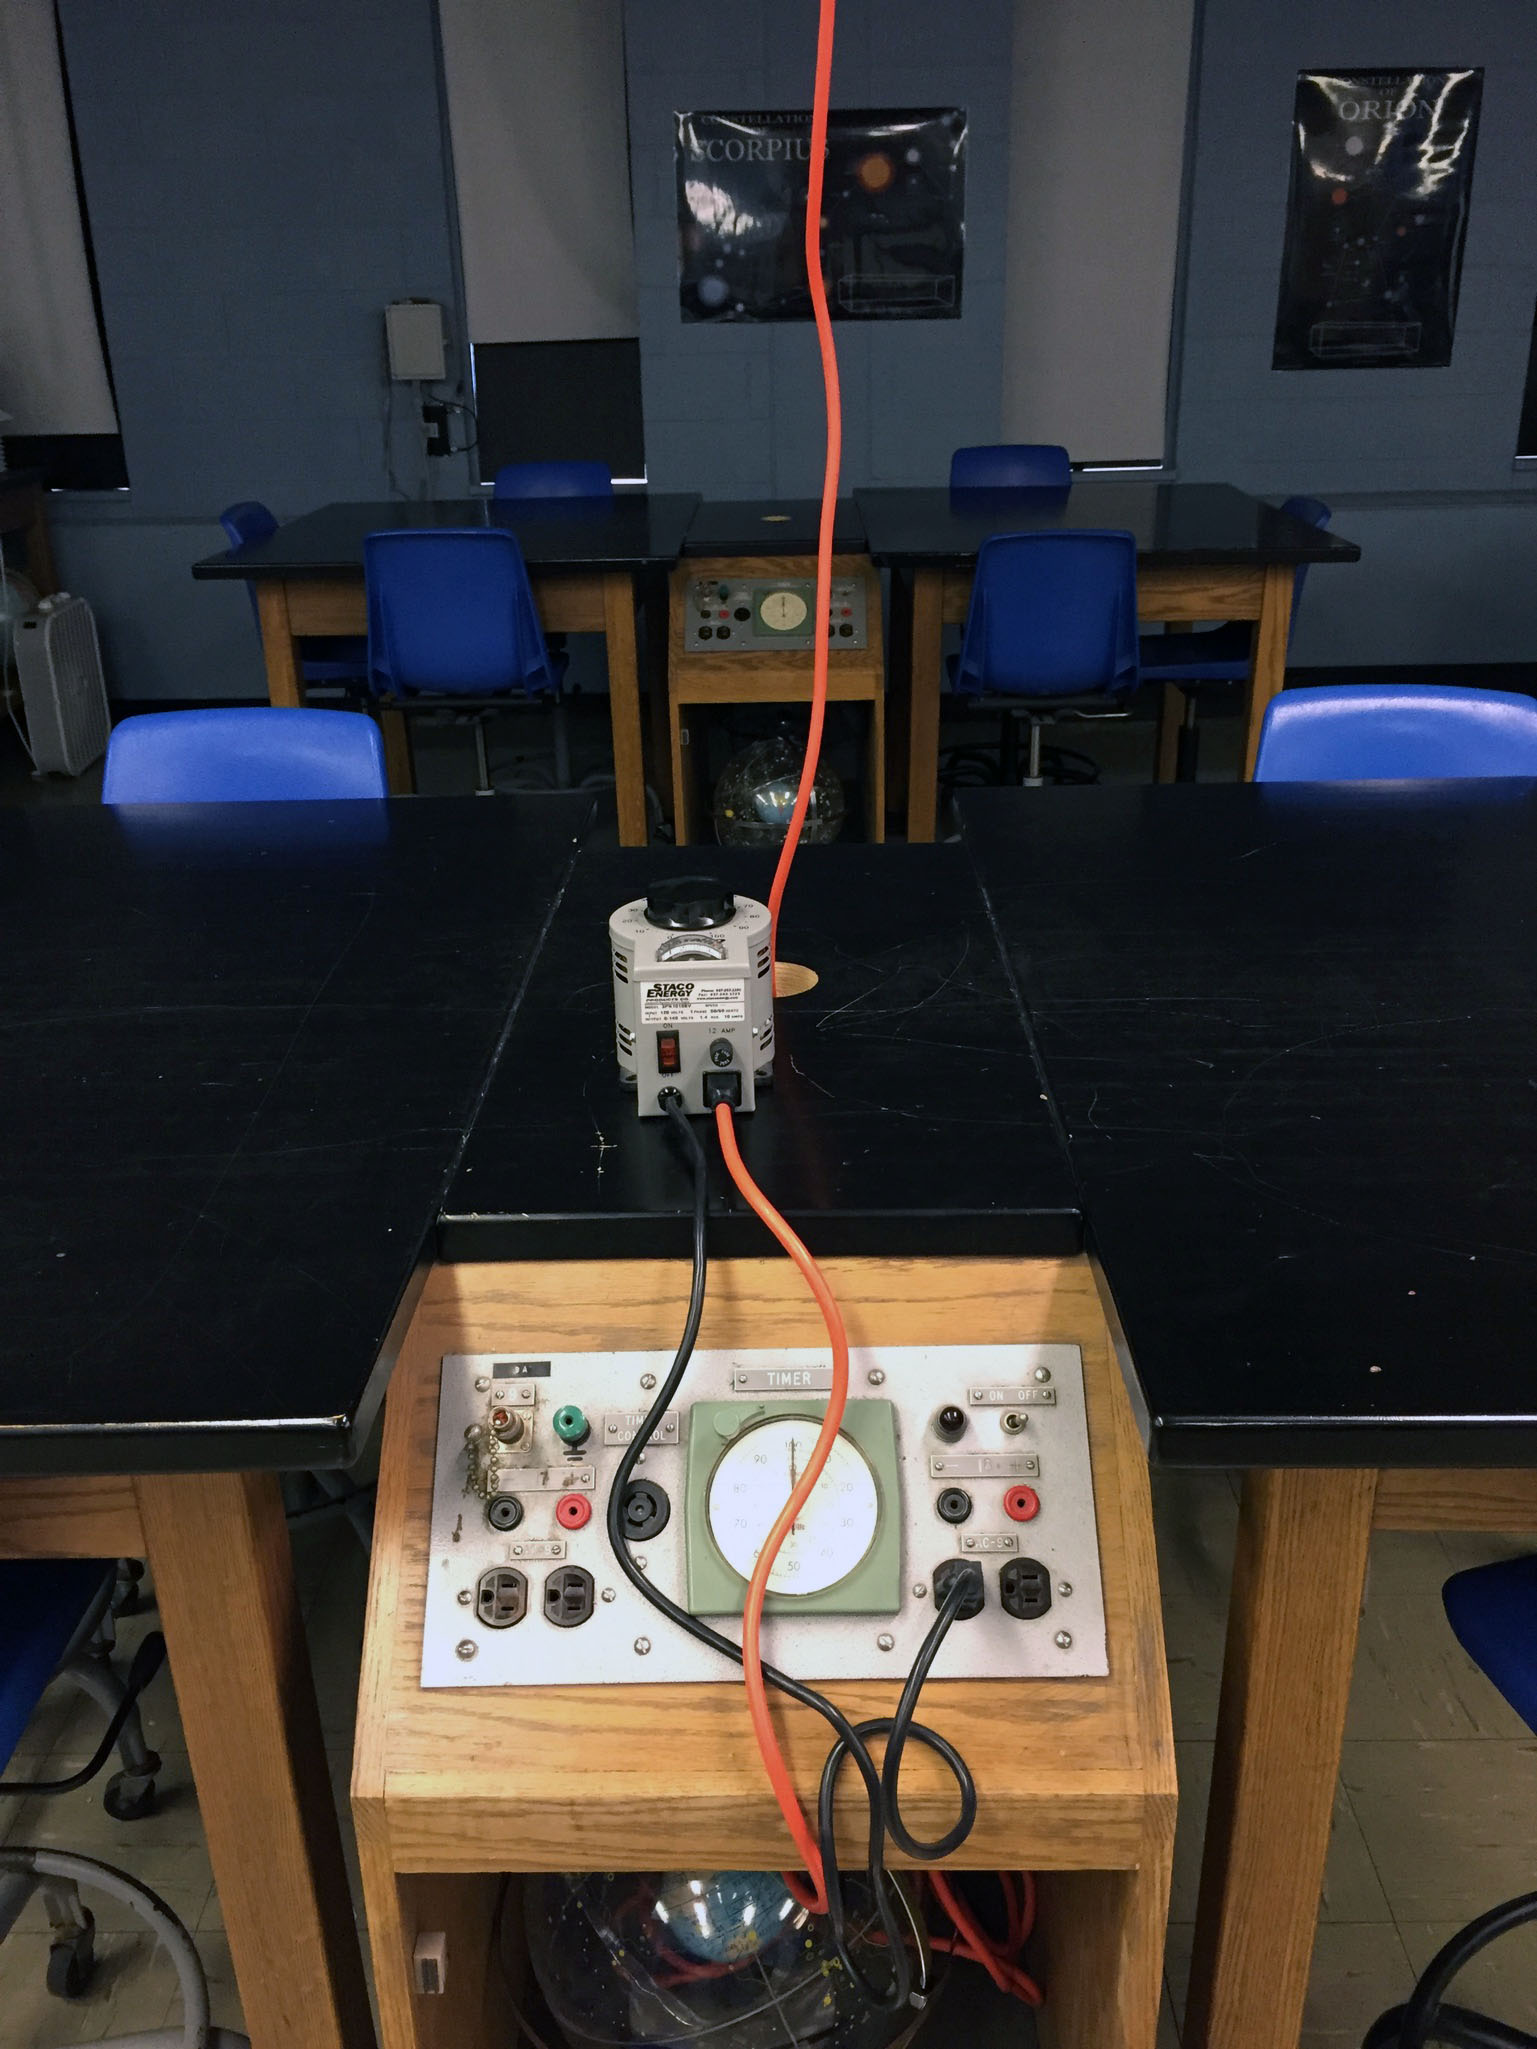
- Variac
Attach a brass bulb holder to rod with a parallel clamp. The rod is then attached to bolt in ceiling U-channel with another parallel clamp. Connect extension cord to bulb holder, route extension cord through cable tie loops in ceiling U-channel, then drop down to lab bench. Connect extension cord to variac (easier to turn bulb on/off, control brightness).
Exercises:
When each student has their own 'Moon', have them sit so they have an unobstructed view of the 'Sun'. You can then run through exercises so that they can see how the phases are created as the Moon orbits the Earth (to an observer's eyes).
- What causes the phases?
- Have students start by holding their Moon in front of them (but don't make a solar eclipse!), and ask them how much of the surface they see is illuminated (answer: None). What phase is this? (New)
- What's the next phase? (Waxing Crescent). Which way should they rotate in their chair to duplicate the orbit of the Moon around the Earth? (counter-clockwise). Have them slowly rotate their chair counter-clockwise, keeping the Moon directly in front of their eyes, slowly watching the illuminated crescent slowly increase in size on the right side of the Moon.
- Have students top when the right half of their Moon is illuminated. What phase is this? (First quarter). Notice that there's a right angle between Sun-Earth-Moon
- What phase is next? (Waxing gibbous). Have them continue to slowly rotate, still watching the illuminated portion grow.
- Tell students to stop when their Moon is completely illuminated (they'll have to hold it over their head so they don't make a lunar eclipse!). What phase is this? (Full). Note that there is now a straight line between Sun-Earth-Moon
- Have them continue through the waning phases, and stop at New Moon
- Rising/setting times of the Moon
- Have them put the Moon down, and while they're facing the Sun, ask them what time it is (noon). Their nose will represent the observers meridian (facing due South)
- Which way should they turn in their chairs to represent the Earth's rotation? (counter-clockwise)
- Have them rotate CCW so that their eyes (facing forward) are about 90° from the Sun. Time? (sunset)
- Continue rotating until the Sun is directly behind their head. Time? (midnight). Continue on through sunrise, that back to noon. Remind them that their eyes, facing forward, will give them the time for an observer on Earth
- Tell students to pick up their Moon, and hold it in the first-quarter position while their eyes are still facing the Sun. They should be holding the Moon in the left hand, making a 90° from the Sun. Point out to them that at noon they can just barely see the first quarter Moon out of the left side of their vision, so the first quarter Moon rises at noon
- While holding the Moon in the first quarter position, have students rotate in their chair so that the Moon is now directly in front of them. What time is it? (Sunset). Where is the first-quarter Moon? (on their meridian, due south)
- Still holding the Moon in the first quarter position, rotate until it is midnight. The students should switch their Moon to their right hand. What time is it? (midnight). Where is the first-quarter Moon? (just setting)
- Still holding the Moon in the first quarter position, rotate until it is sunrise (this will take some acrobatics on their part). What time is it? (sunrise). Can you see the first quarter Moon? (No). When will you next see the first quarter Moon? (rising at noon)
- Repeat with the full Moon
|