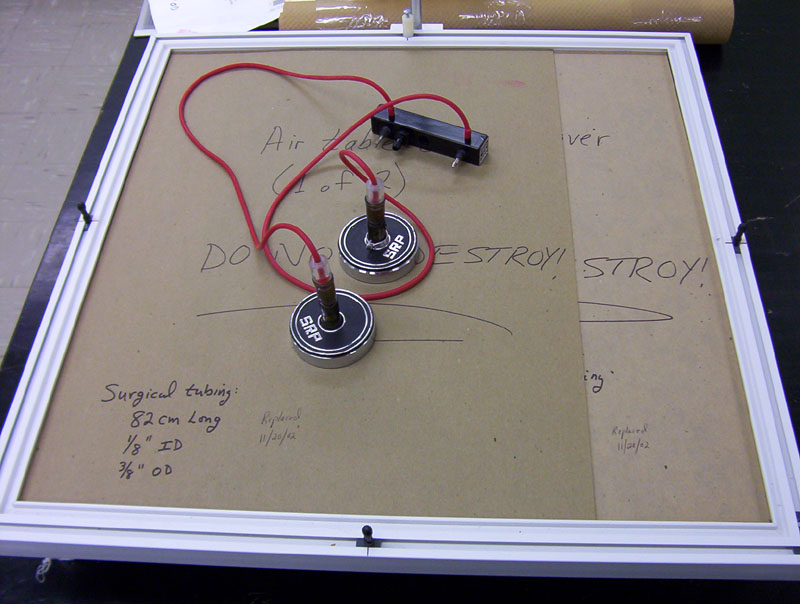
 Table shown in storage mode. Two pieces of cardboard are placed on top of a sheet of paper to protect the carbon paper. |
 Place pucks and hose connector to the side. |
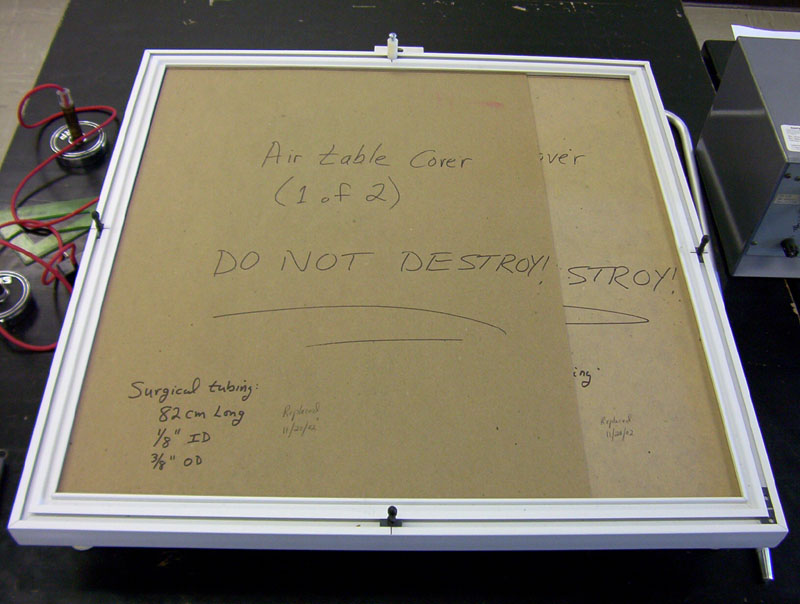
 Remove cardboard – underlying paper shown. |
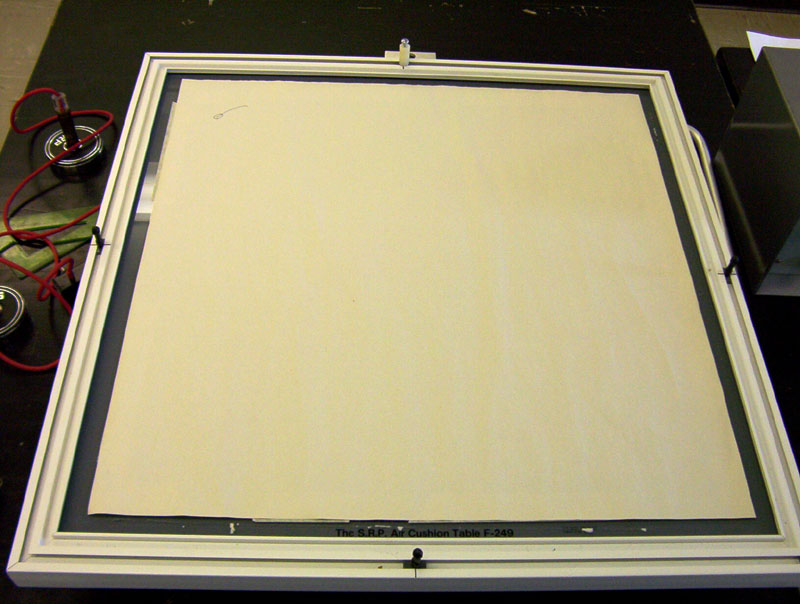
 The paper covers the carbon paper. Leave in place! |
 Vertical support post attaches to the back of the table. |
 Air hose with gray adapter to connect to overhead air supply. |
 Carefully attach air hose and electrical connectors. |
 Another view – wire with 'gator connects to "Spark" terminal on Sparky; green wire connects to ground on Sparky (see below). |
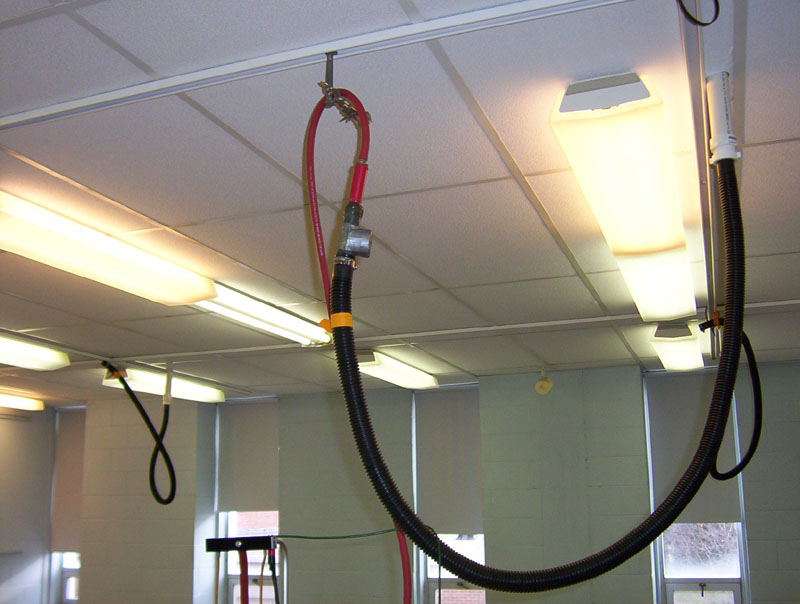 Air hose connected to overhead supply. |
 Use an extra clamp to take the strain off of the air hose. |
 Air valve settings |
 "Sparky". Spark wire and ground attach to adapter on support post of air table. |
 Use three wires connected together to get enough length to reach the adapter. |
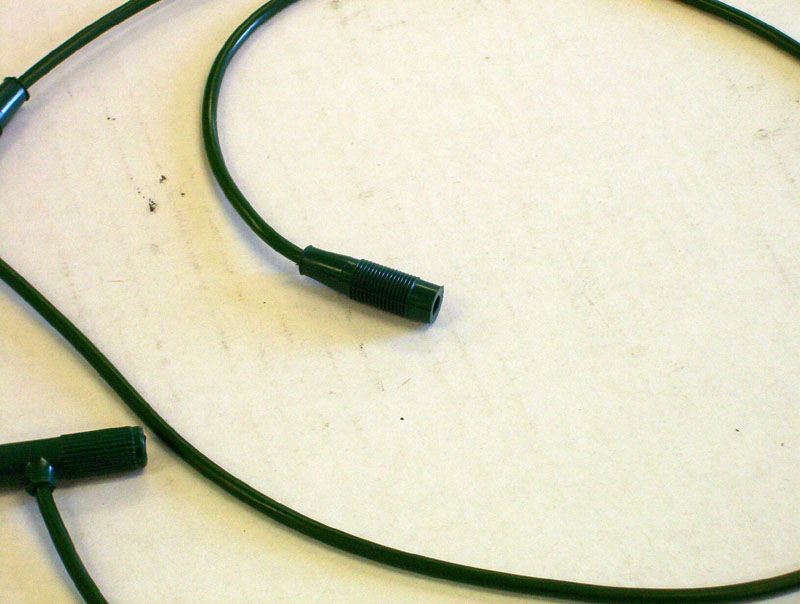 Use these wires (found in the Bewkes 205) so that no bare ends are exposed. |
 Place pucks on table – don't attach springs yet, or they'll get stretched out! |
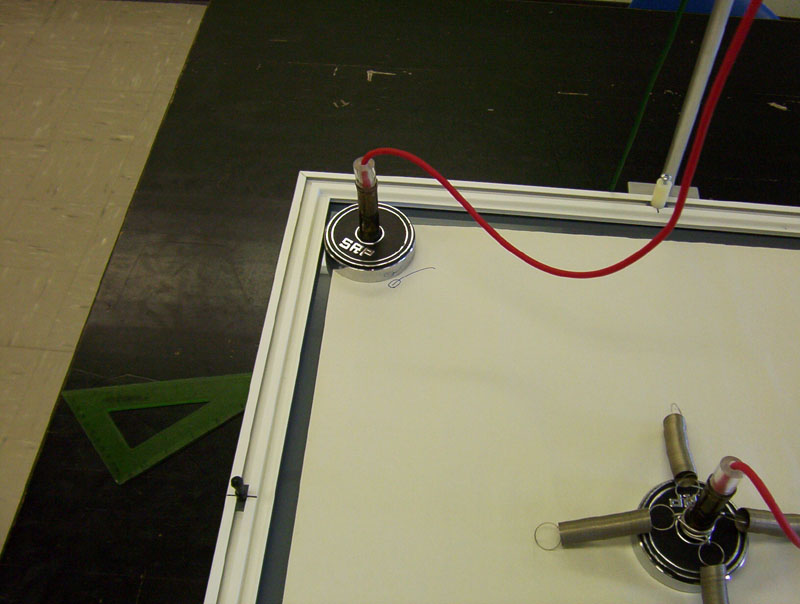 Note position of second puck; it must sit on the air table during the experiment to complete the circuit. |
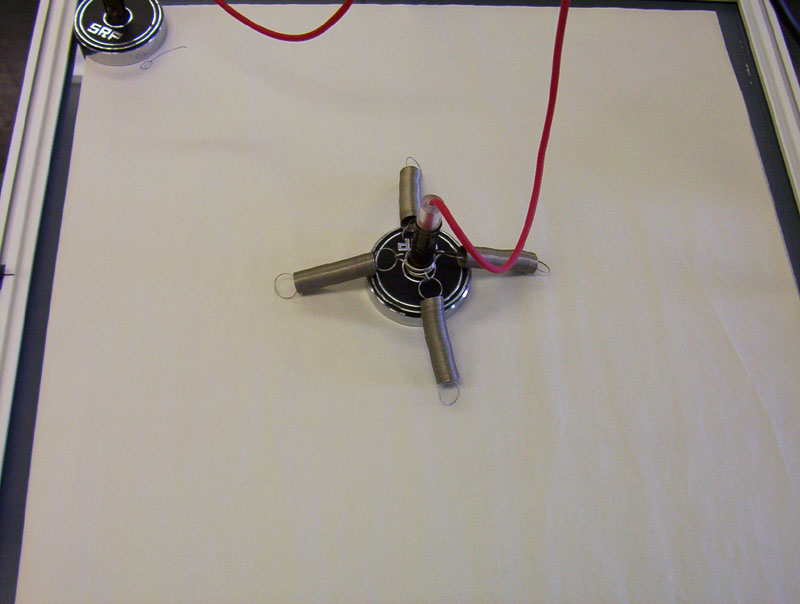
 The springs are connected to the hooks on the puck, and the posts on the air table. |
 Detail of the puck. The masking tape collar keeps the springs from getting caught on puck |
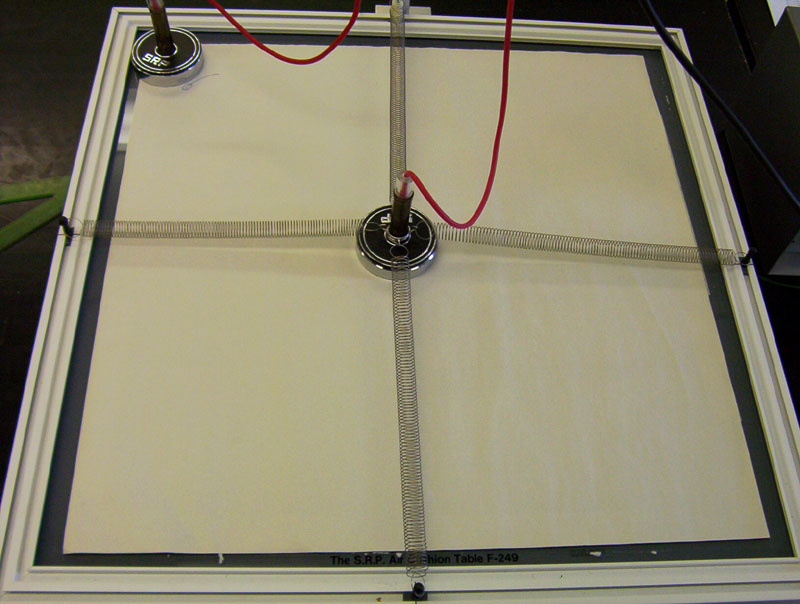 The table, with springs attached (only during the experiment). |
 The completed setup. |
|
|
||
| © | St. Lawrence University | Department of Physics |
| Revised: 08 Nov 2019 | Canton, NY 13617 |