 The setup; Vernier Radiation Monitor, LabPro interface, USB & power cable, smoke detector, rods & clamps |
 The radiation monitor is held by a test tube clamp, attached to long rod |
 The is connected to the Dig/Sonic1 port of the LabPro Interface. Note small squares of paper left for students |
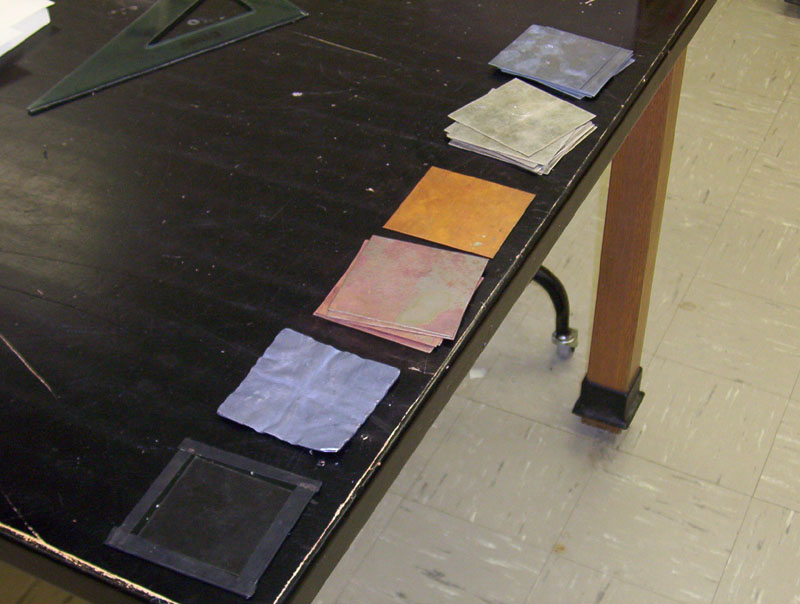 Sort metal pieces into piles, place on front bench (Phys 152) or side bench (Phys 104) |
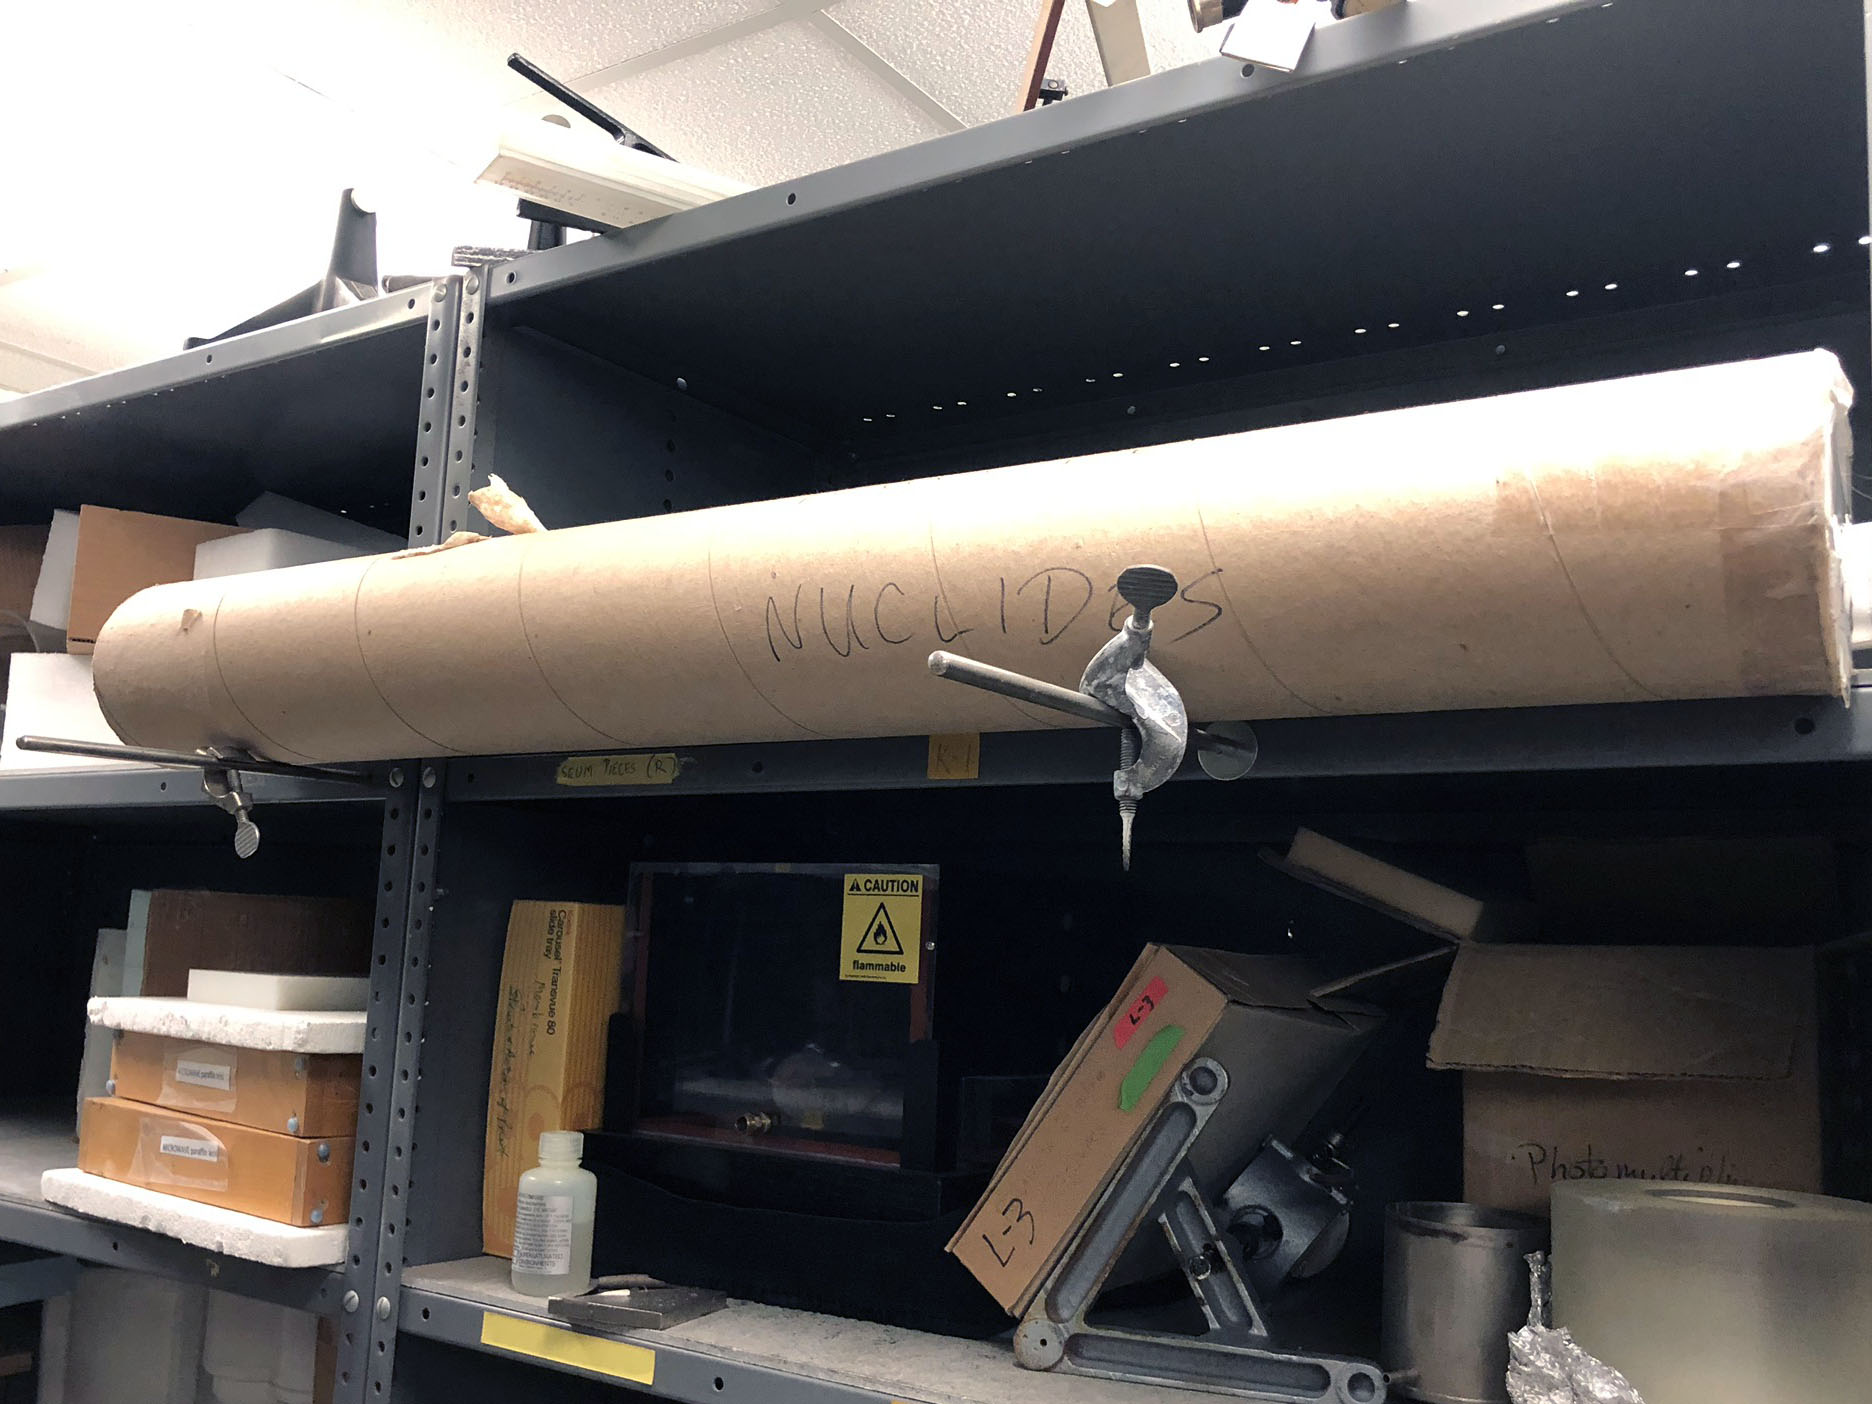 The Chart of the Nuclides are stored in this cardboard tube |
|
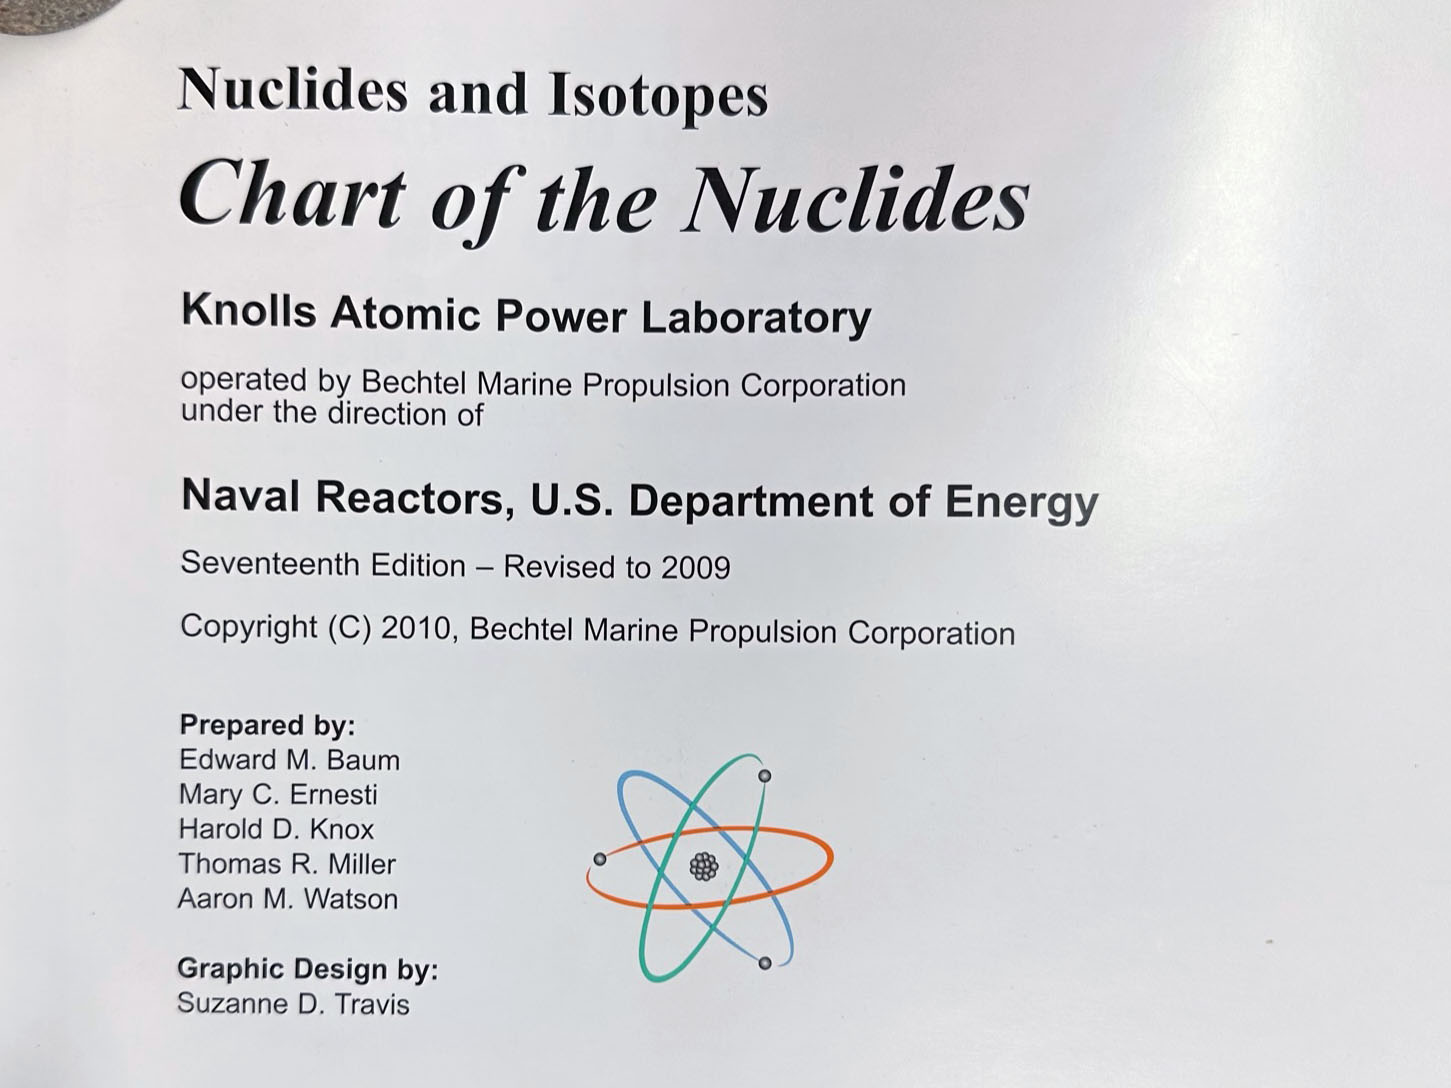 There are several versions of the charts in the tube. Use the newest ones (Seventeenth Edition - Revised to 2009) |
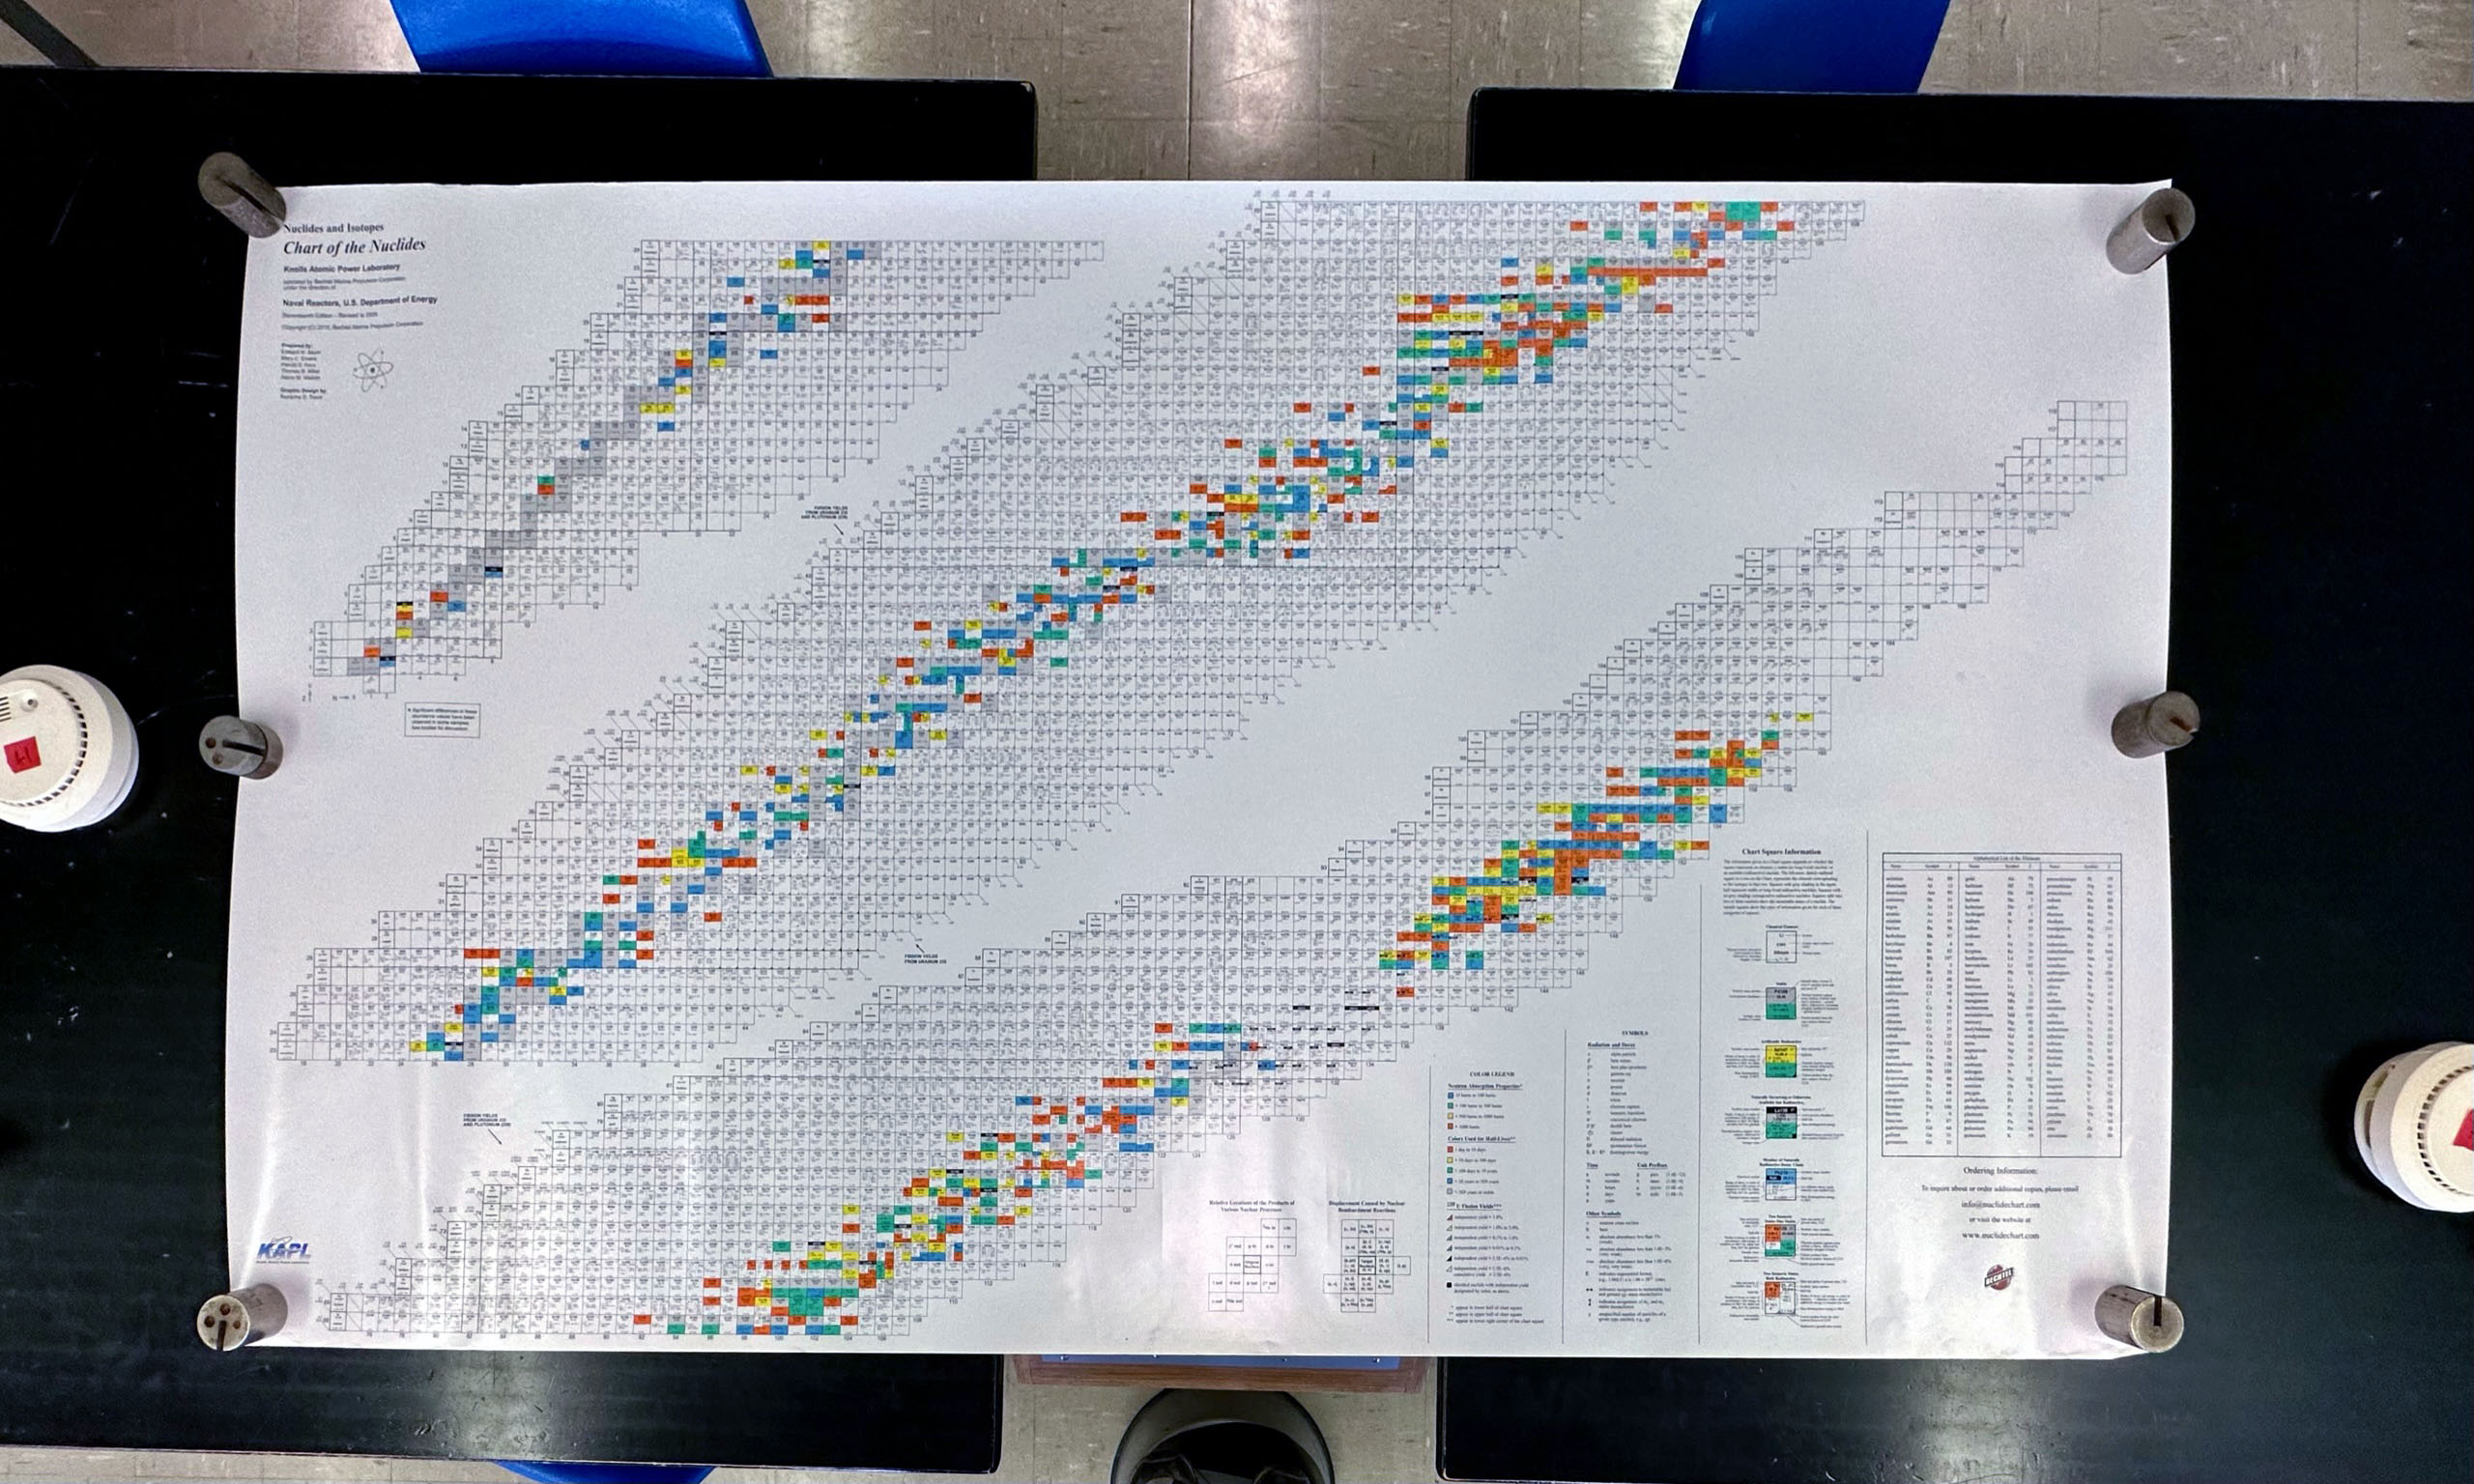 The charts are huge and nearly cover the entire bench |
| The
following demo is no longer used (old Geiger counters are too finicky); photos are left here for completeness: |
|
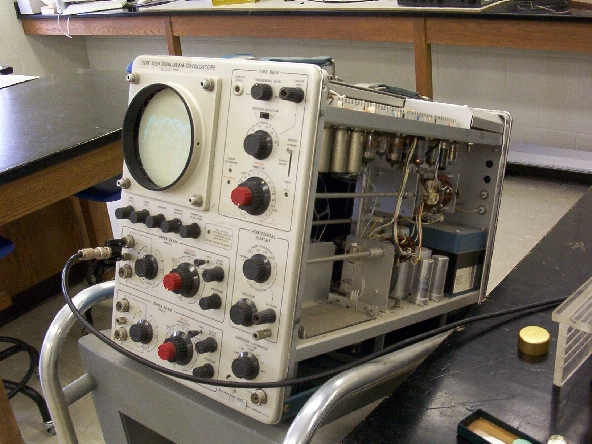
 The demo setup |
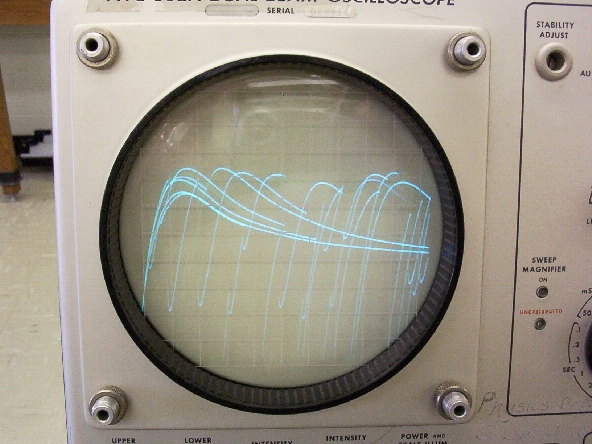 The scope trace |
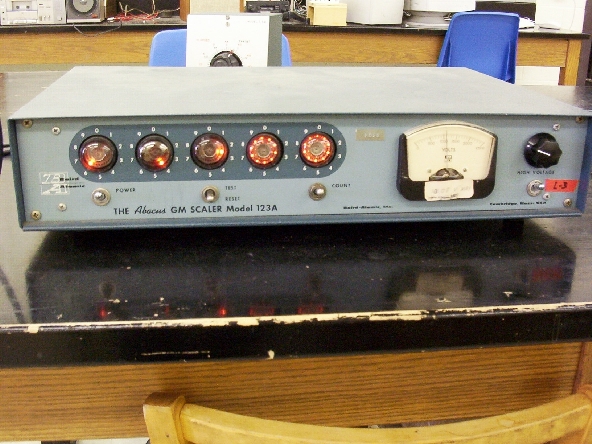 The Geiger counter in action |
 Connections on back of counter: Middle wire to Geiger Tube Bottom wire to Oscilloscope Gray wire to Timer Brown wire to 120V AC |
 See-thru oscilloscope |
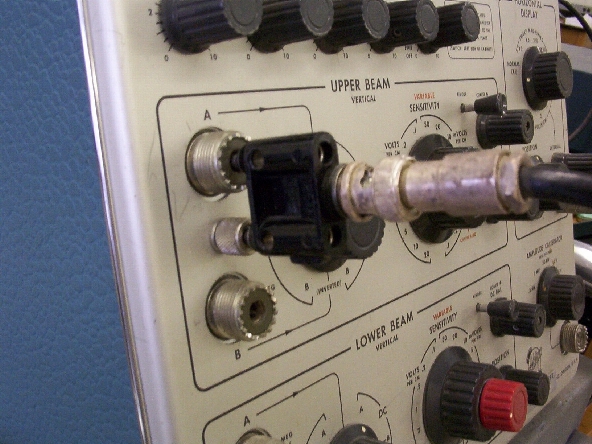 Connection from counter |
 Geiger tube with Radium source (in small oval containers: Watson has them!) |
 Geiger tube in stand over source |
 High voltage gets set to 1000 volts |
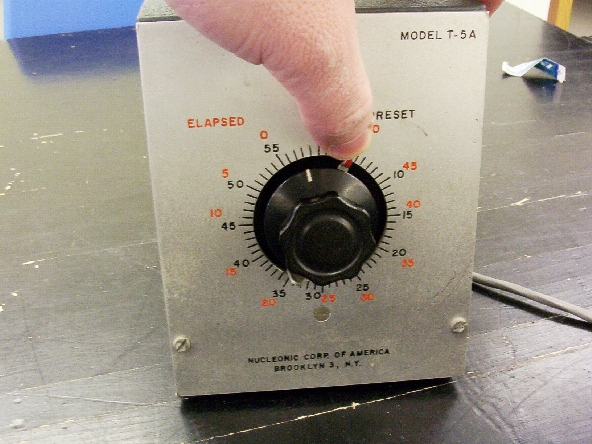 Turn timer on, or counter won't work! |
Return To Main Setup Instructions
|
|
||
| © | St. Lawrence University | Department of Physics |
| Revised: 16 Jul 25 | Canton, NY 13617 |