
Lab setup |

Tracks alternate in their tilt |

Same pattern repeats on right side |

Tracks on bench ends; plenty of room for students |
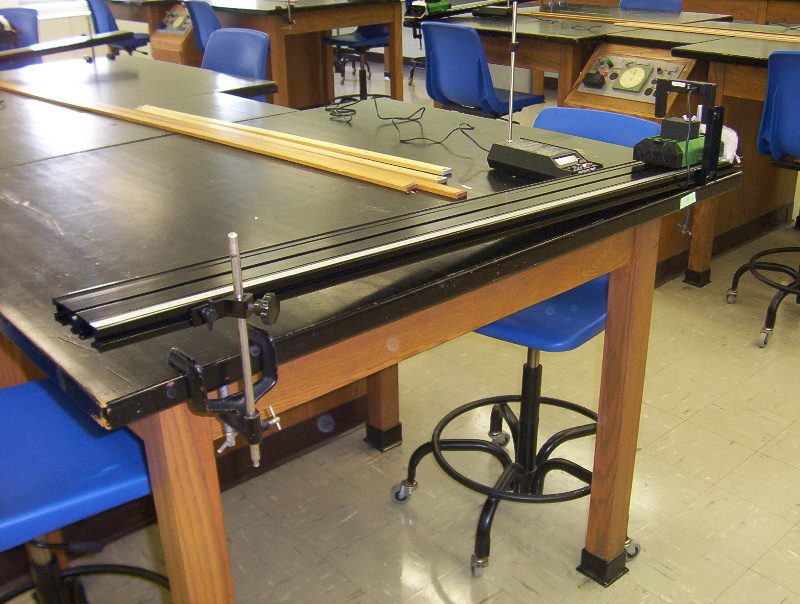
Setup: note that track ruler is on near edge
|

Back of track supported by small bench clamp
and short rod; note orientation of clamp! |

Calibrate bubble level app on iPhone on sink.
Make sure case switch hangs off edge of sink! |

The only reasonably level part of the lab sink
is near the left front edge! |
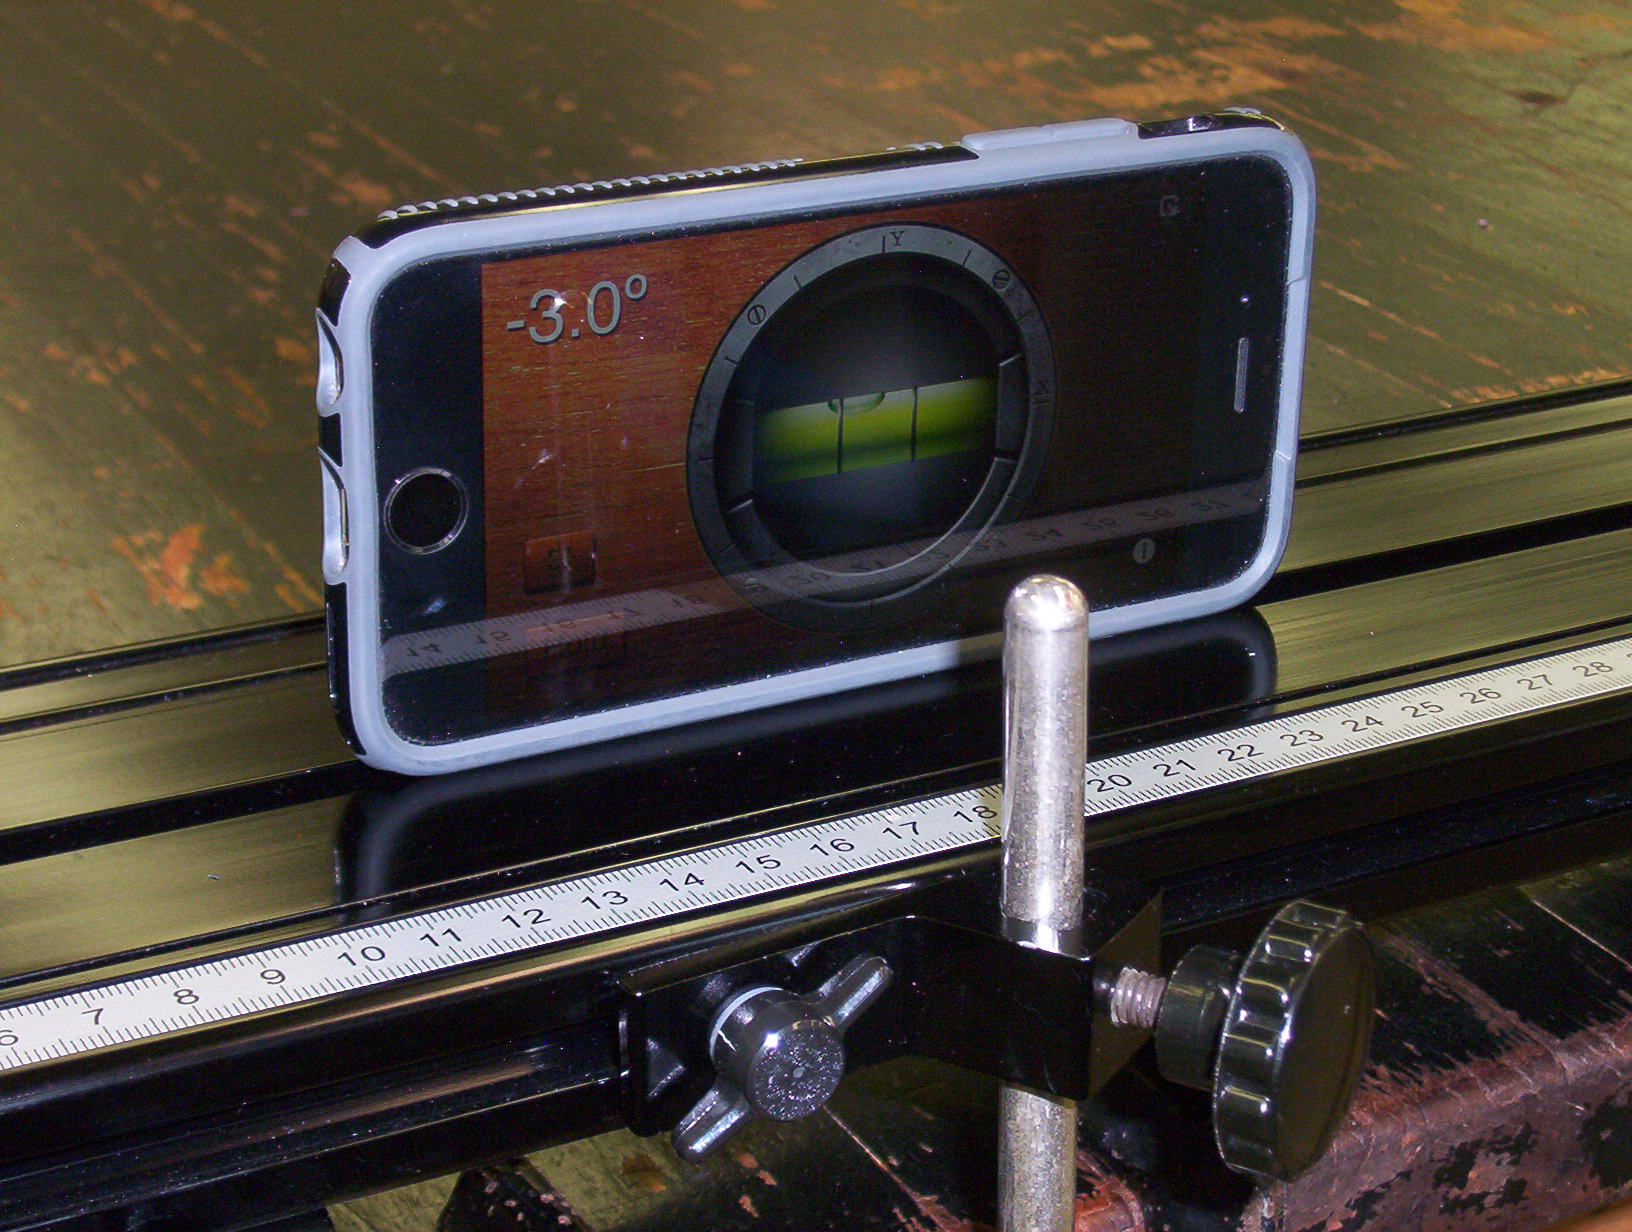
Note: this works better with iPhone lying on its back.
Adjust angle to 3.0°
|
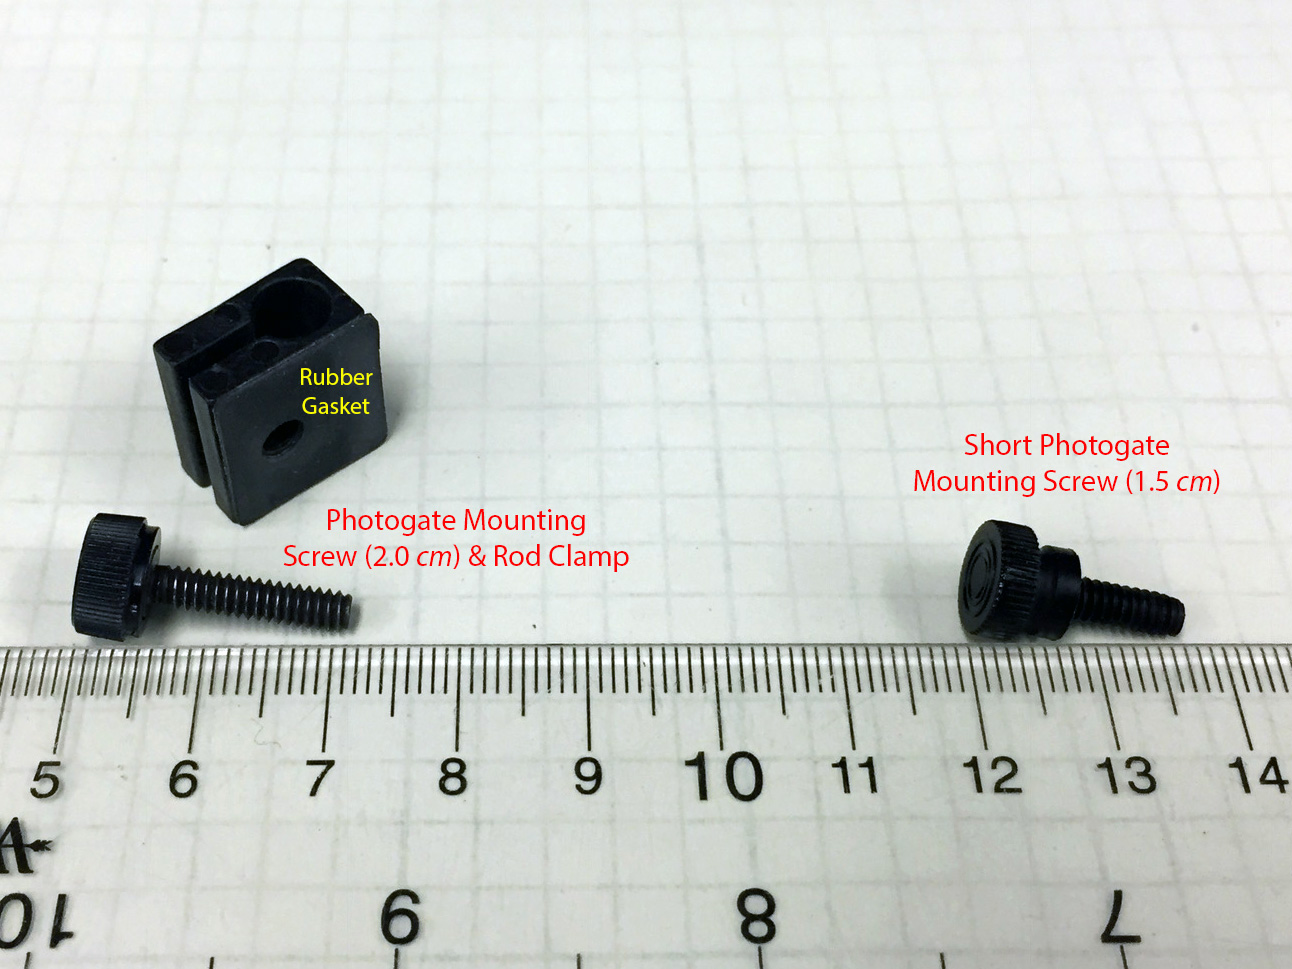
Remove the photogate head mounting screw (2.0 cm)
and use the short mounting screw (1.5 cm) to attach
the photogate head to the bracket |
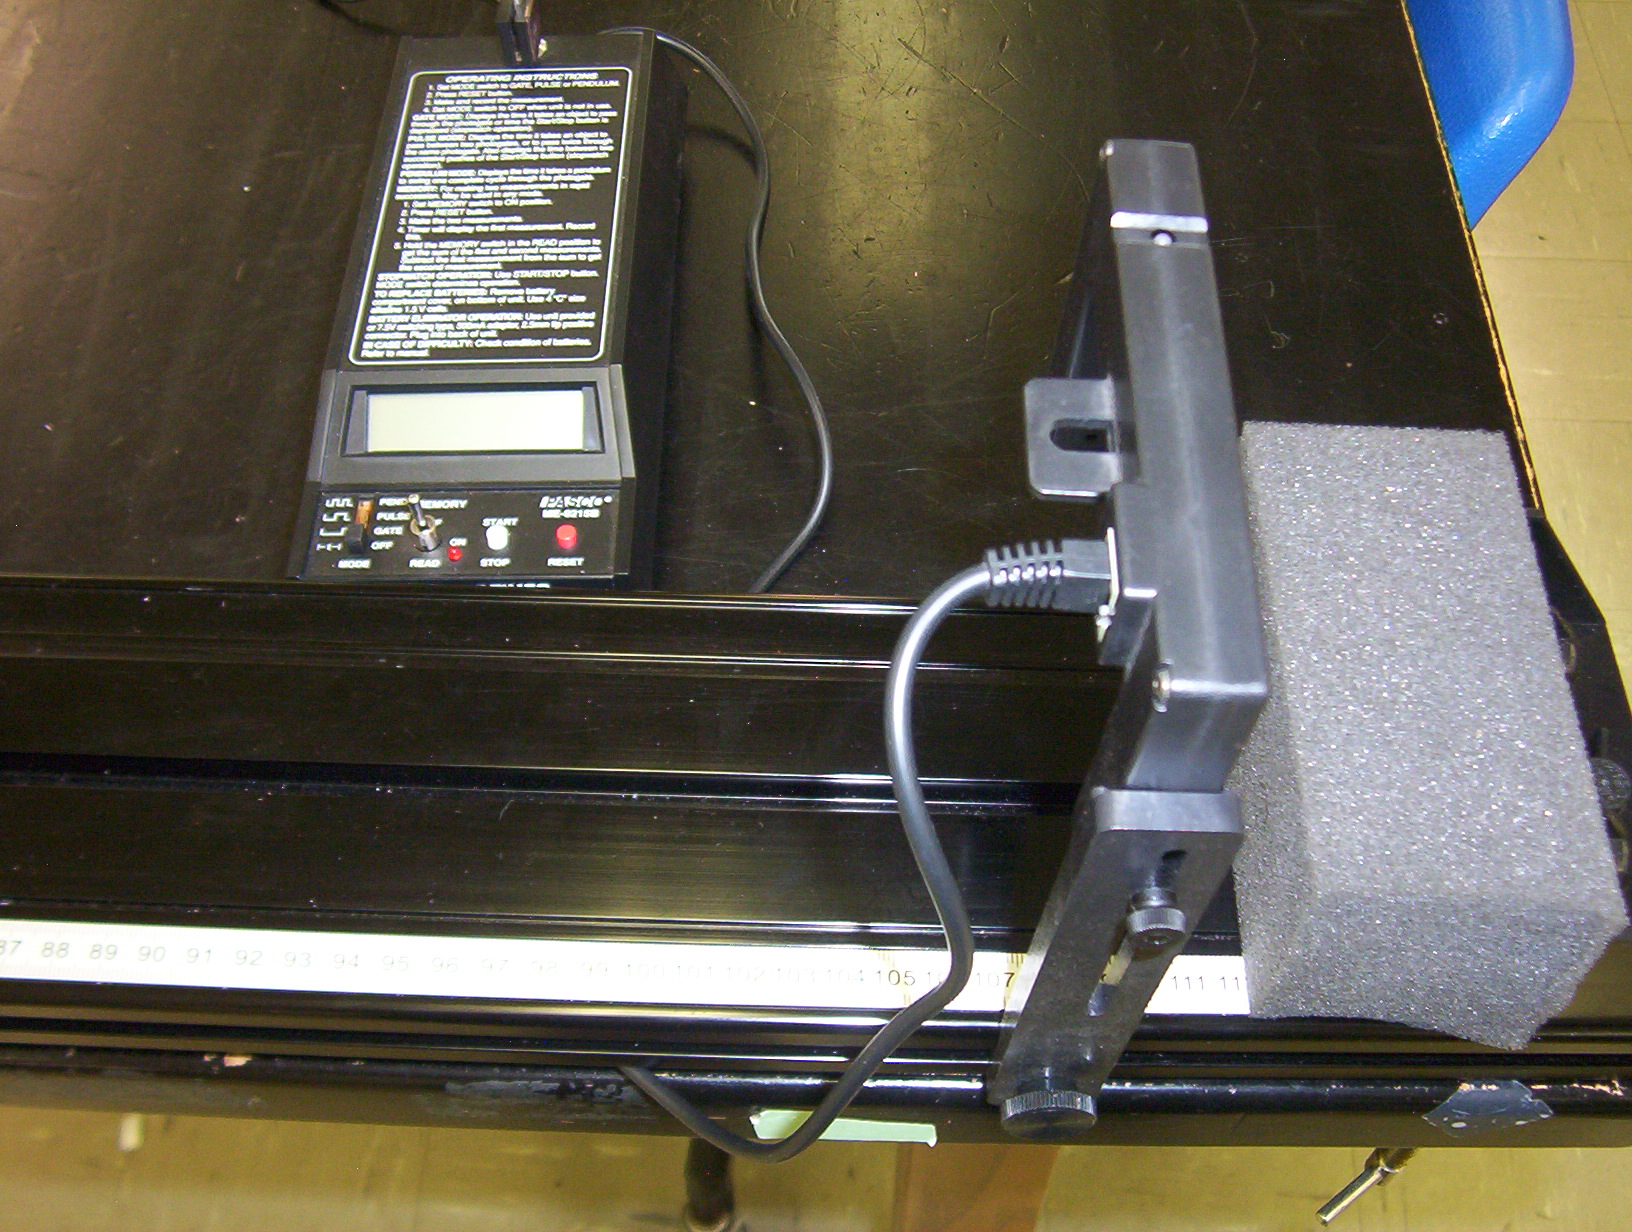
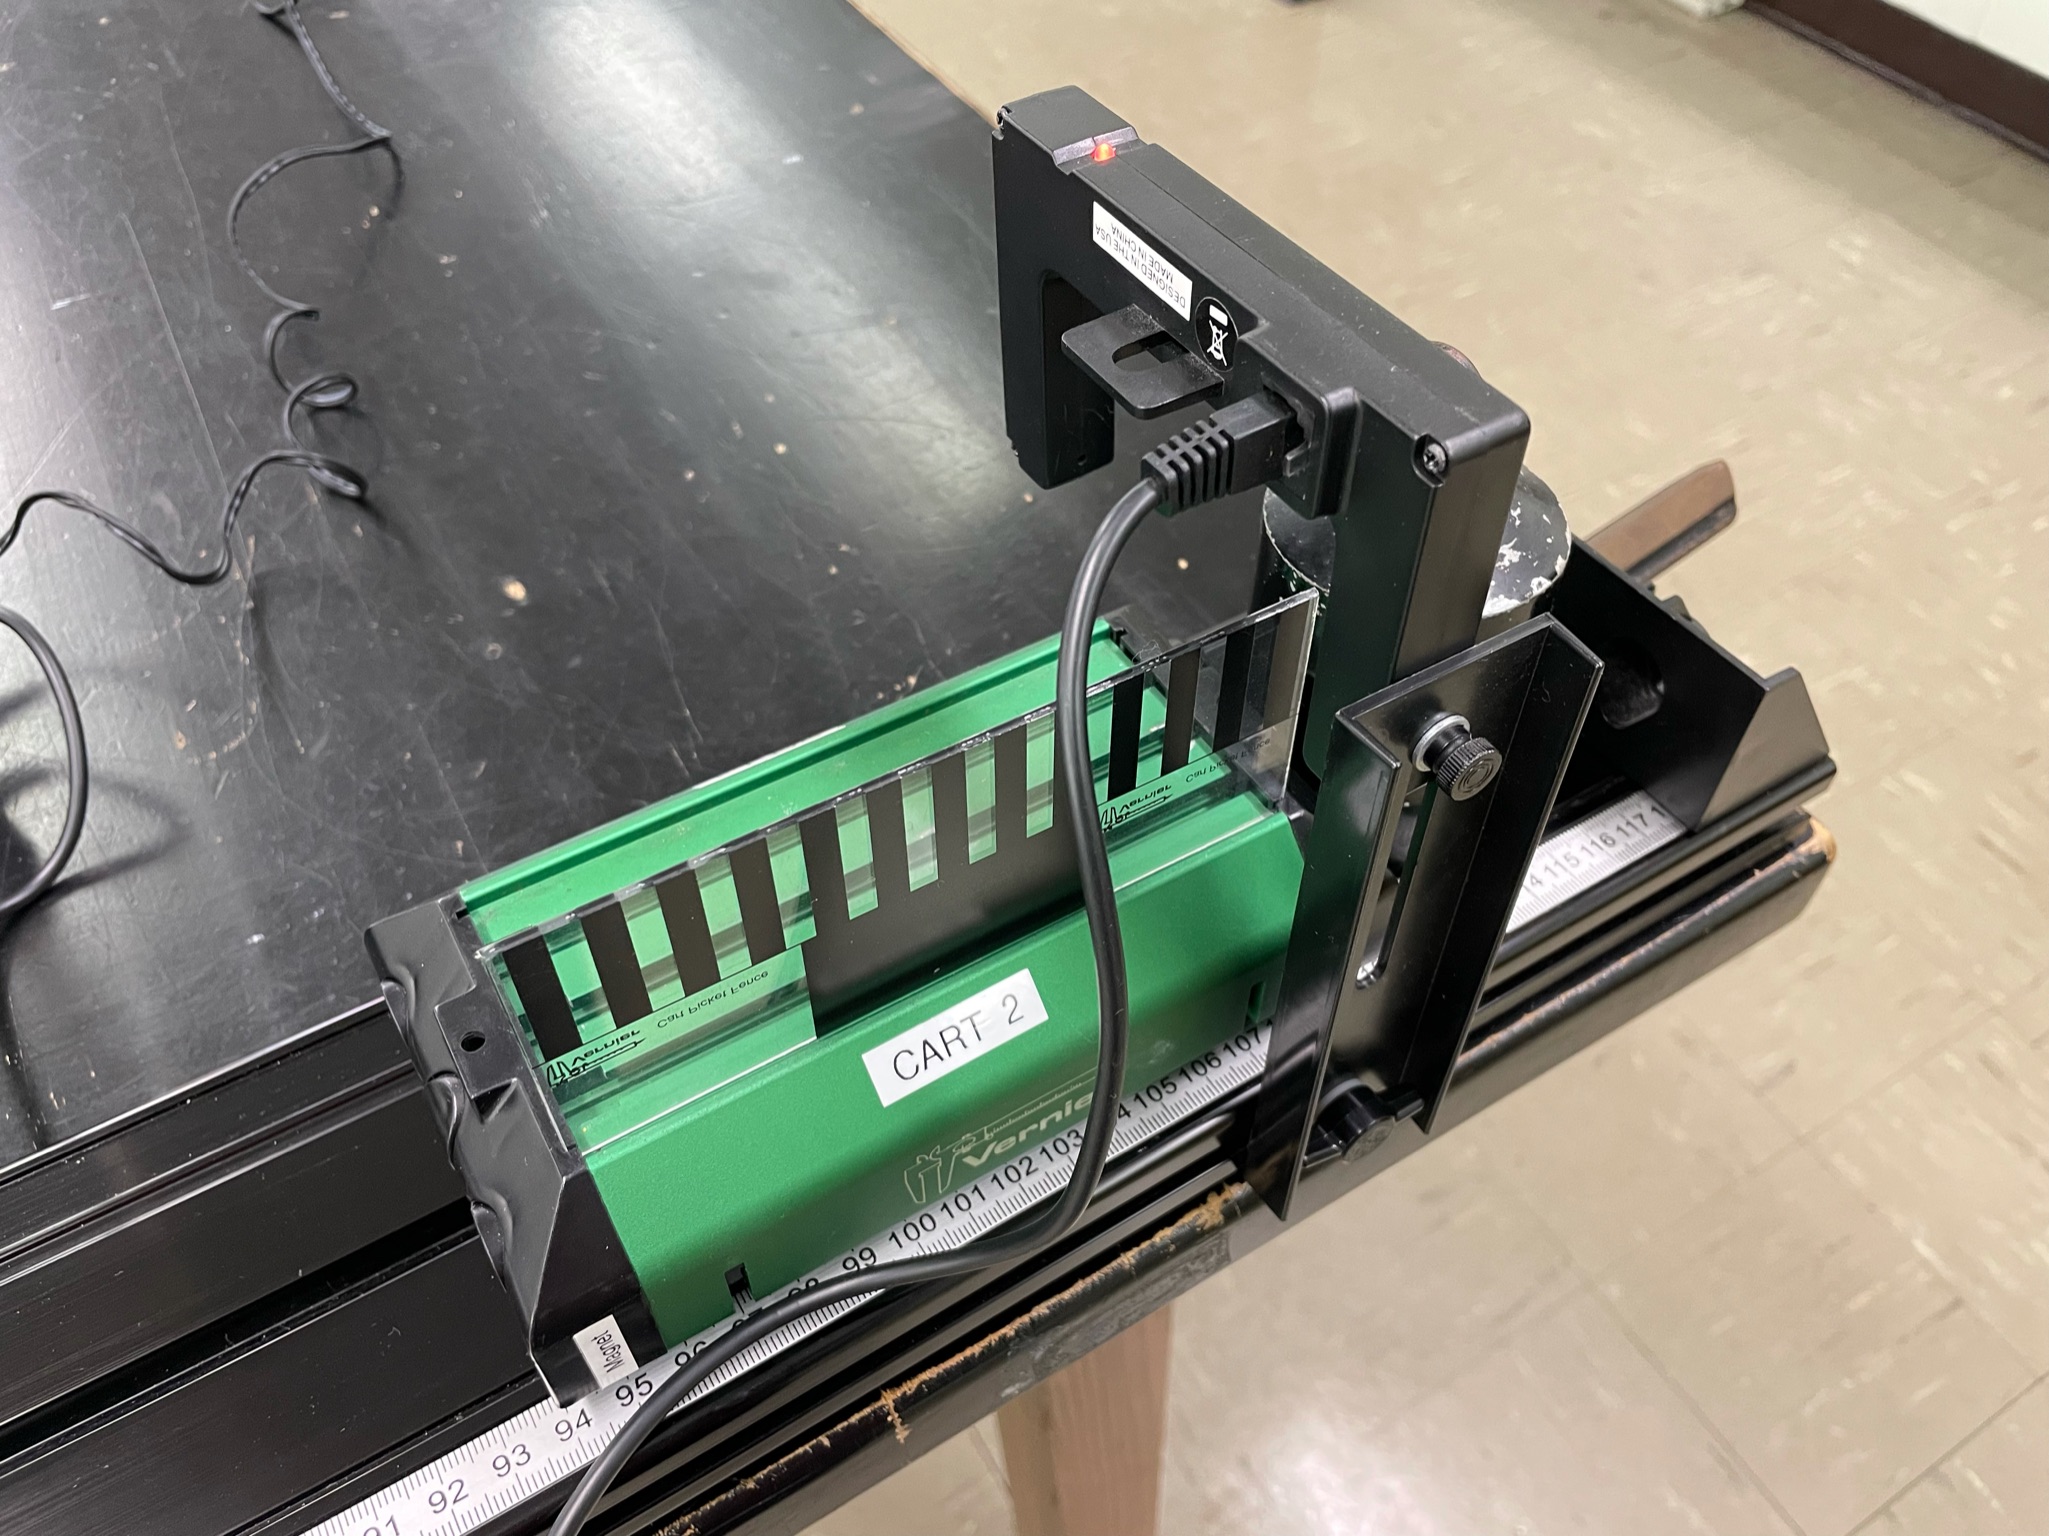
Pasco photogate is removed from timer and
placed on photogate bracket with short
photogate screw. Note that cable
connecting photogate to timer runs under the track. |
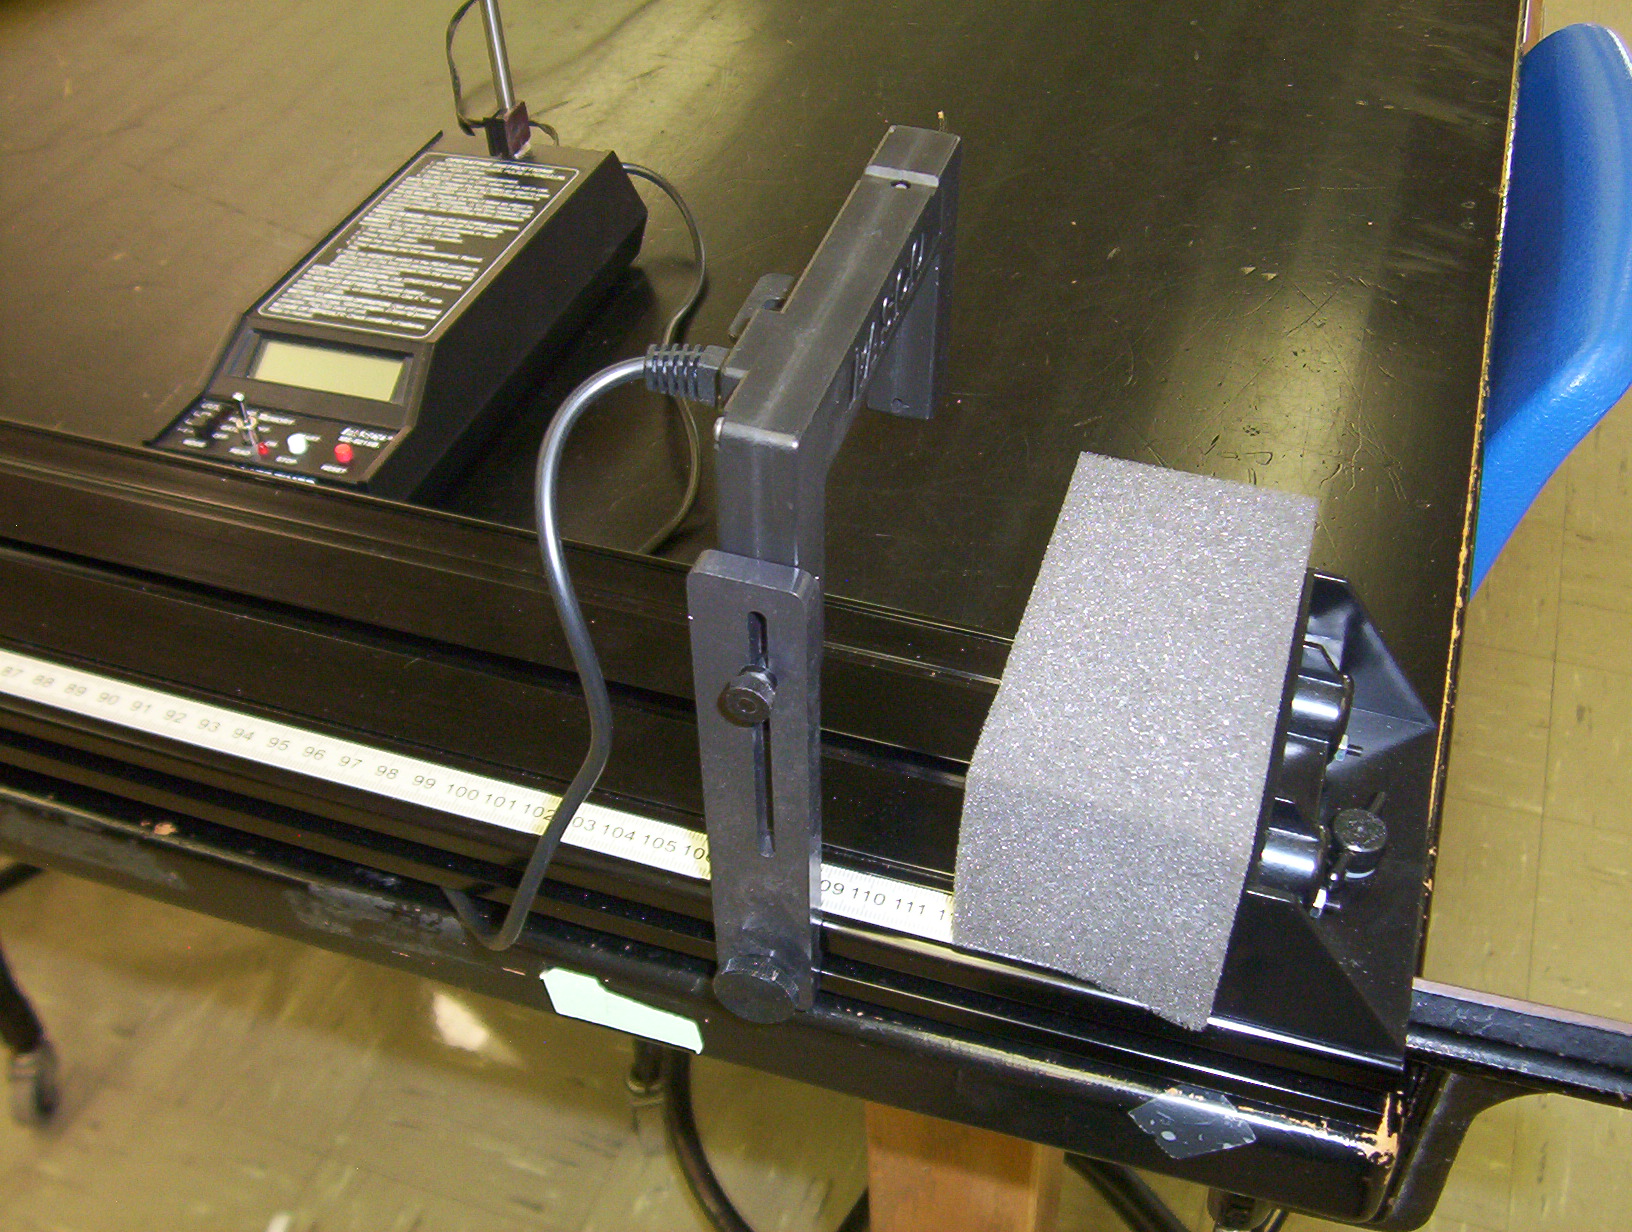
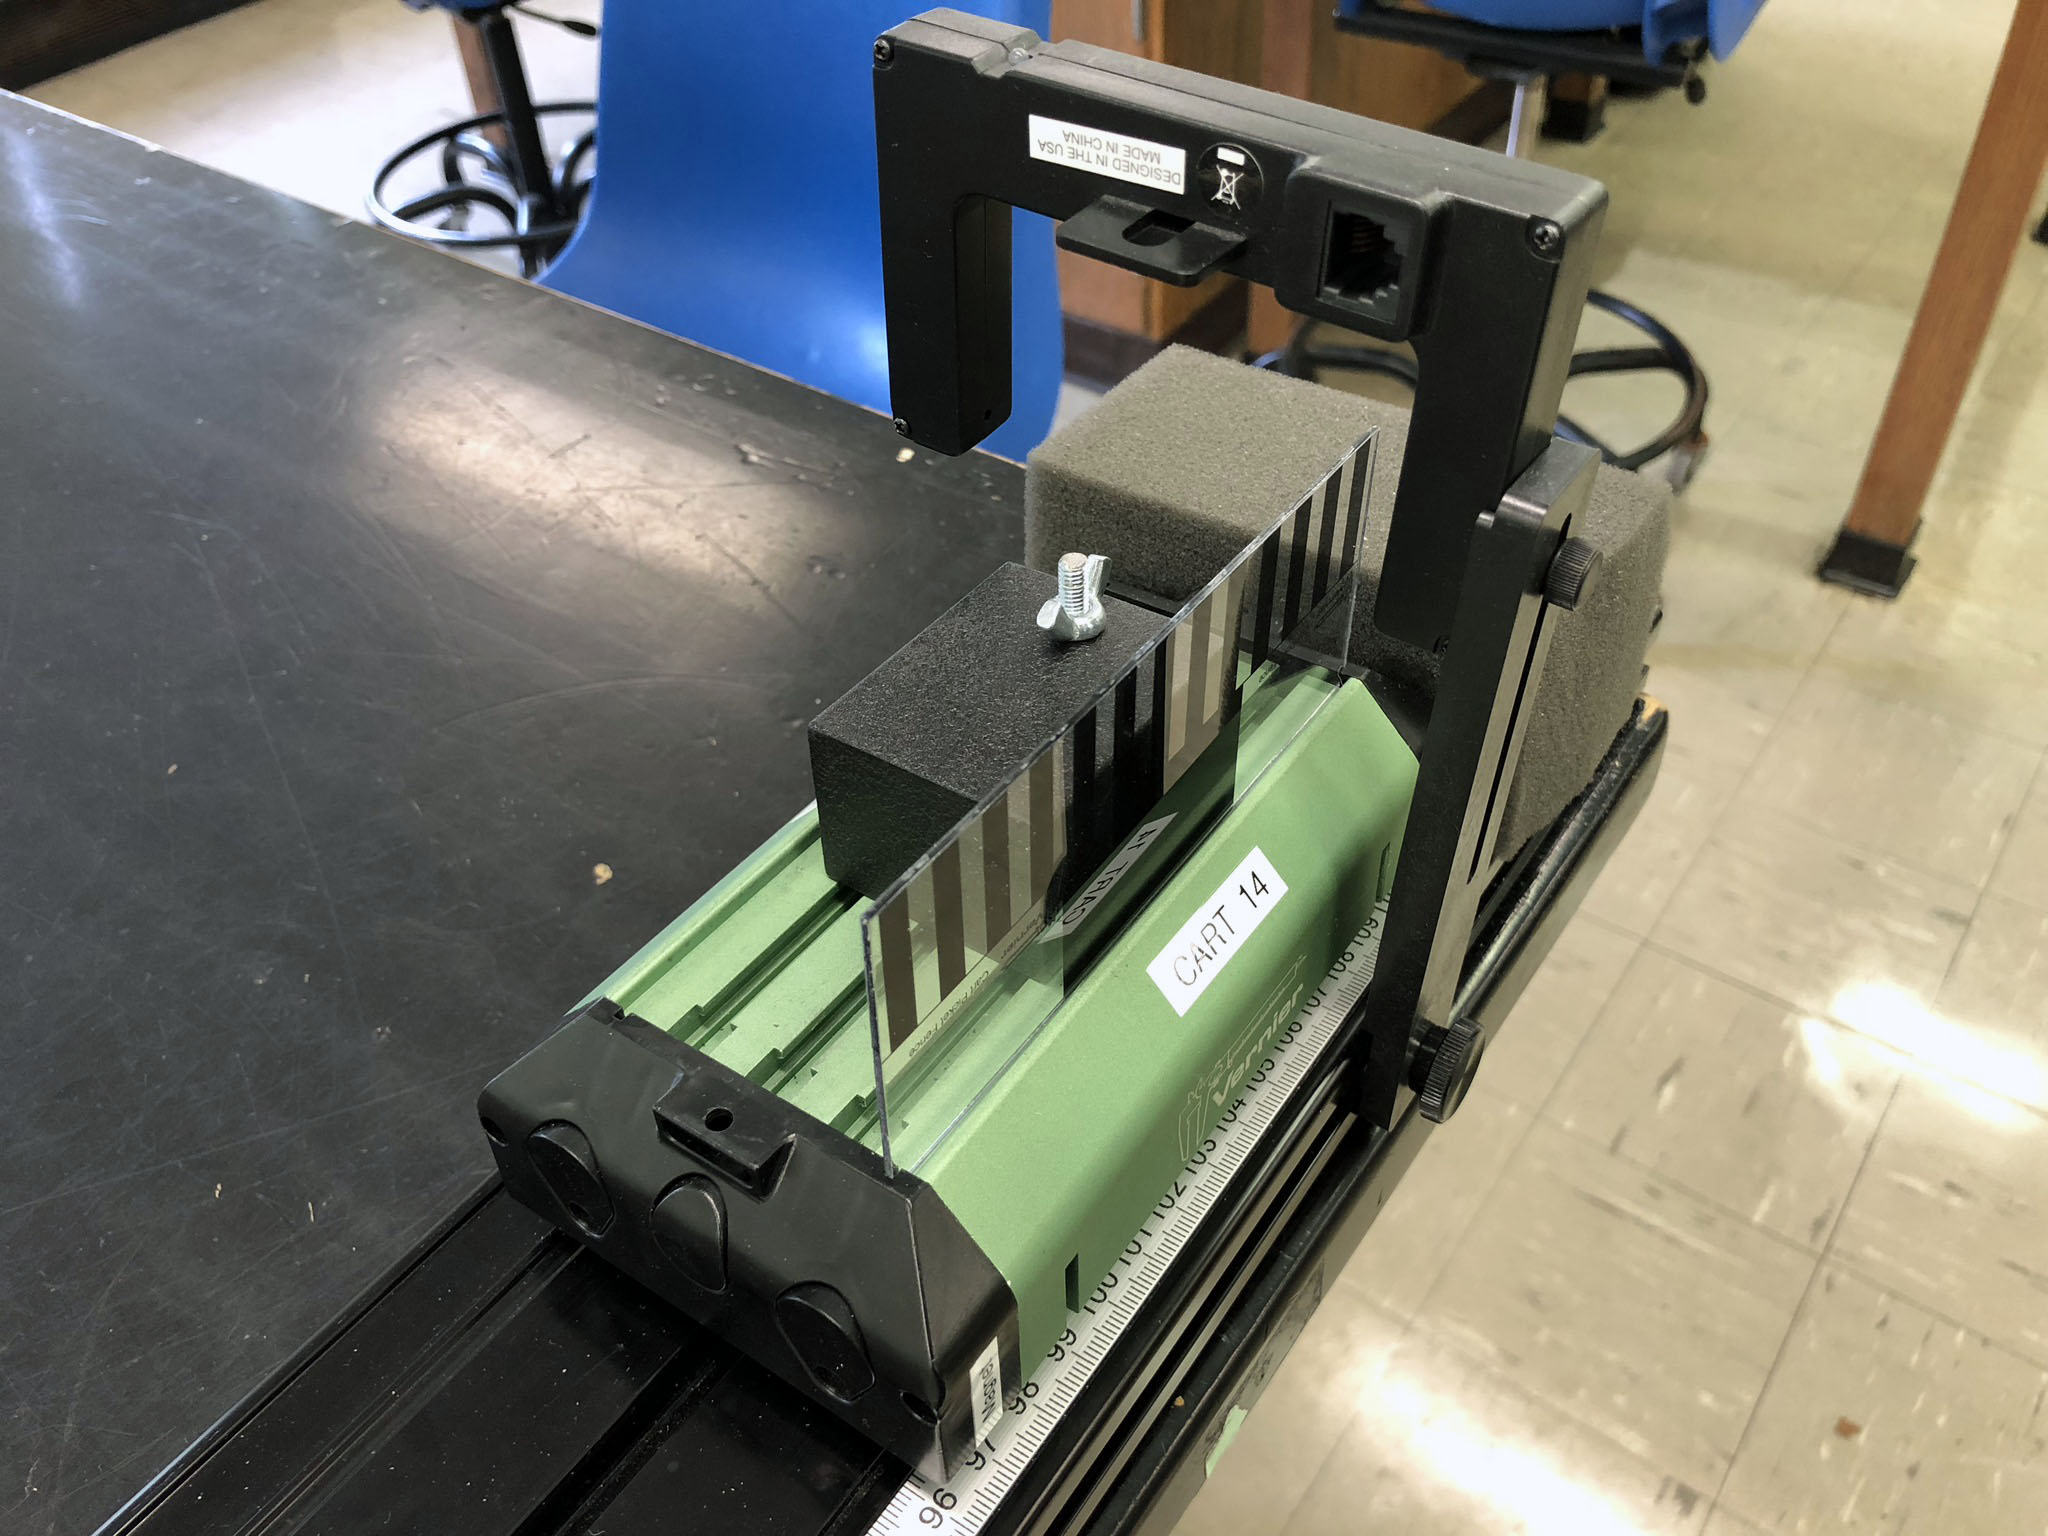
Photogate and end bumper.
Note foam chunk for padding |

Photogates are set so they are tripped when front of cart is at 110 cm mark; use a mass to hold cart in position while making the adjustment |

Set the front of the cart at 110 cm, move
photogate until it's tripped |

Foam chunk keeps the carts from damaging the bumper,
reduces noise and keeps carts on track |
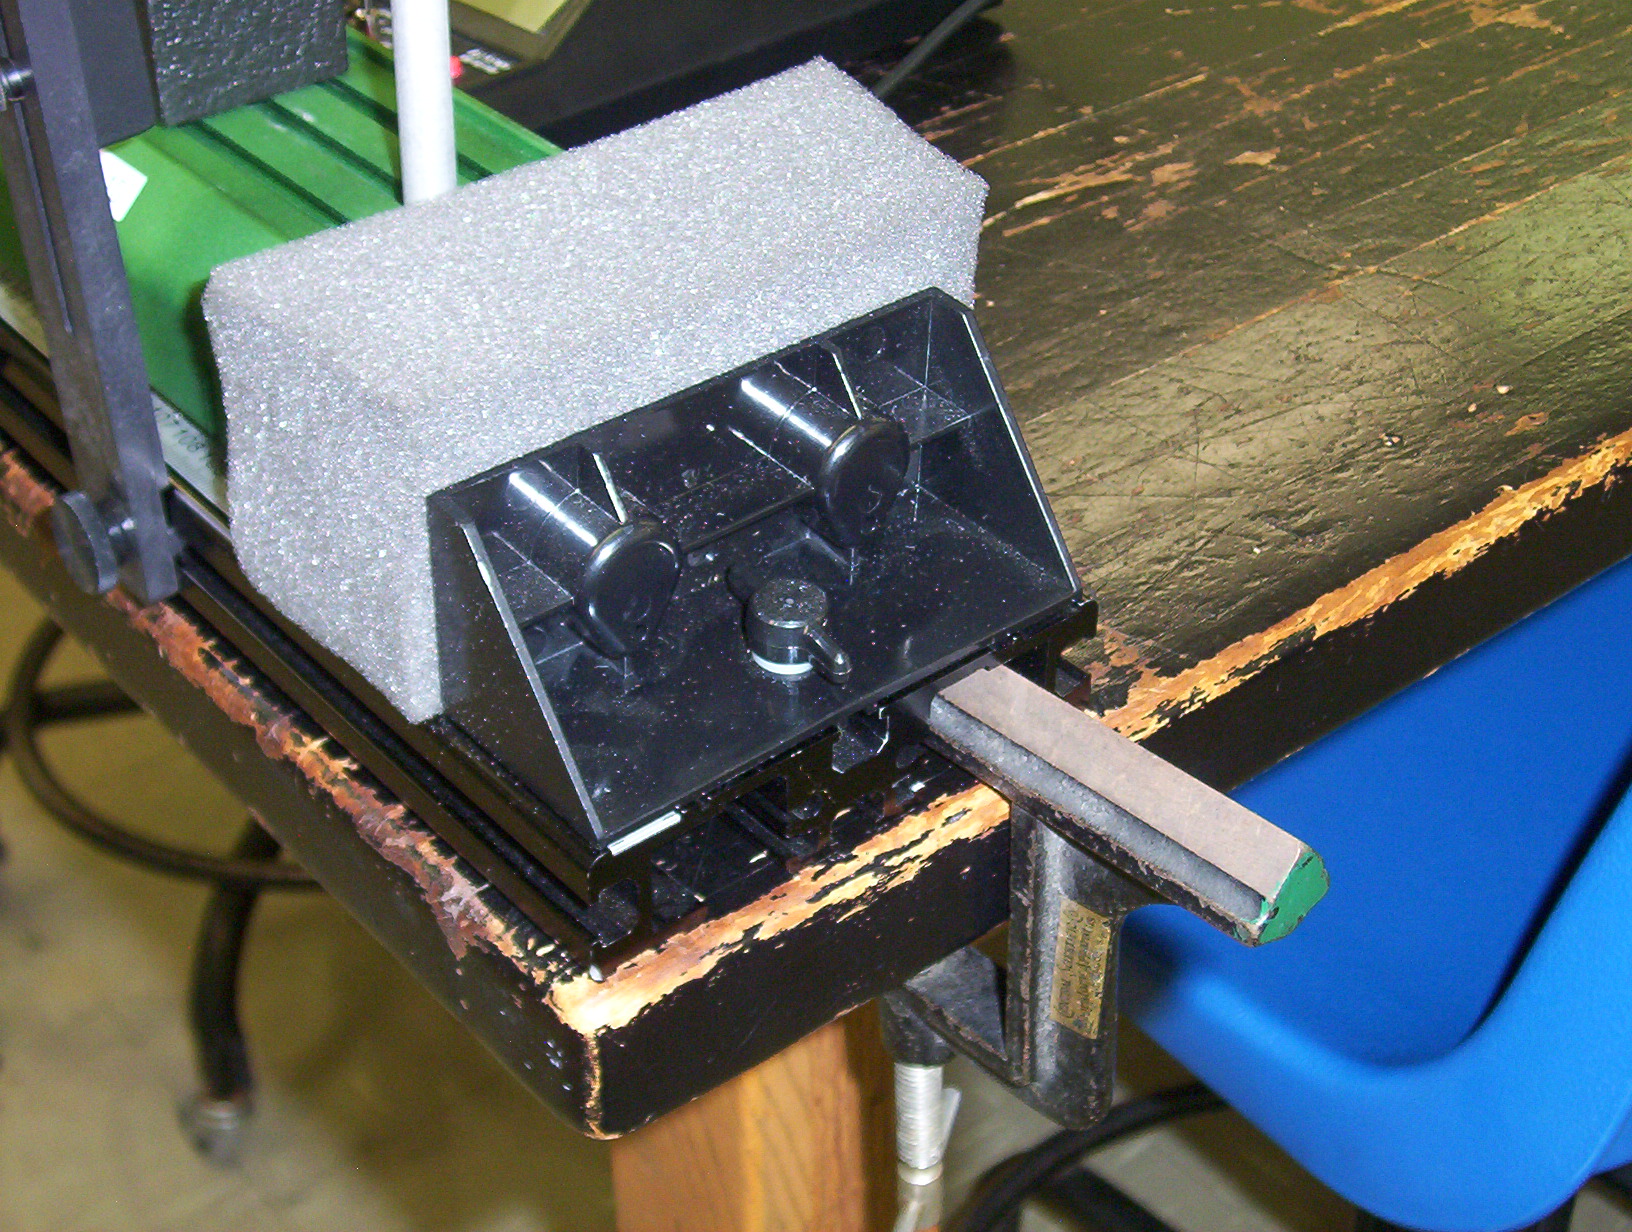
Use a knife-edge clamp to hold the end of the
track in place. Tighten after height adjusment made |

Carts with Vernier picket fence 'flag'' attached. Carts on tracks
B, D, F & H will have a 500-g mass attached (right).
The other tracks have carts with no additional mass |
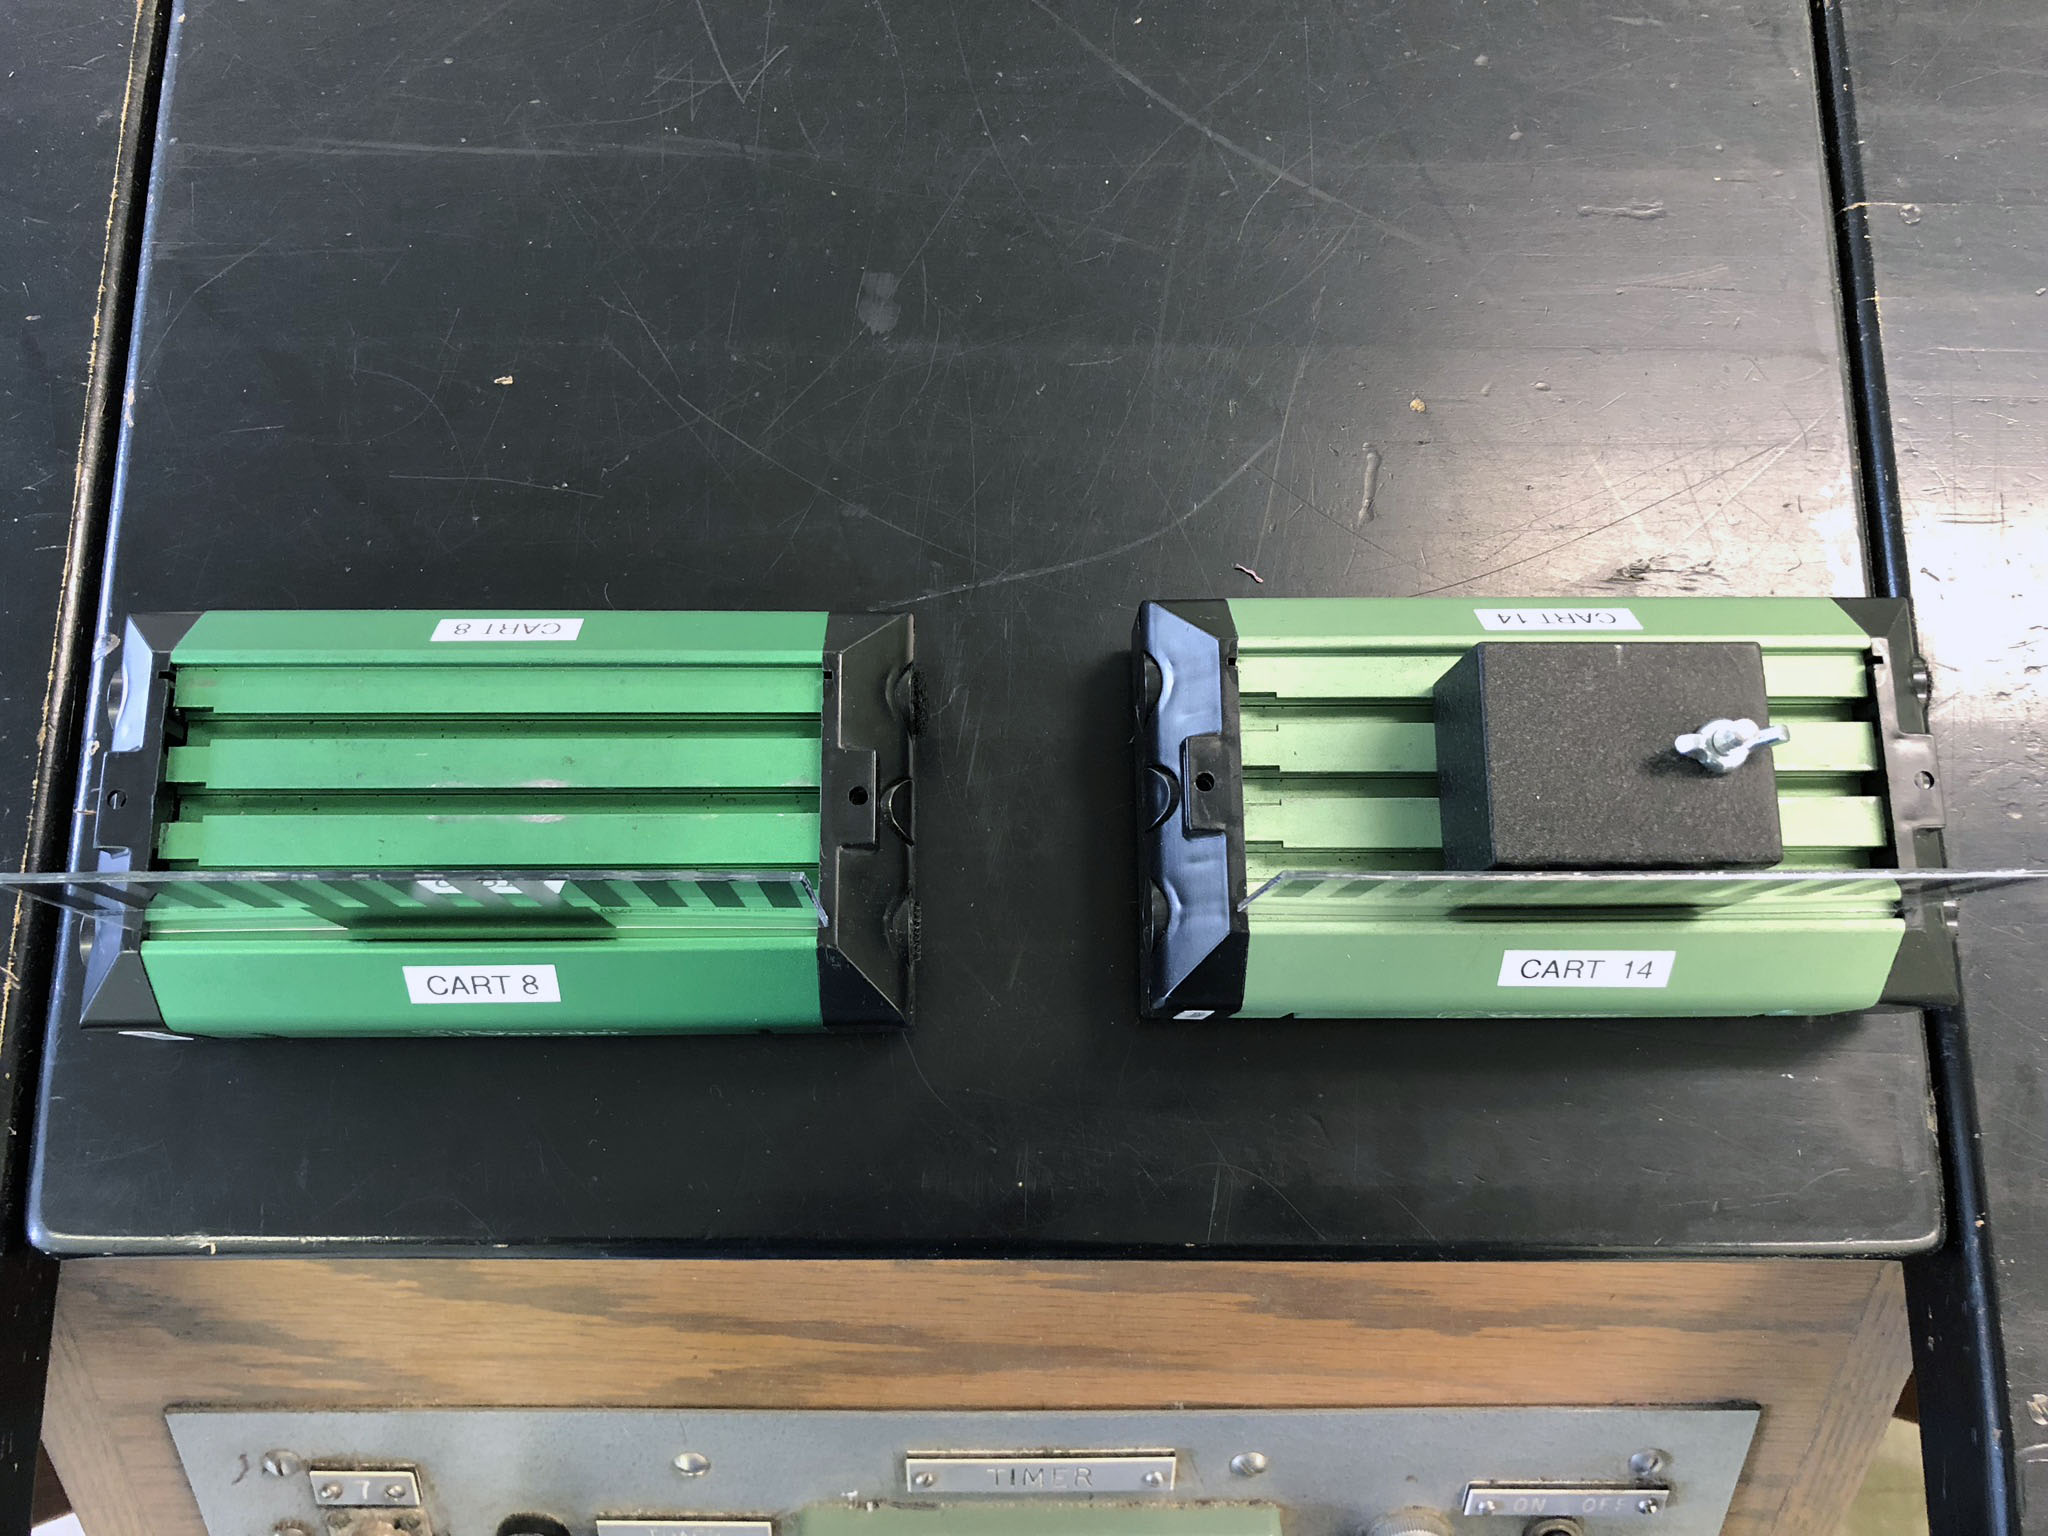
Carts with picket fence 'flag'. Note that flag is installed along one edge of the cart. The rectangular, 500-g mass is attached using the center groove, parallel to the axis of the cart |
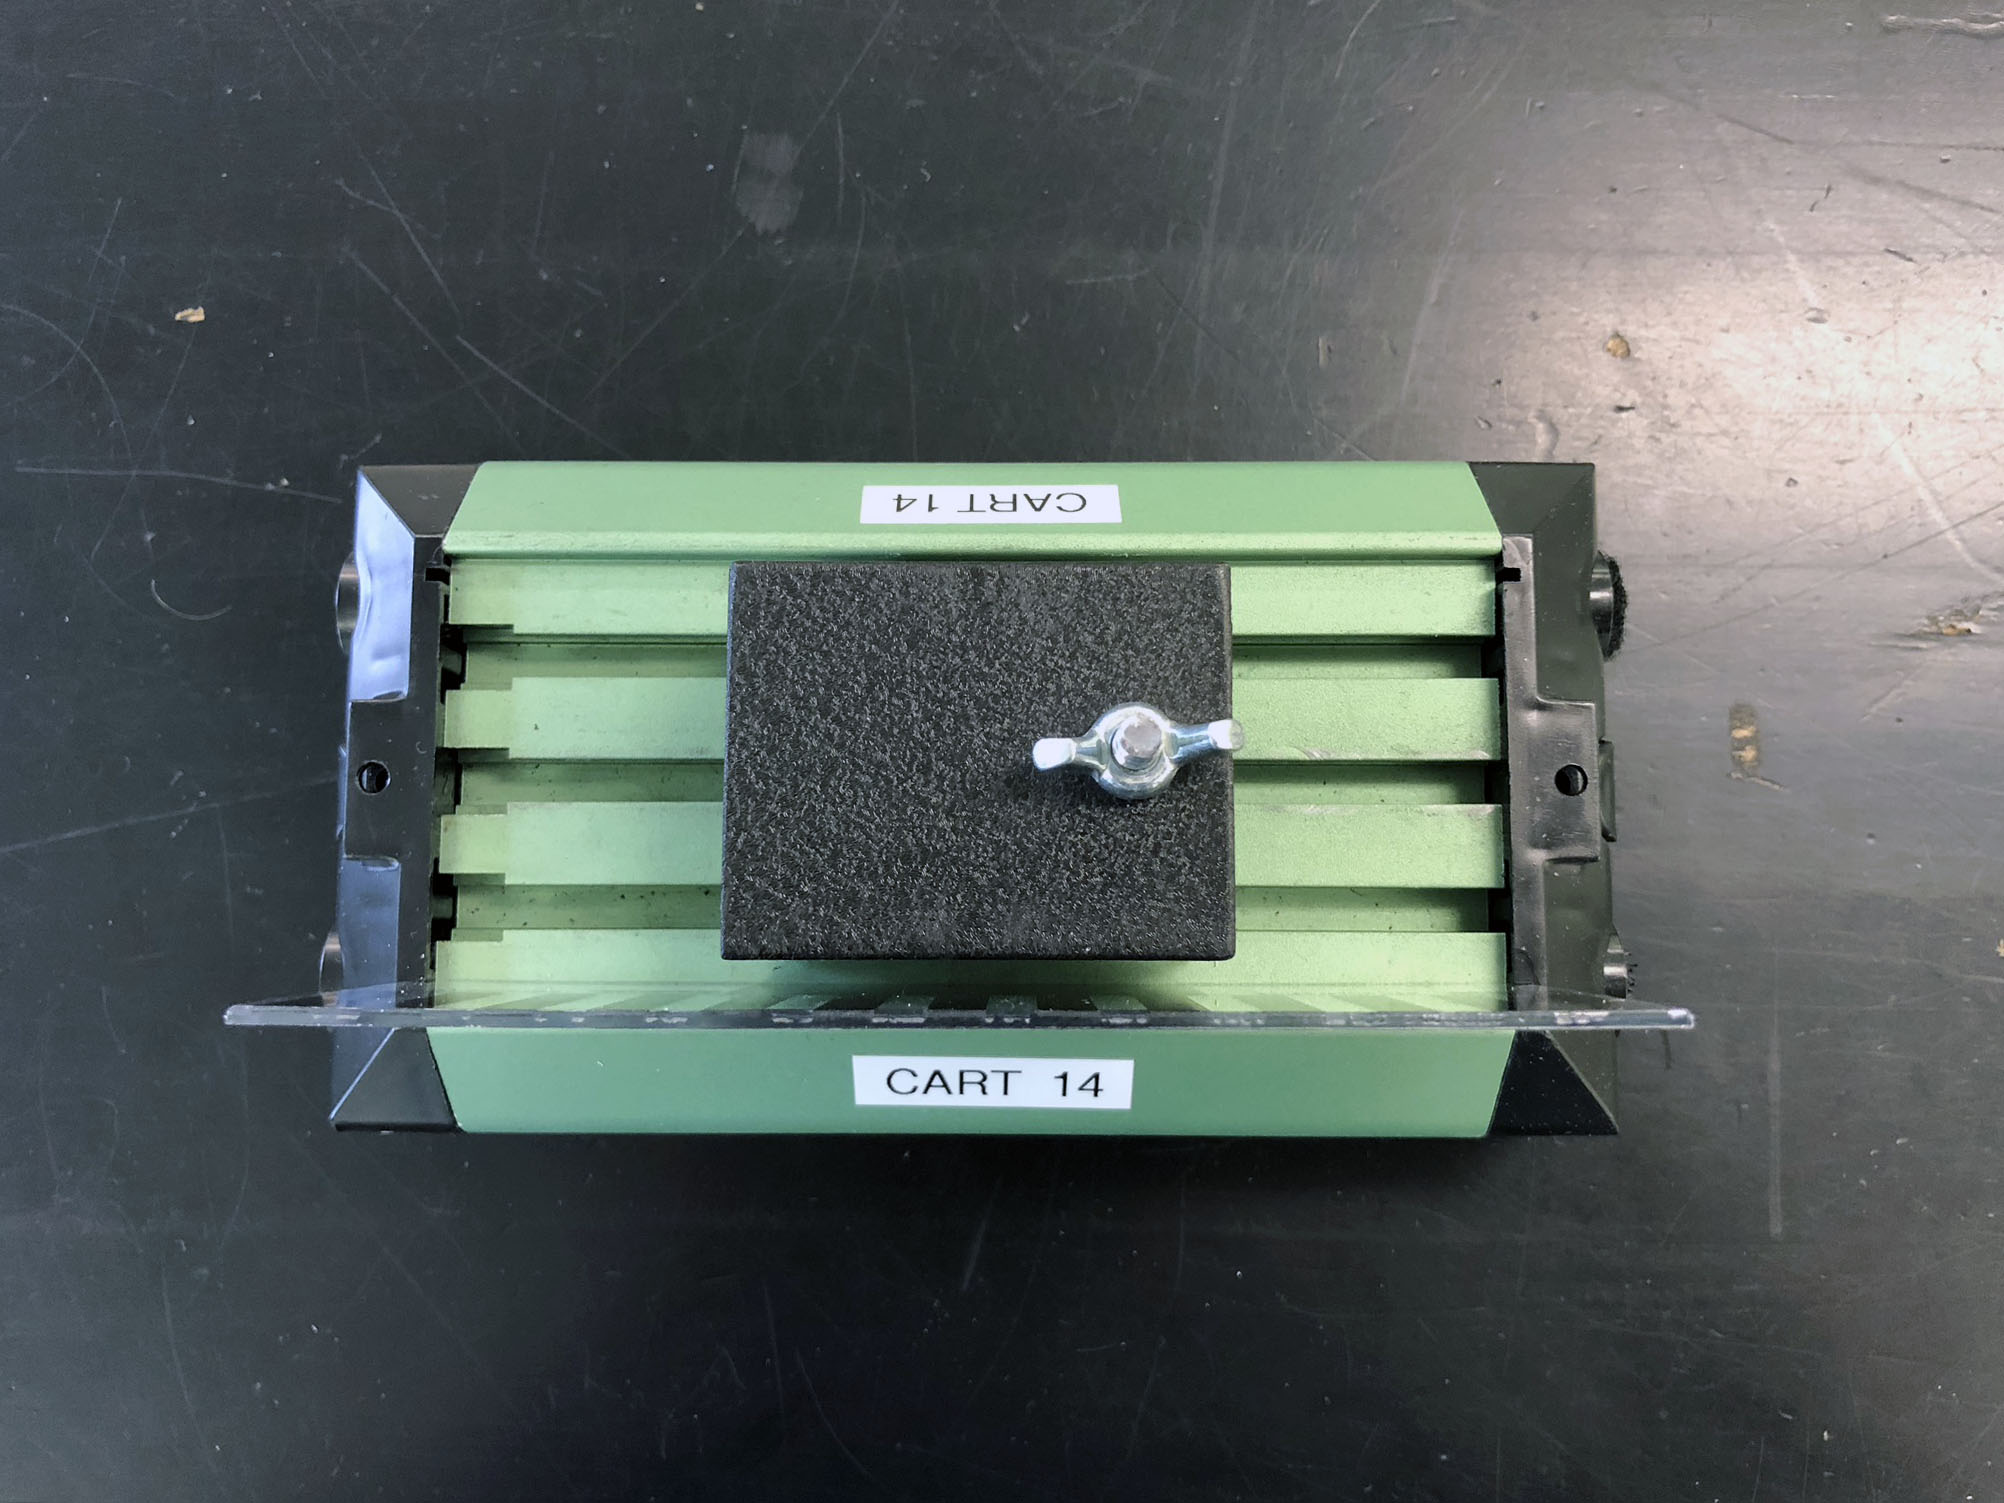
Attach rectangular, 500-g mass near the center of the cart. The bolt will go into the center groove, and the flag on the 'near' edge (with 'magnet' label on left) |
The flag should be on side of the cart that is closest to the wire connection (wire removed in photo). The magnet should be at the back of the cart |
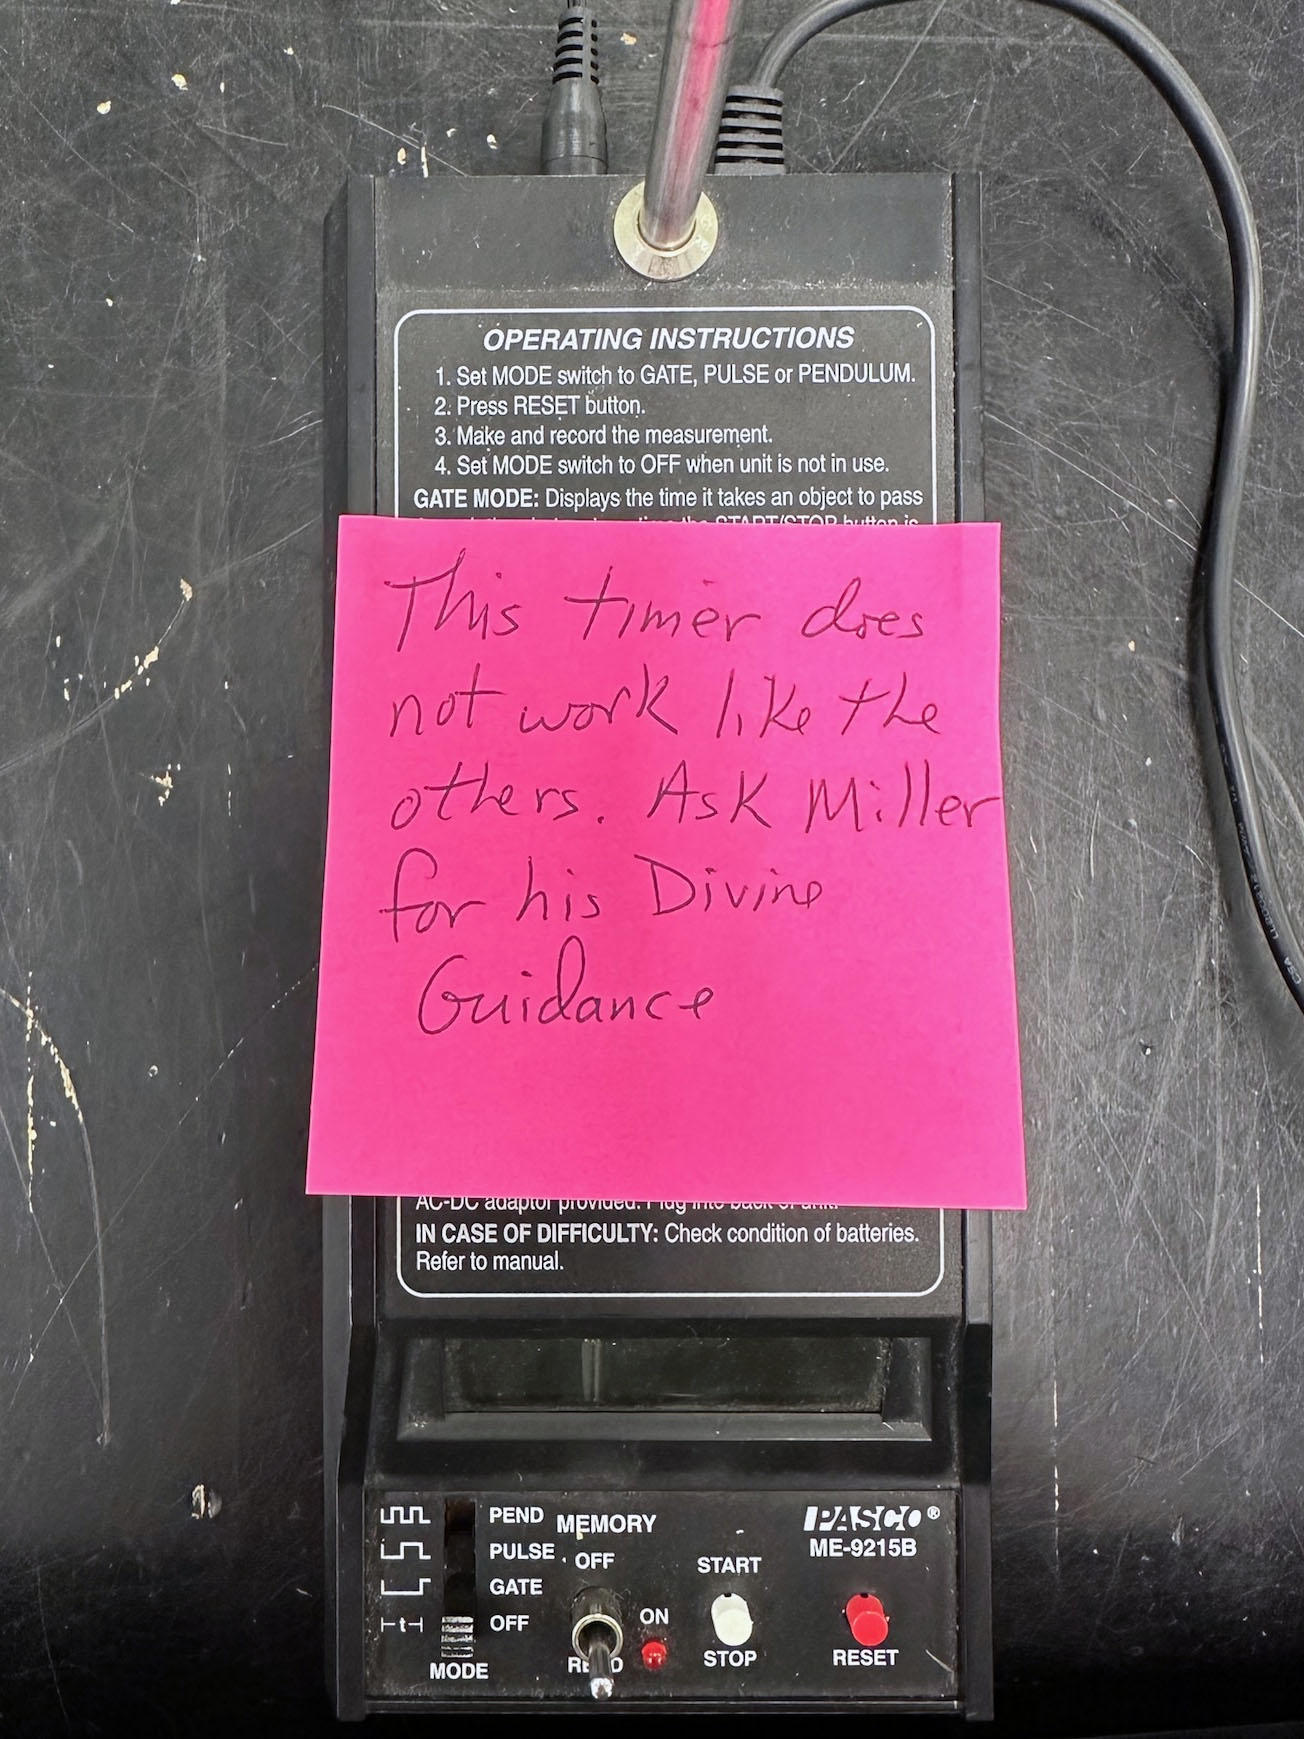
In general, 3rd generation Pasco photogates are used. Only seven of this model remain,
so if we need eight tracks use a newer generation timer on Track D.
Jeff will place an appropriately snarky sticky note on this timer. |