
Room setup
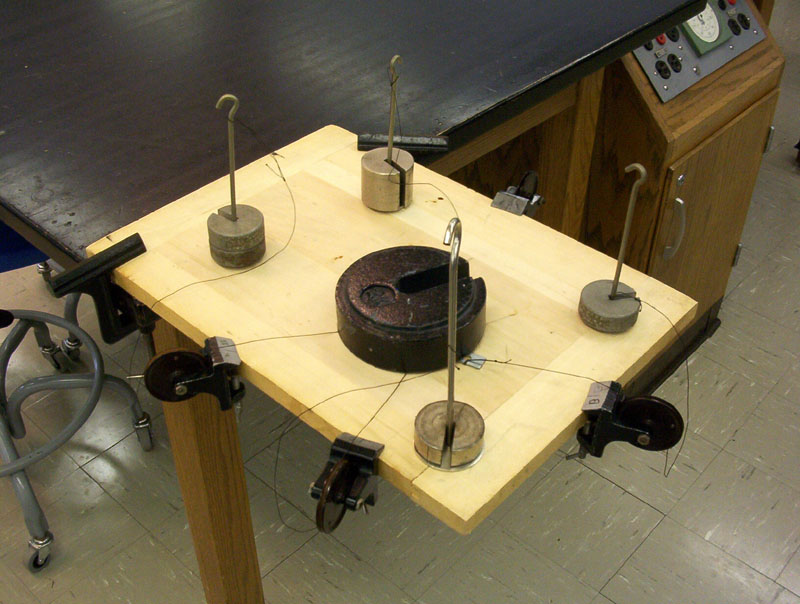
After assembly, place all masses
on board for storage
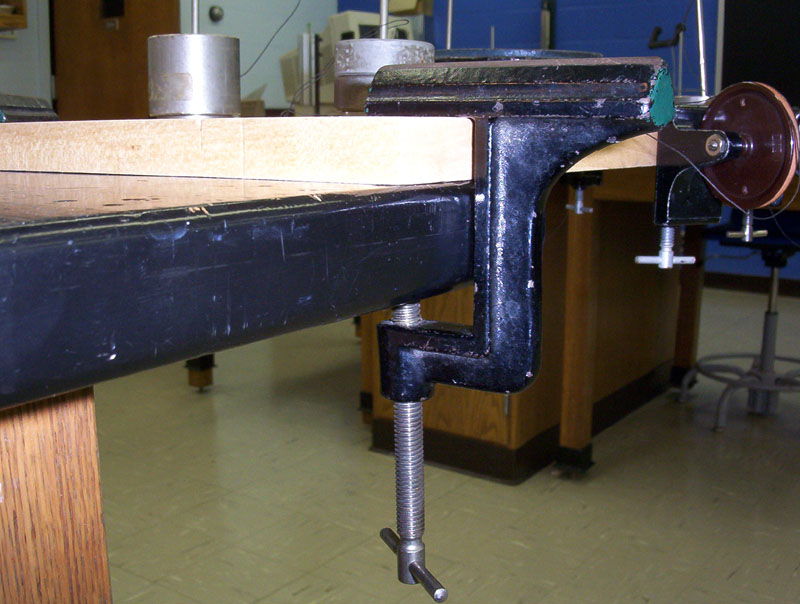
Knife-edge clamp attachement

Angle clamp to grip board and table
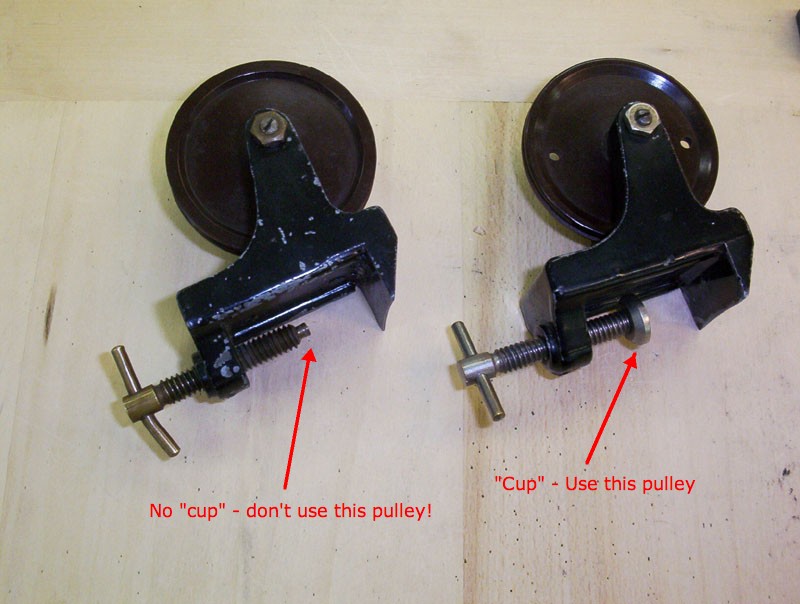
Only use pulleys that have "cup" at end of
screw, as shown on the right. Don't use
pulleys without the "cup" (left)
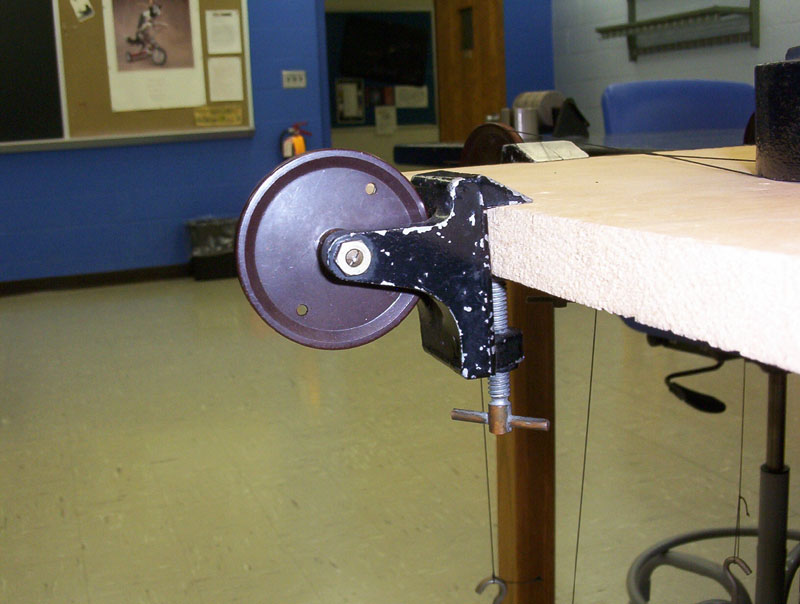
Pulley attached to board
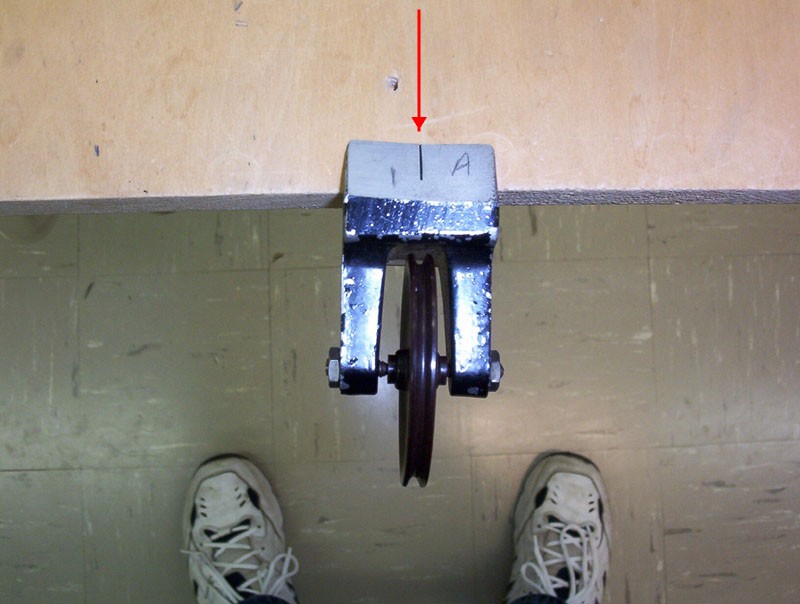
Notch on pulley clamp used to align string

String will pass directly over clamp mark
(viewed from side)

Align pulley so string is directly over mark,
as seen from above
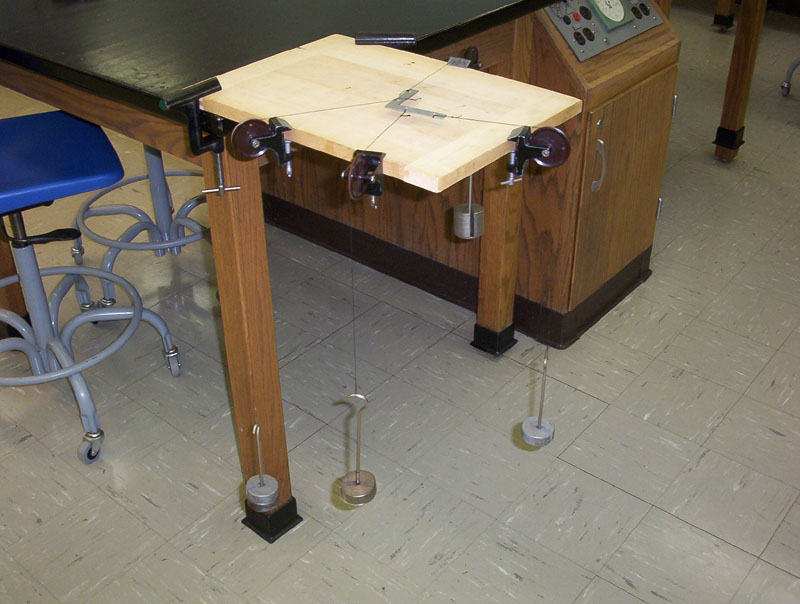
Complete setup
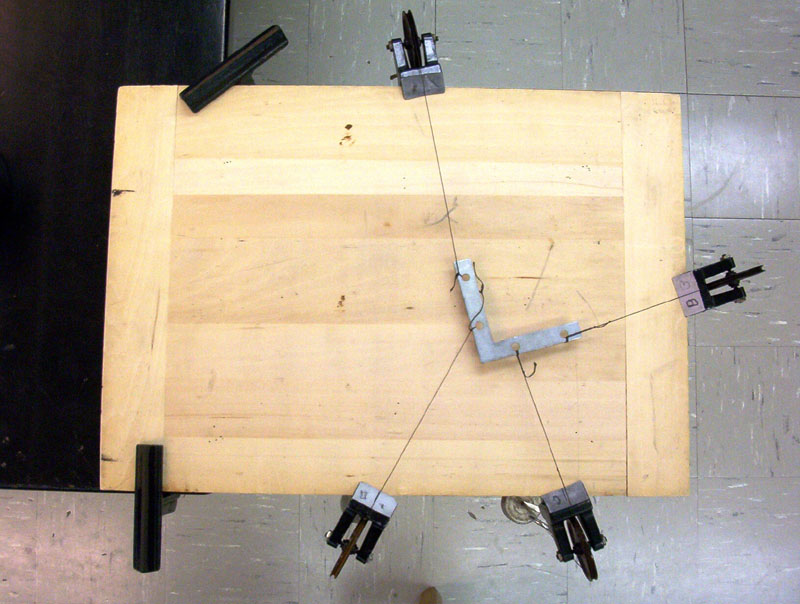
Setup, viewed from above
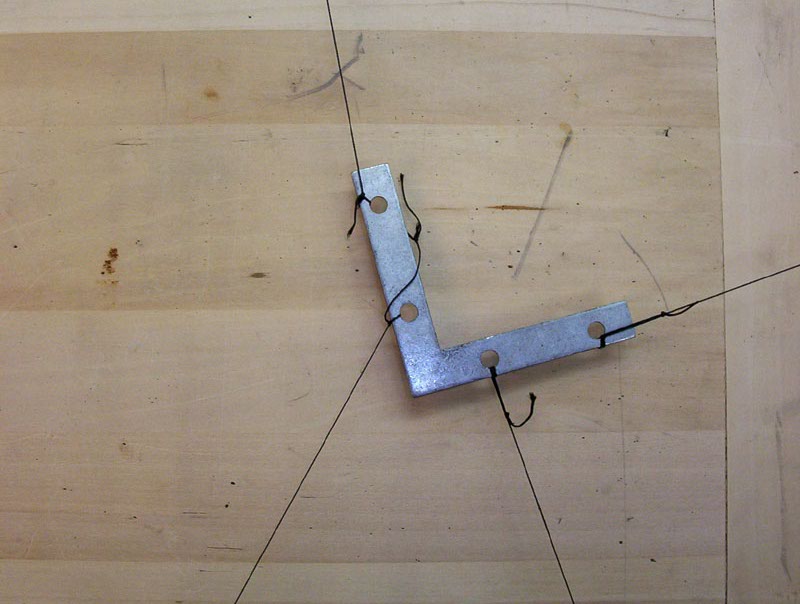
Forces on bracket