Room setup |
 Stuff needed: multimeter, Tektronix 2205 oscilloscope, audio oscillator, 9-v battery, wires (four – 24", two – 36") |
 Tektronix 2205 oscilloscope |
 Attach BNC-to-double-banana adapters to CH1 and CH2 inputs |
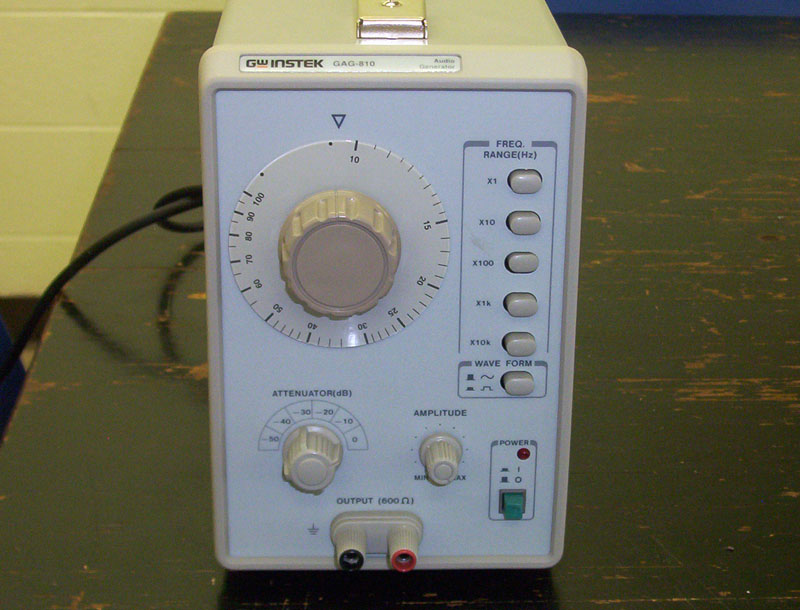 GW Instek GAG-810 Audio oscillator |
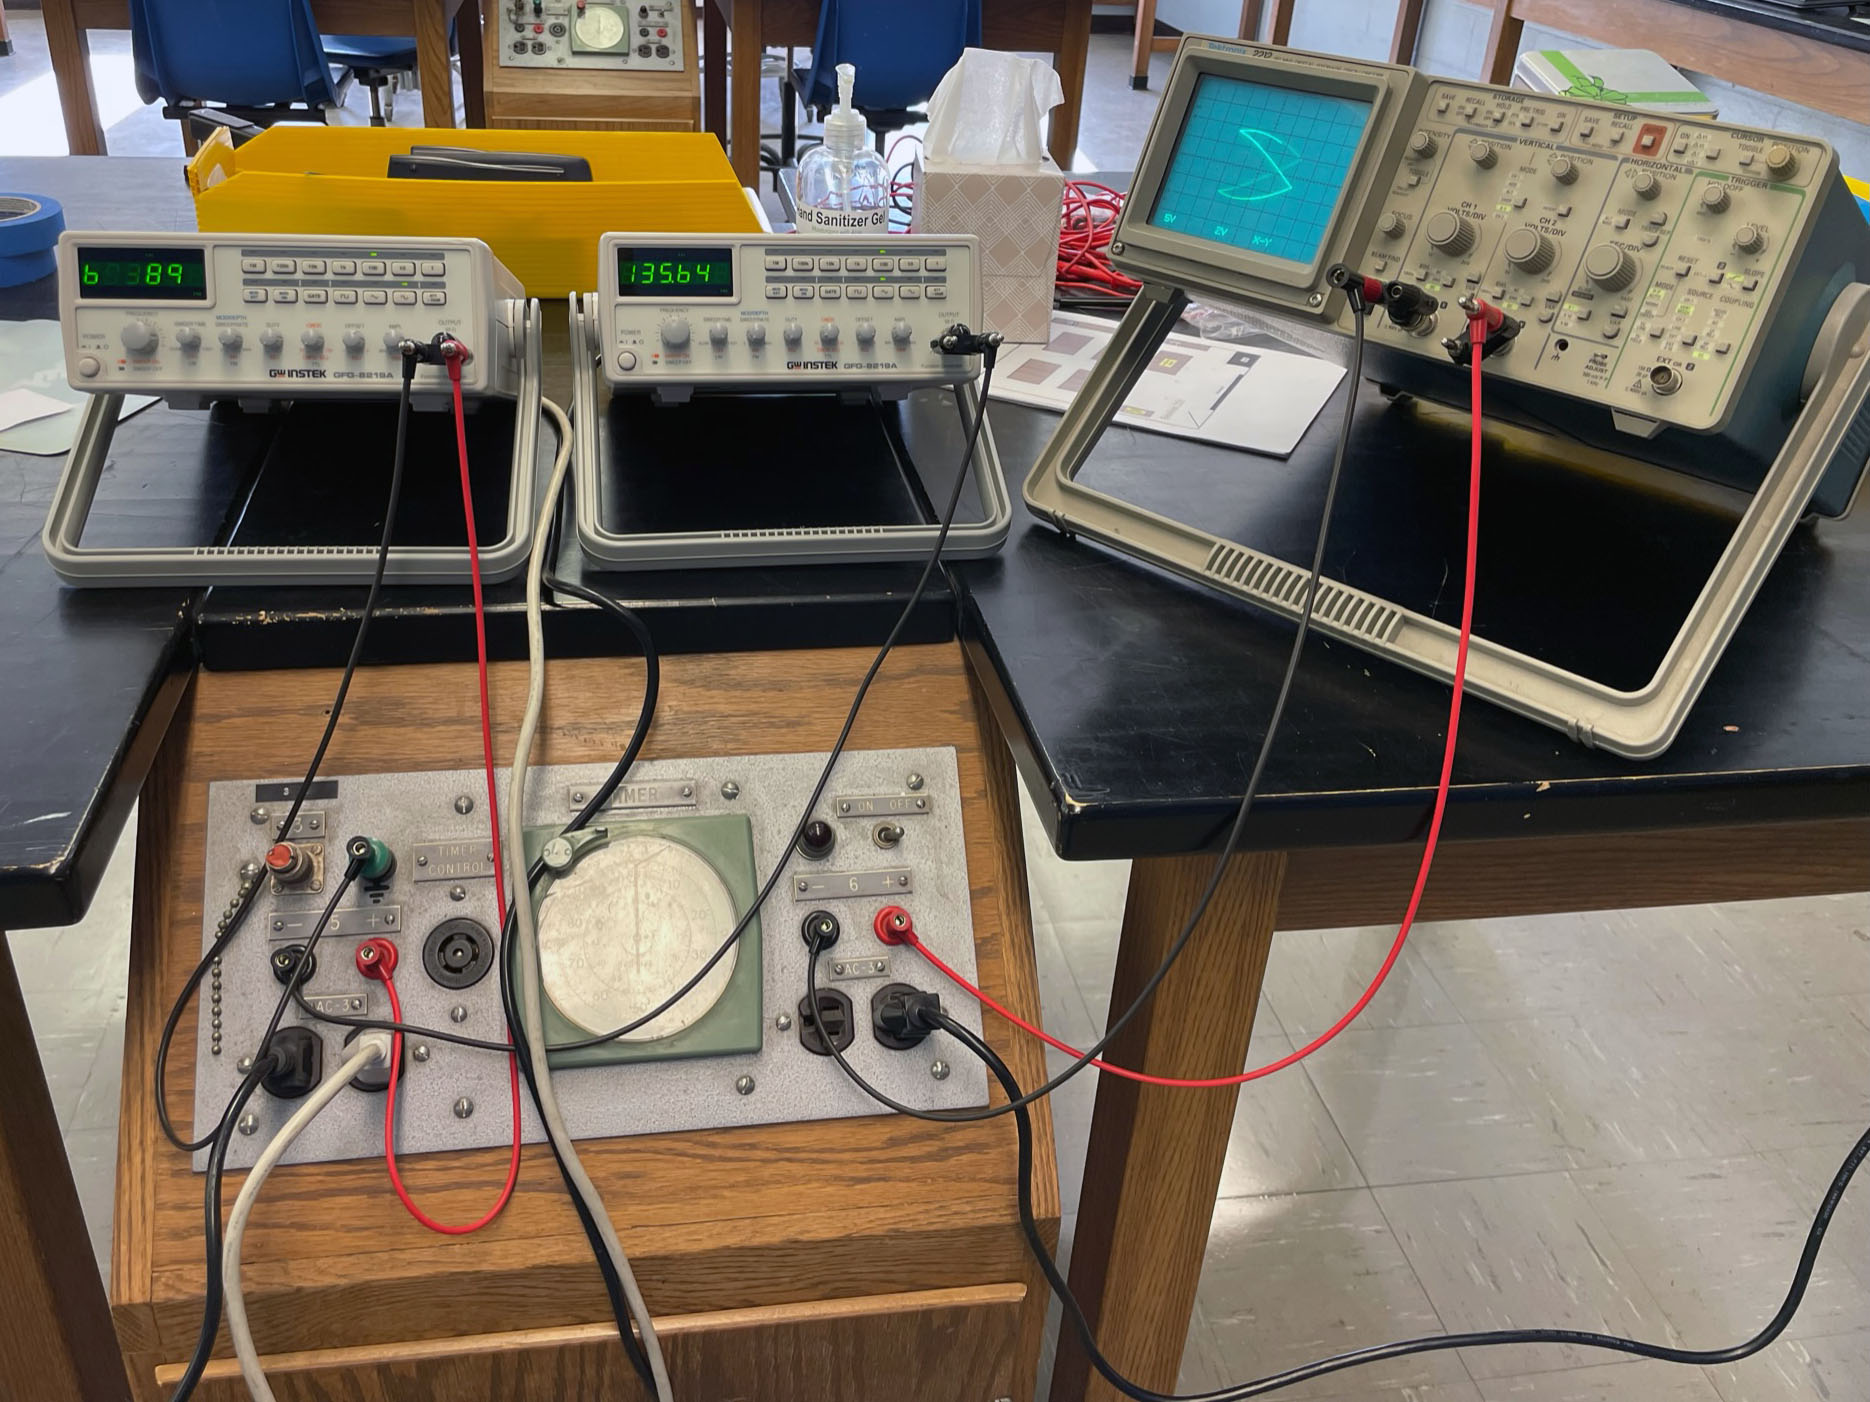 Setup on instructor's bench |
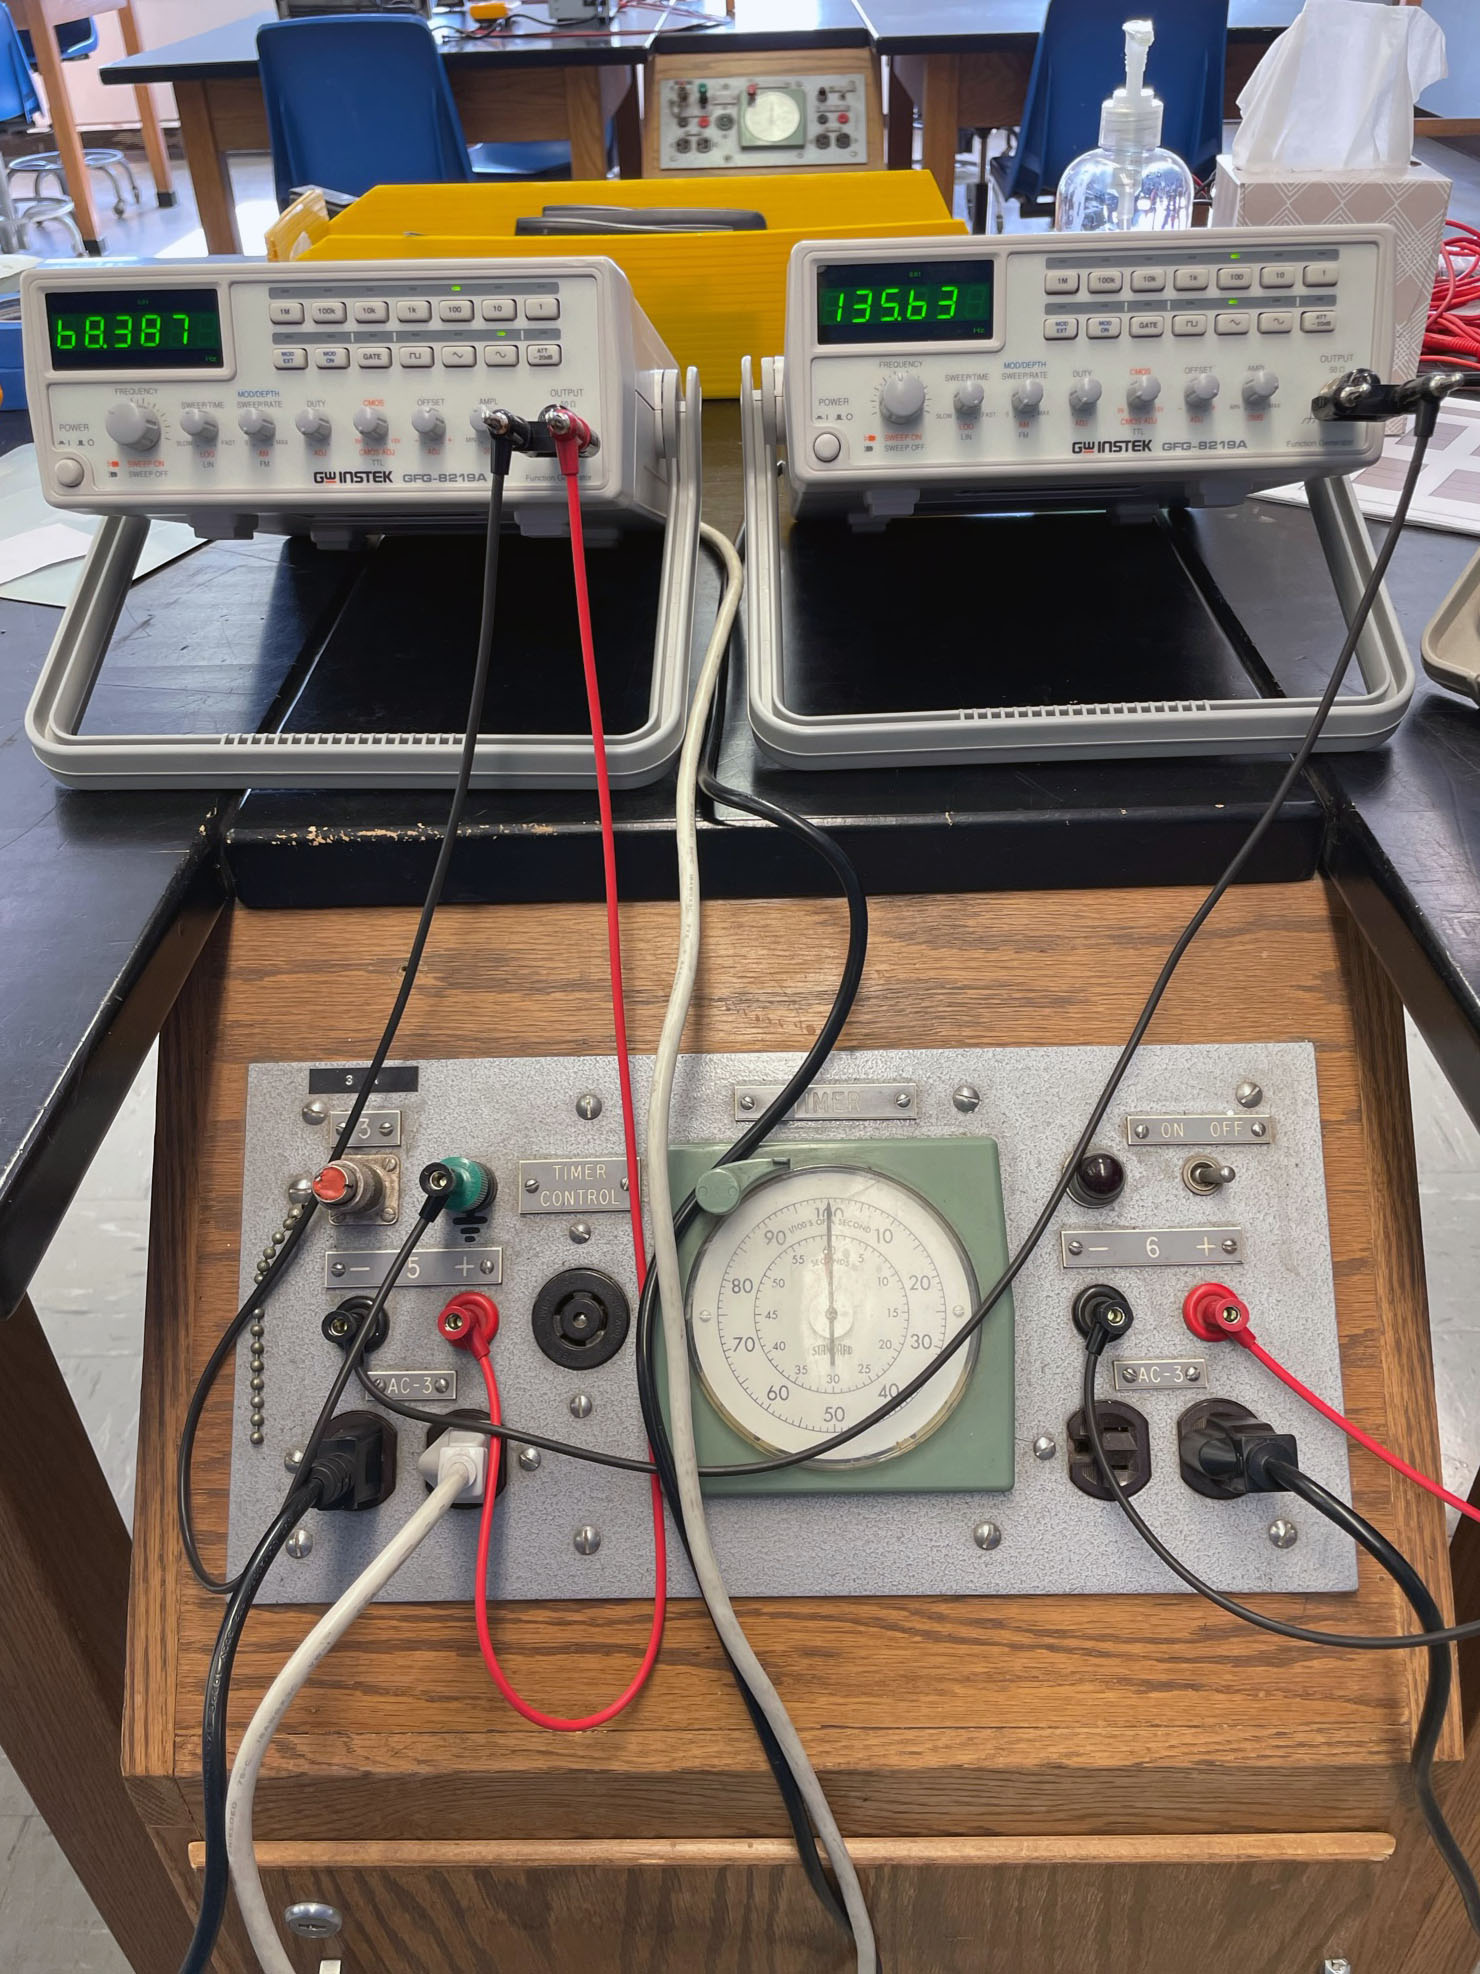 Two function generators are connected to the red & black panel connectors: sine wave on left, sawtooth on right (Jeff will make these connections!) |
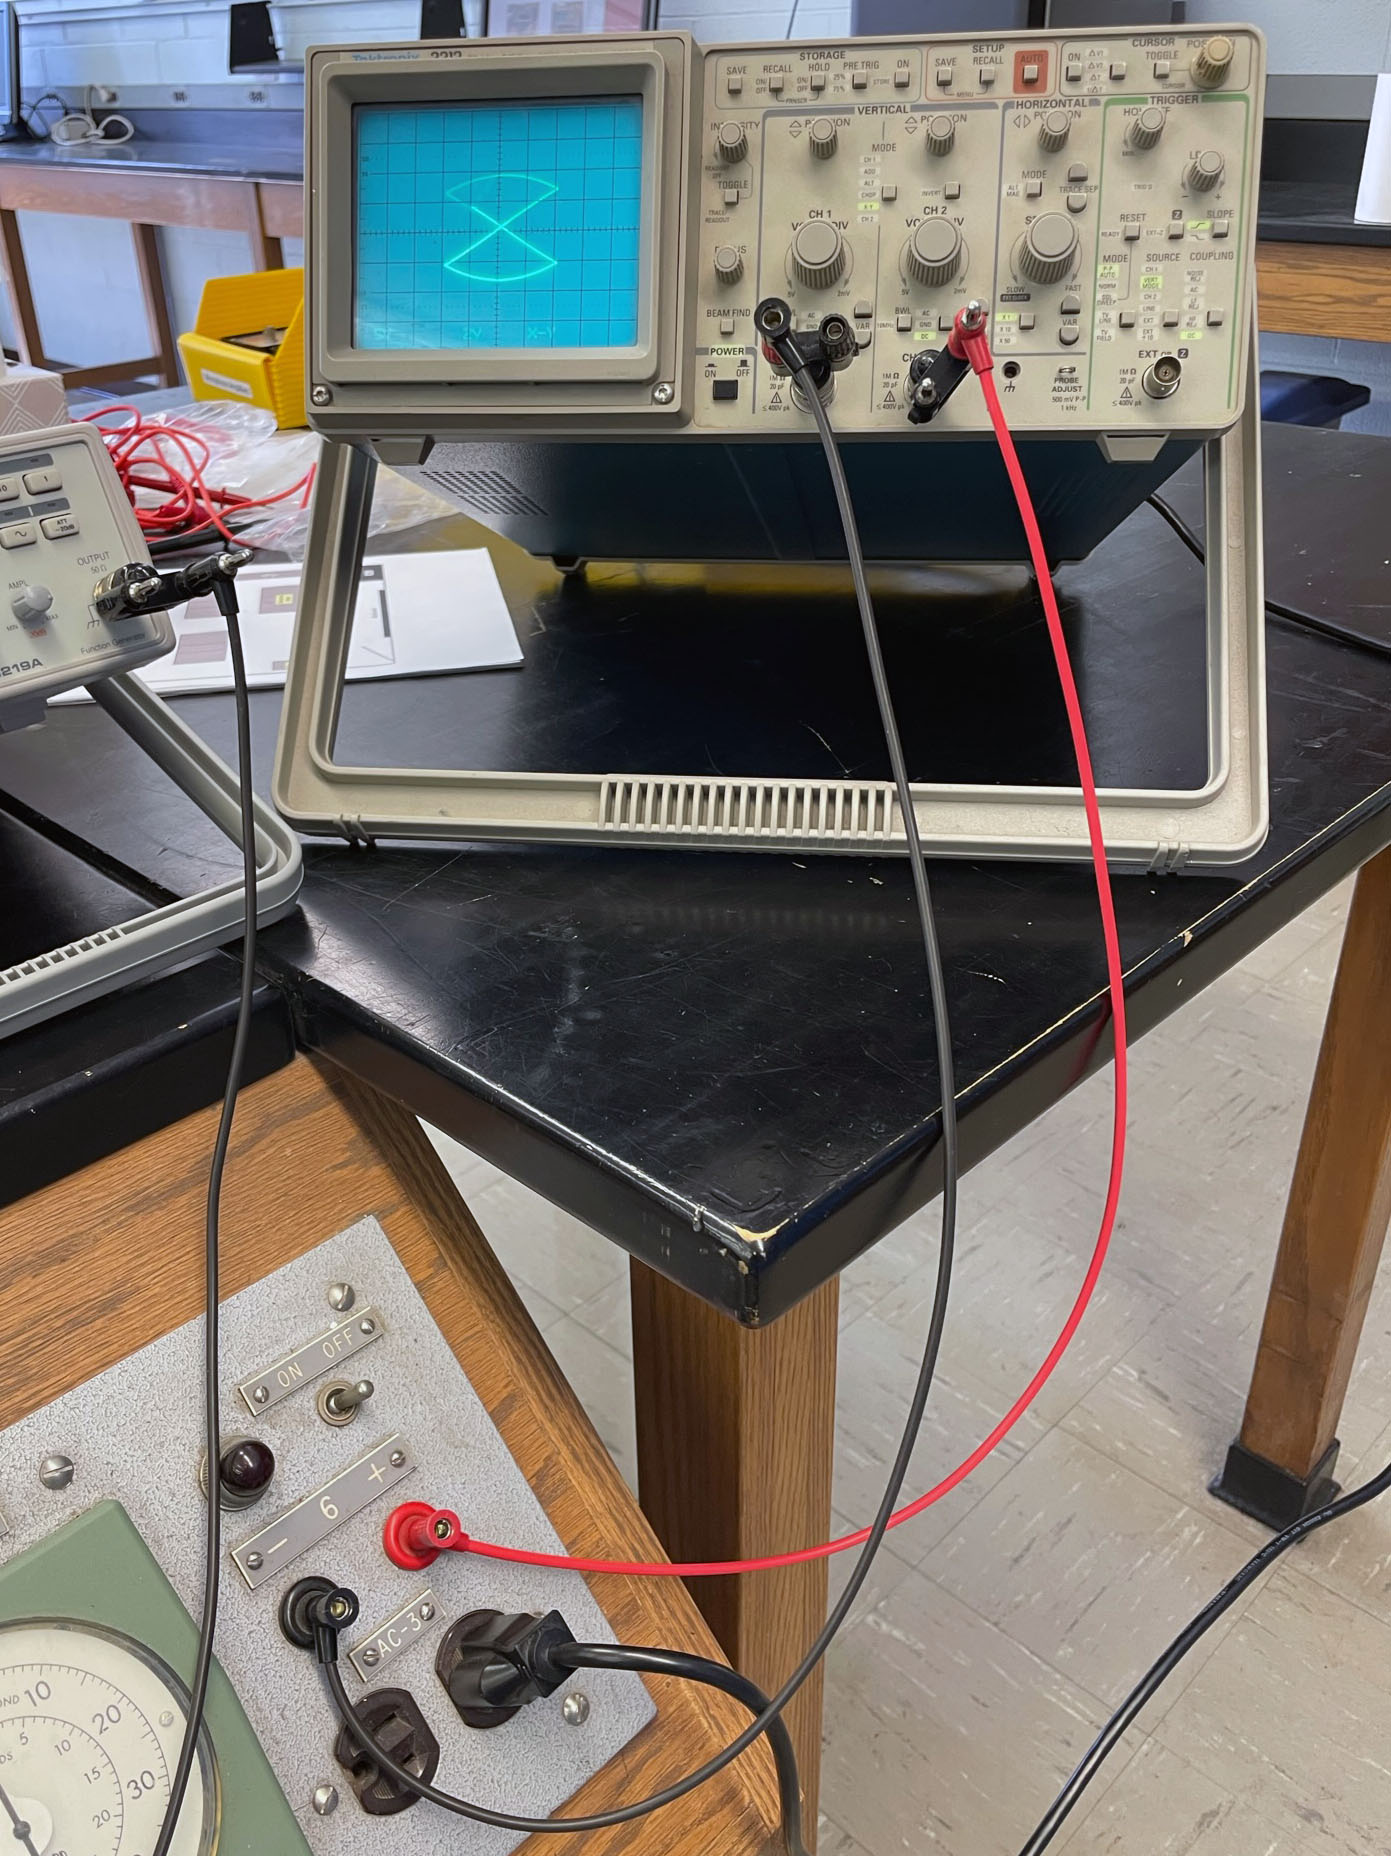 Oscilloscope on instructor's bench |
 Function generator providing sine wave |
 Function generator providing sawtooth wave |
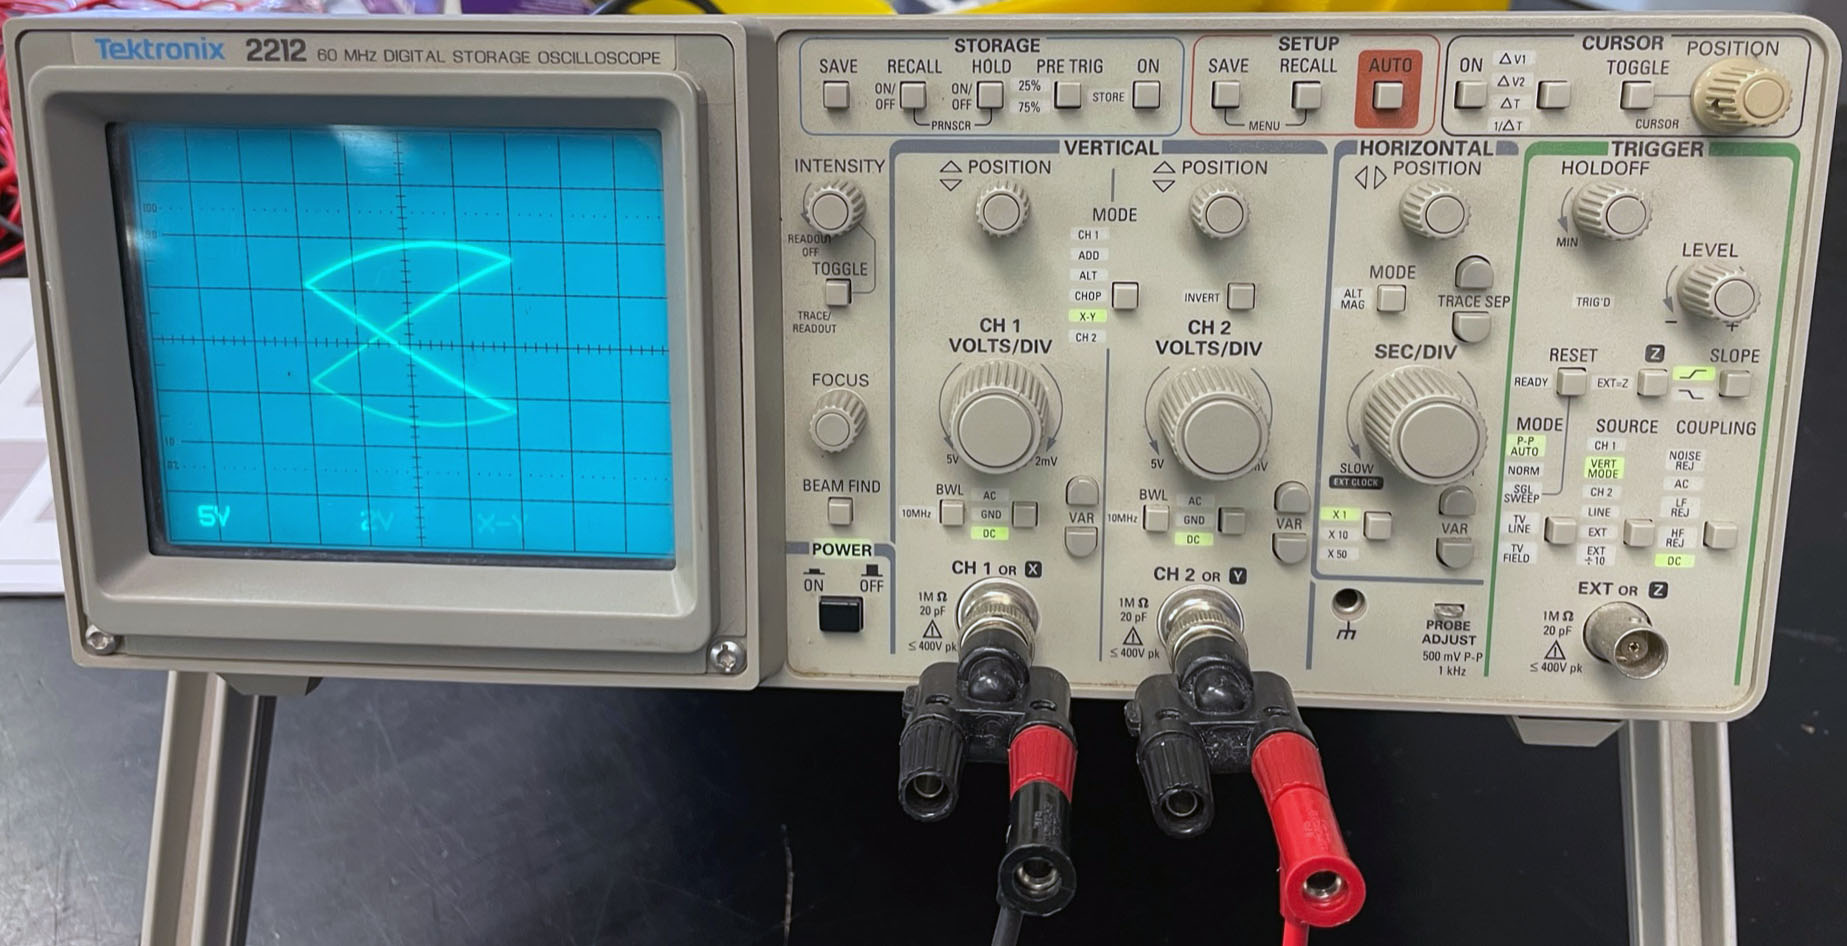 Oscilloscope on instructor's bench in X-Y mode |
|
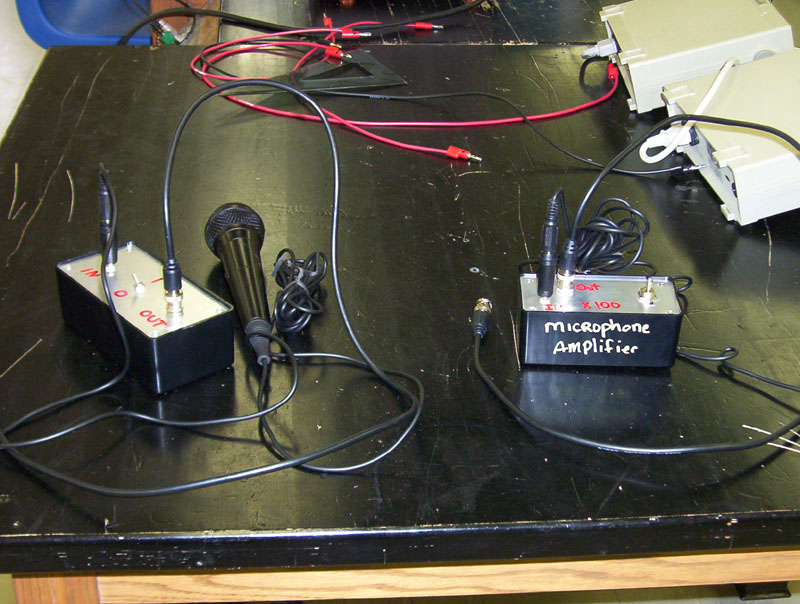 Place microphone and amplifiers on tables |
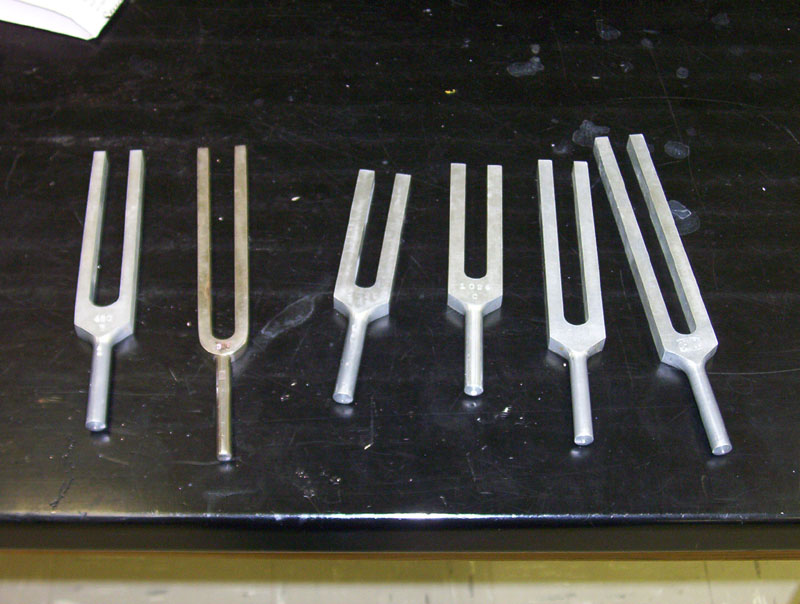 Place several tuning forks on instructors table. |
Speed of Sound Setup with GDS-1152A-U storage scope This experiment is set up in the hallway, and needs to be assembled before |
|
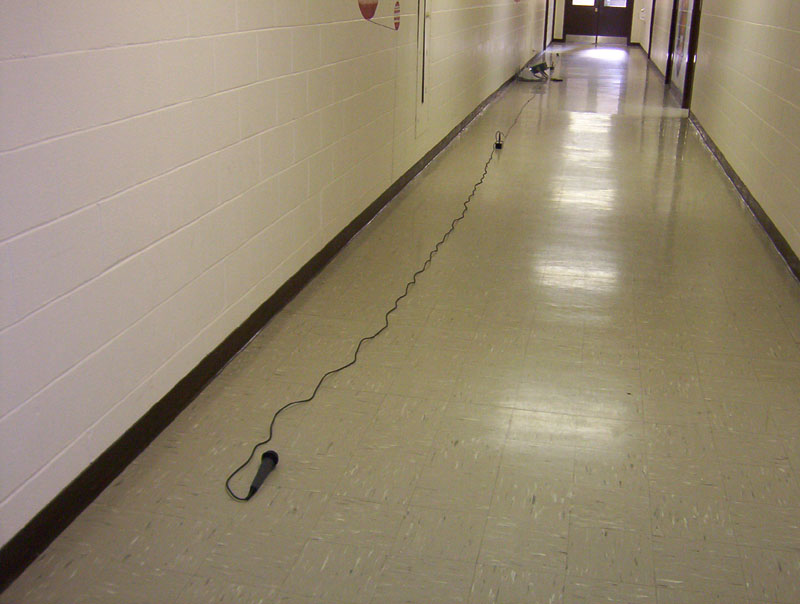 Storage scope is set up in hallway outside Bewkes 204. Note orientation of microphone. The microphones are about 20-m apart. |
 Stuff for speed of sound: Instek GDS-1152A-U storage scope, small wood platform, laptop (running FreeWave) & power brick, USB cable, 30-m tape measure. Place two more wood platforms under the laptop. |
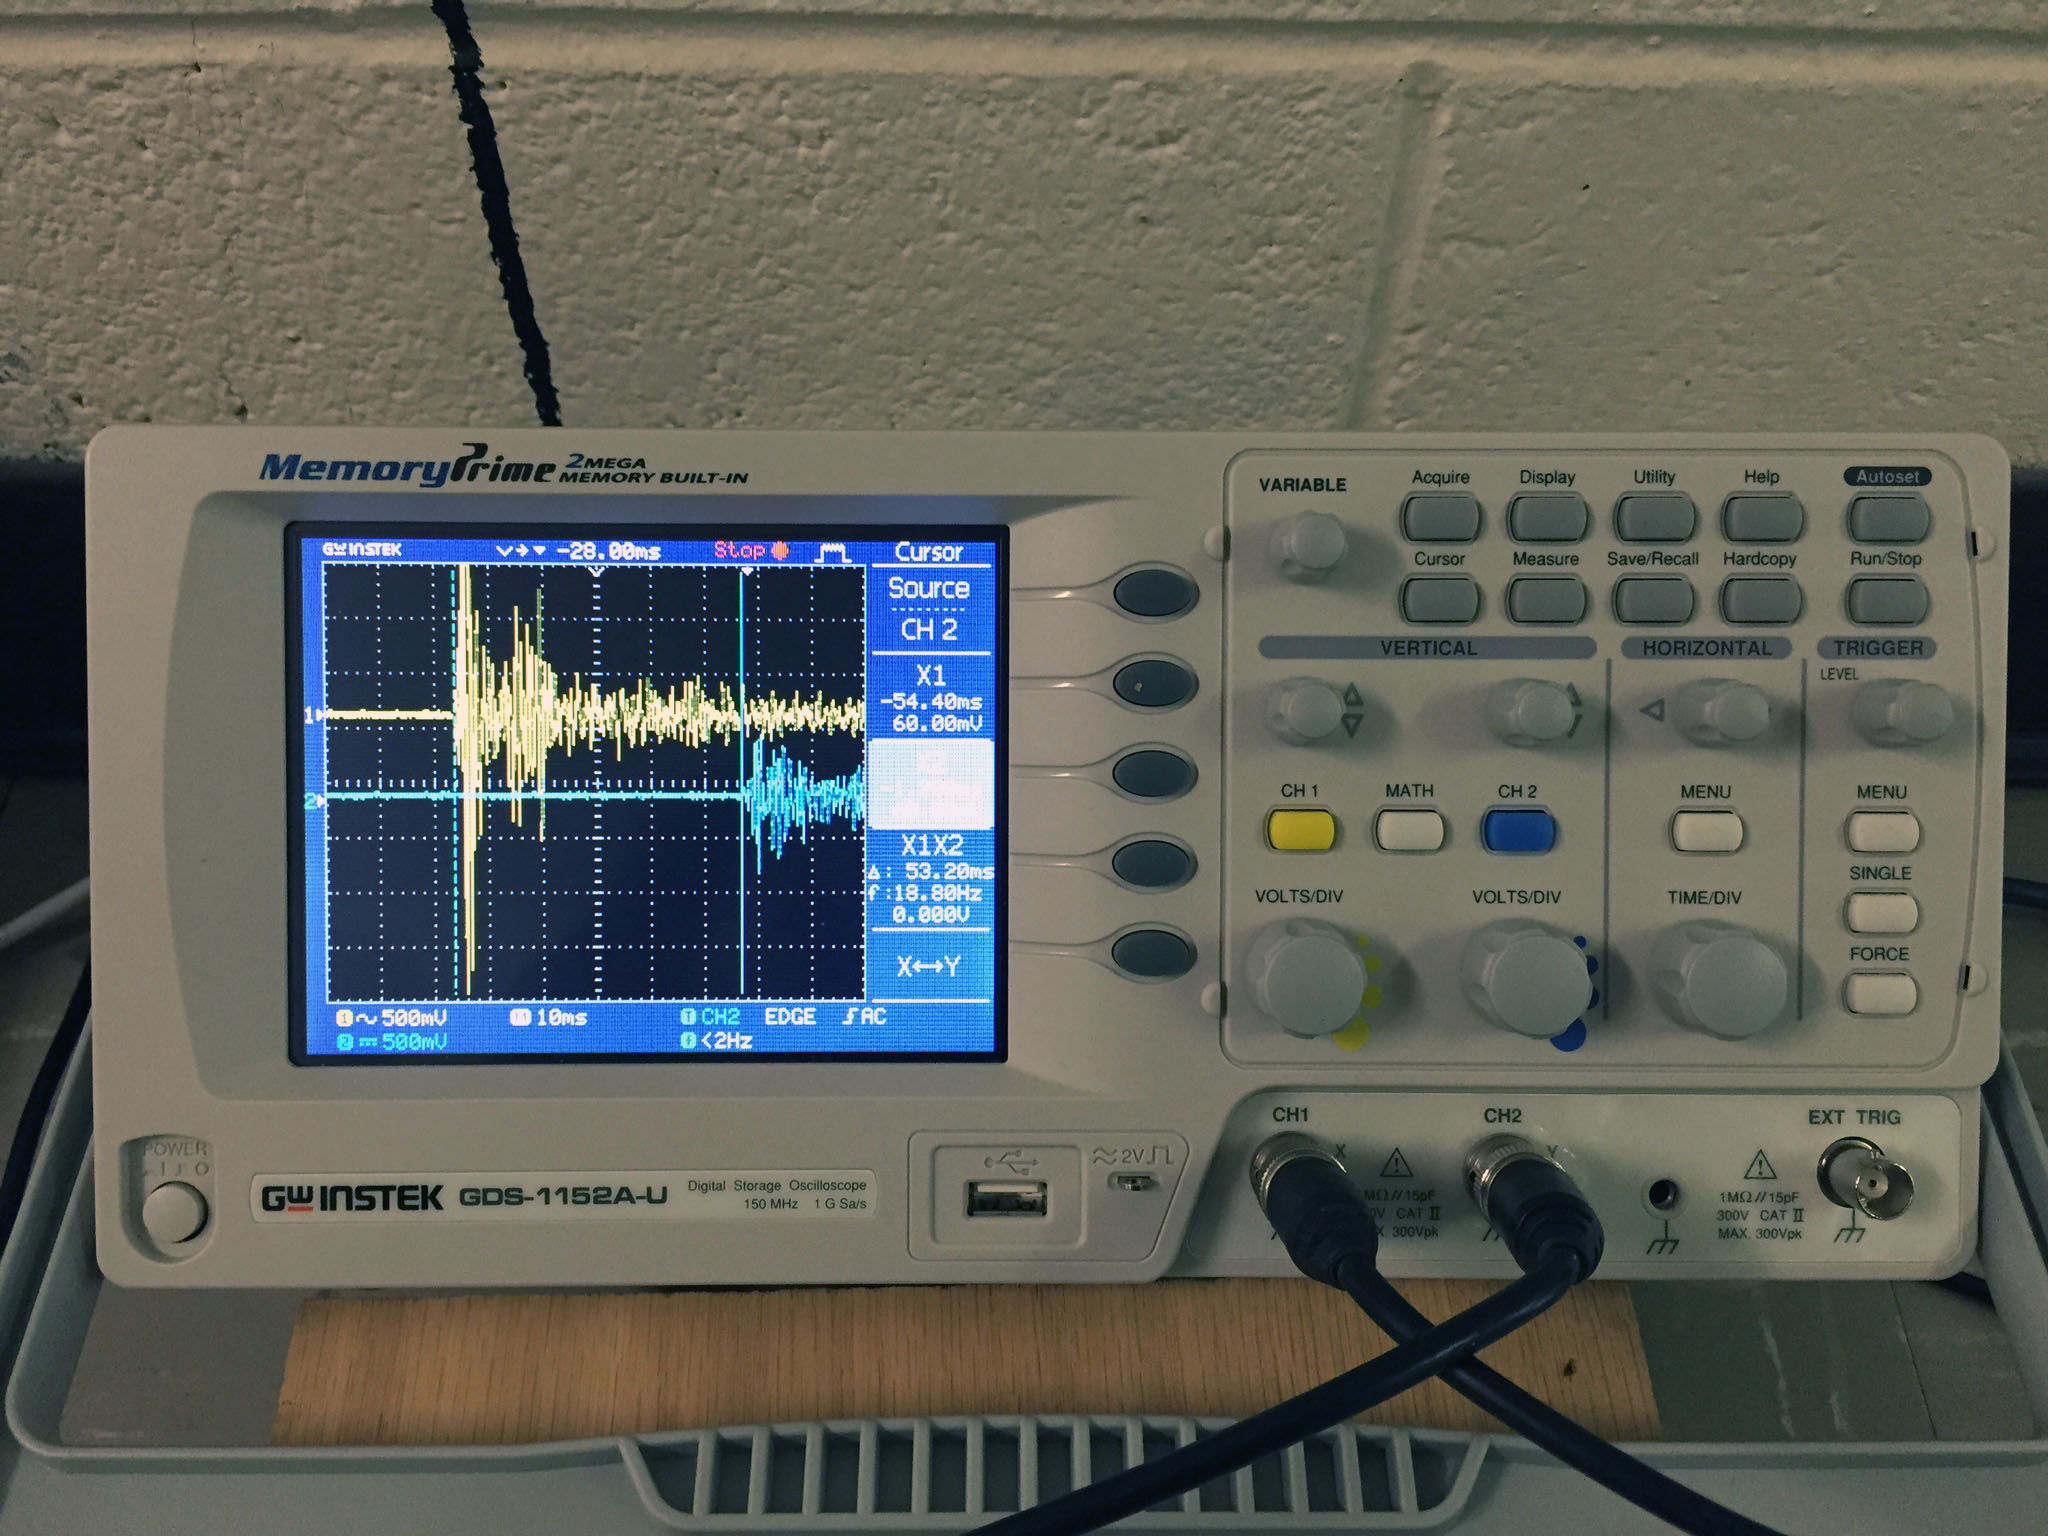 Storage Scope settings |
 The FreeWave program mirrors the scope face |
 Looking left towards mic on CH2 (old scope setup shown) |
 Looking right towards mic on CH1 (this is where the “clap” occurs) |
 Both microphones require an amplifier |
 The left microphone (CH2) uses four 6-ft. BNC cables connected together with 3 adapters |
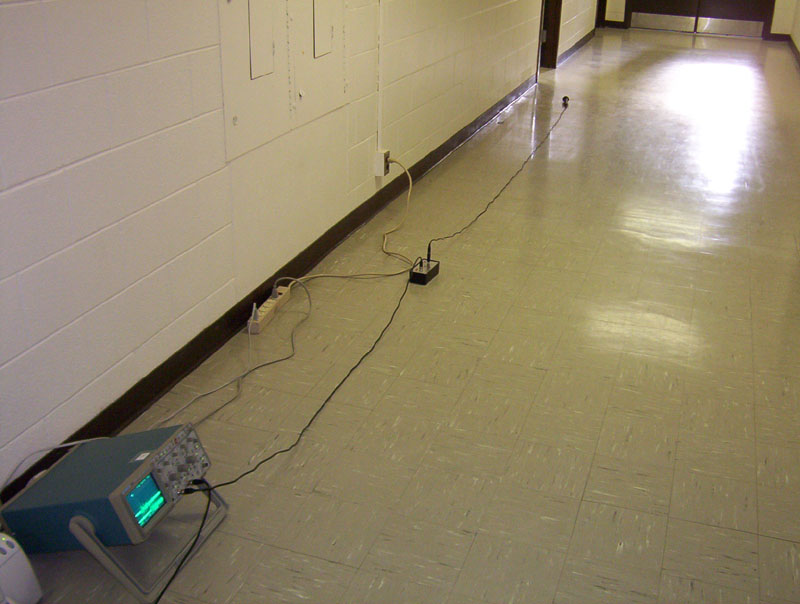
Speed of Sound Setup with Instek GDS-820c storage scope This experiment is set up in the hallway, and needs to be assembled before |
|
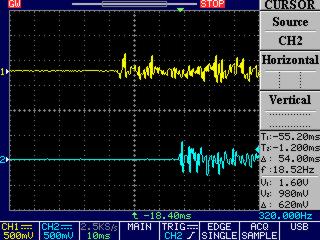
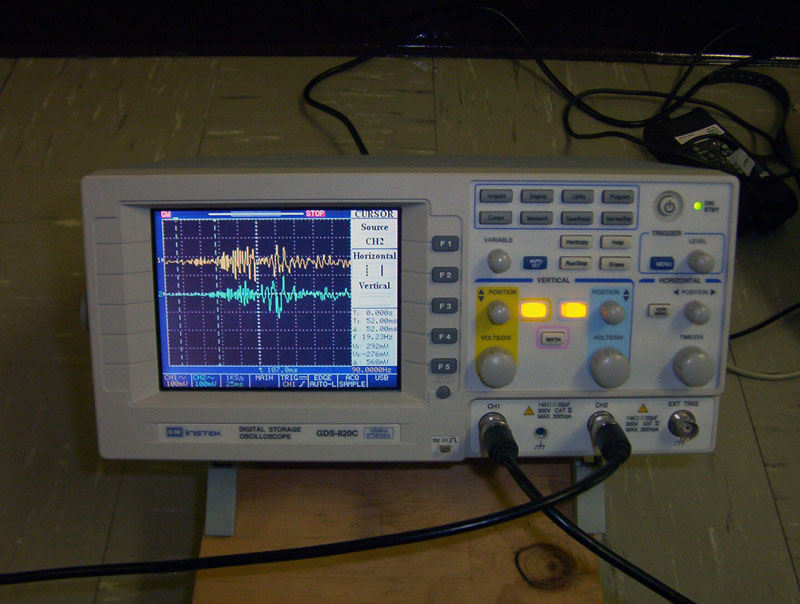 Storage scope with signal on CH1 and CH2 Make sure the CH1 & CH2 buttons are lit! |
|
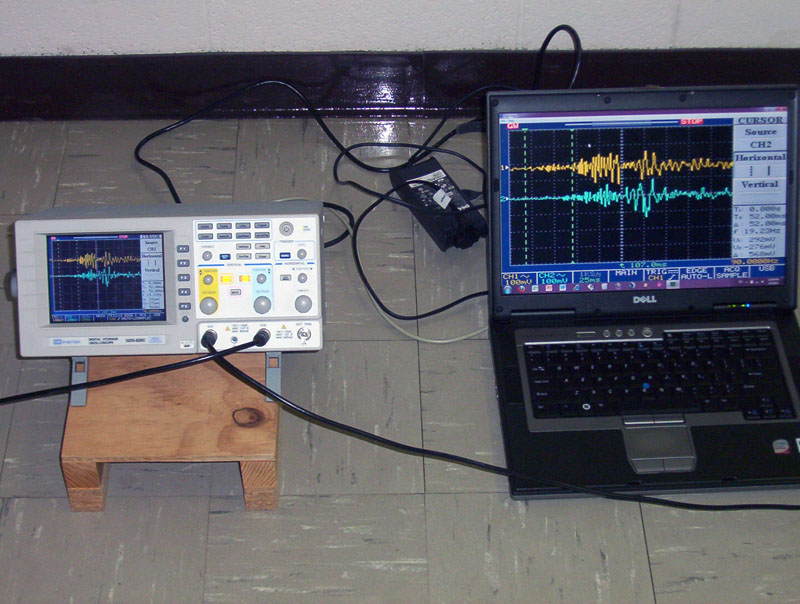 Stuff for speed of sound: Instek GDS-820c storage scope, small wood platform, laptop (running FreeView) & power brick, USB cable, 30-m tape measure. Place two more wood platforms under the laptop. |
|
 Old storage scope settings (trigger on CH1) (0.5v, 0.2v, time base = 20 ms) |
|
|
|
||
| © | St. Lawrence University | Department of Physics |
| Revised: 08 Mar 22 | Canton, NY 13617 |