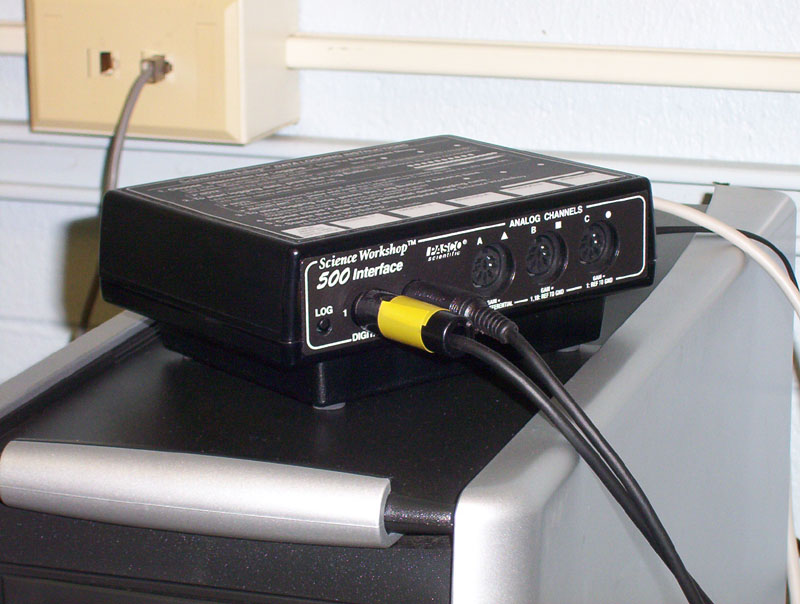
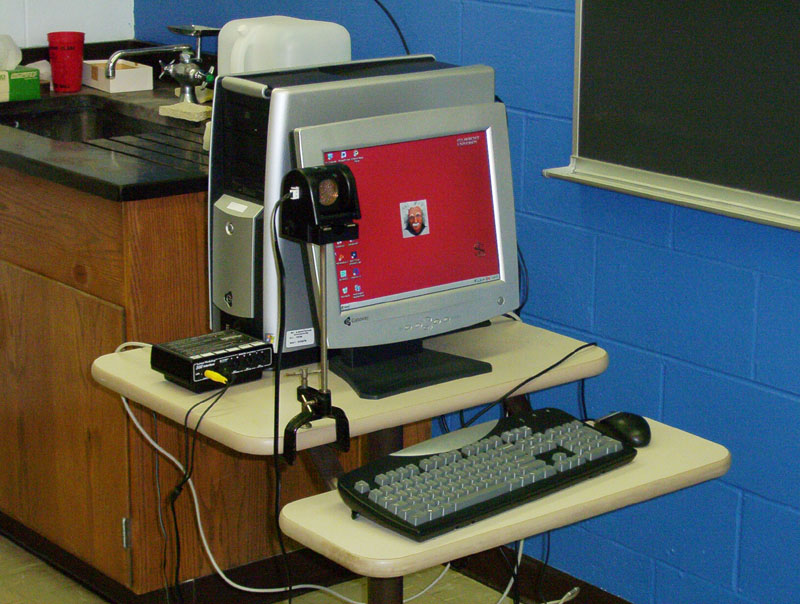
Pasco Science Workshop 500 Interface:
Yellow cable from sonic ranger is connected
to digital interface 1; black cable to digital
interface 2
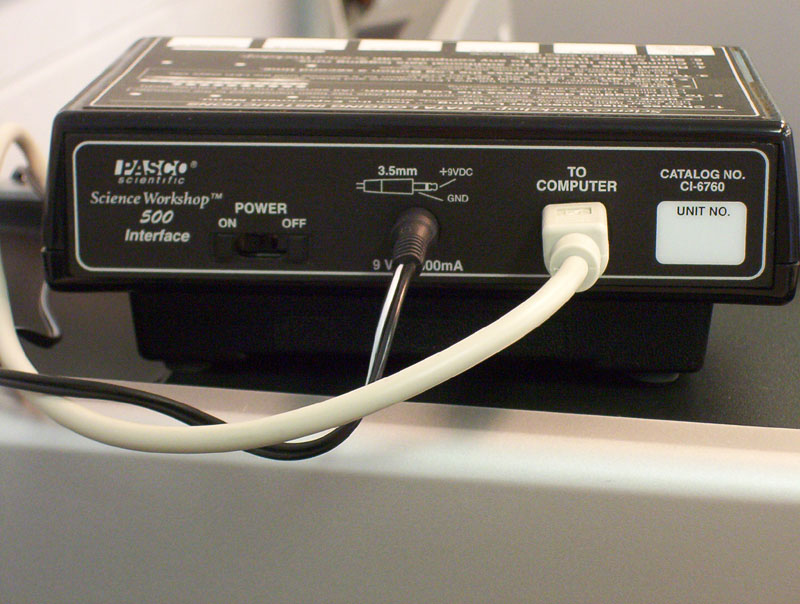
Rear view of Science Workshop Interface:
8-pin mini DIN cable connects to computer;
make sure power is turned on.
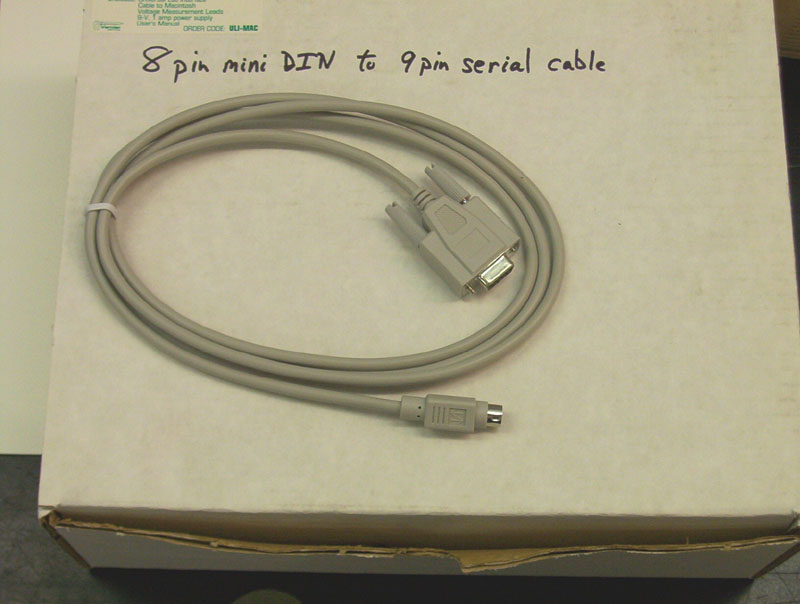
8-pin mini DIN to 9-pin serial cable;
Connects Interface to computer
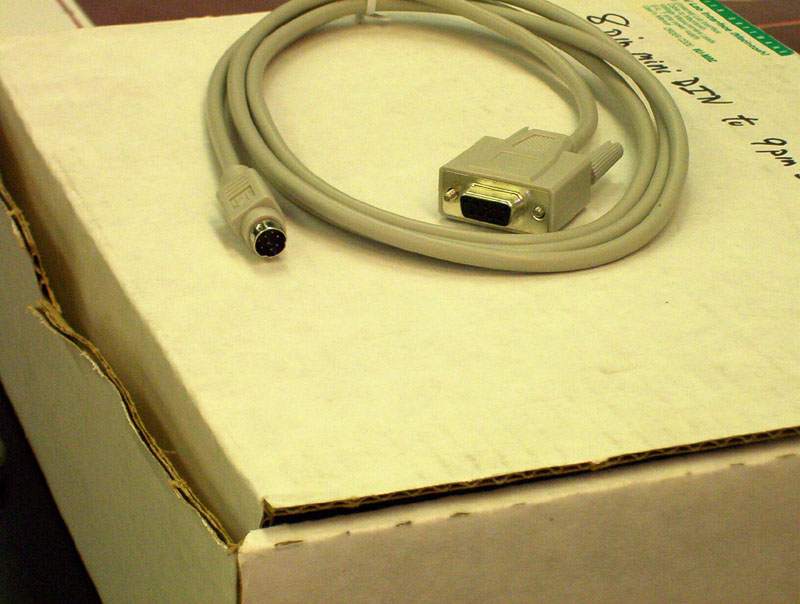
8-pin mini DIN (left side);
9-pin serial (right side)
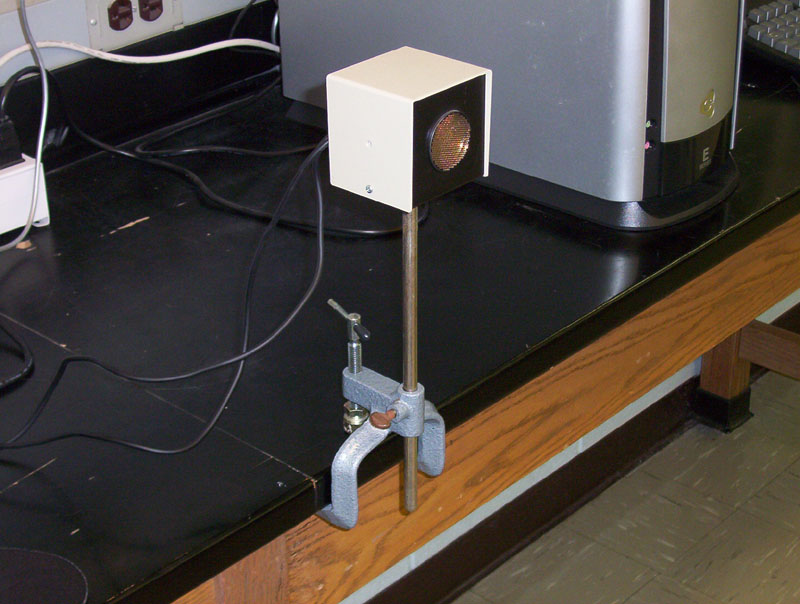
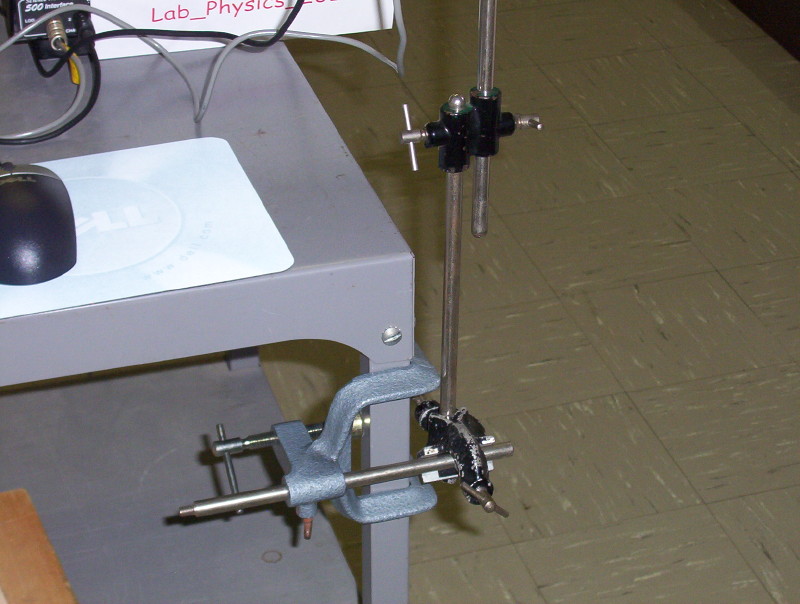
Sonic Ranger sits on threaded rod;
note orientation of bench clamp
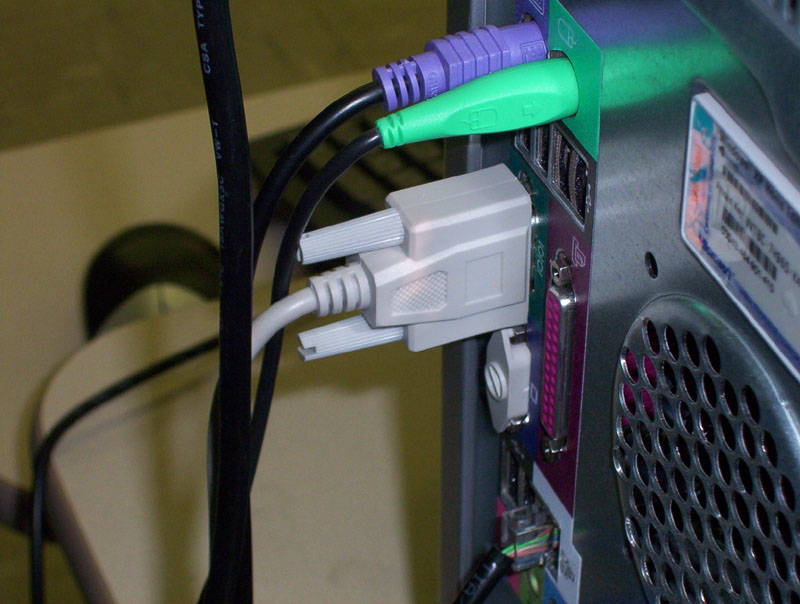
9-pin serial end of cable connects to COM 1
port on computer
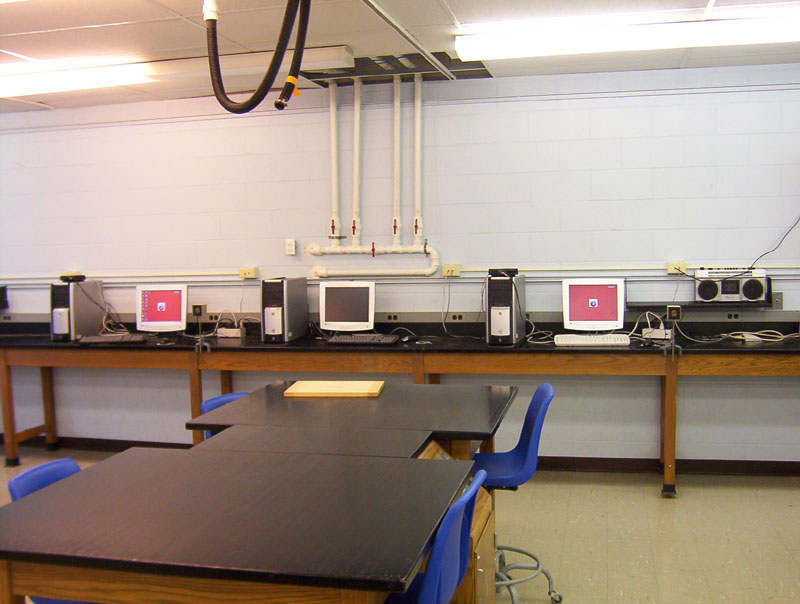
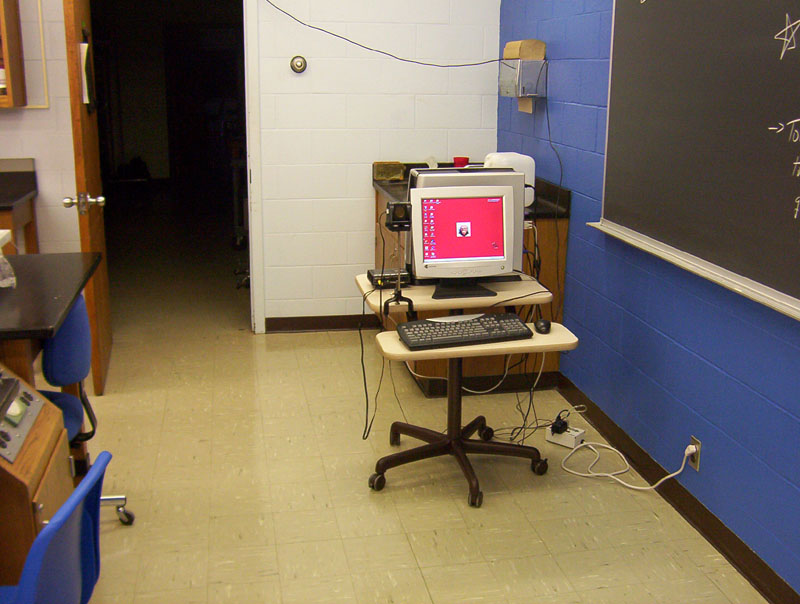
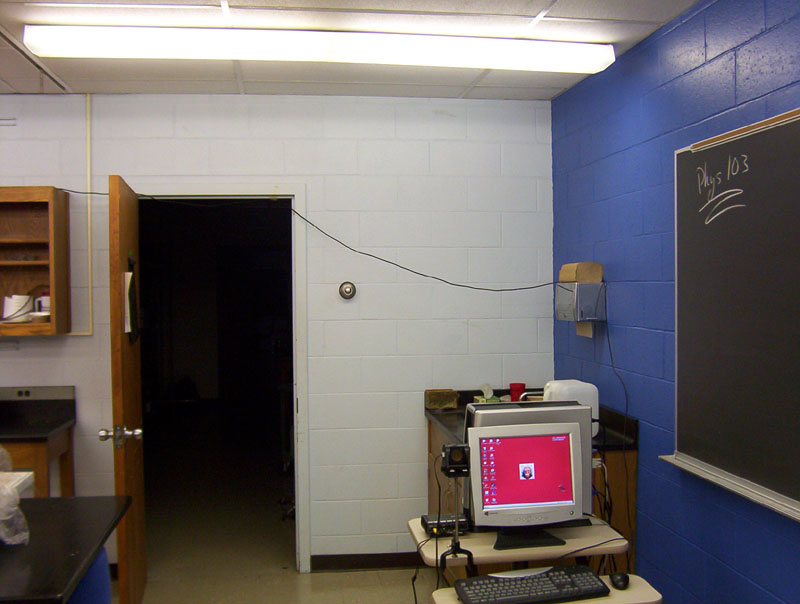
Room setup, computers #1 and #2
(with display's turned on). Ranger must point
towards the aisle between lab benches
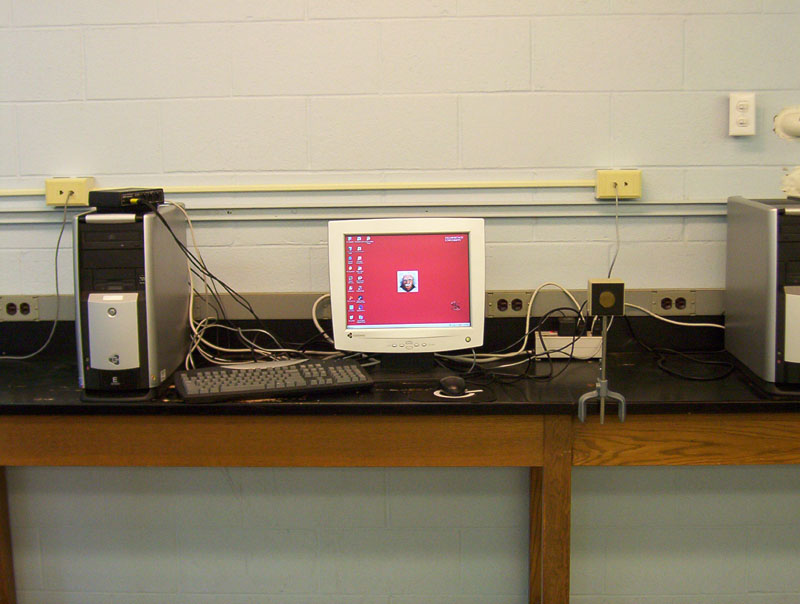
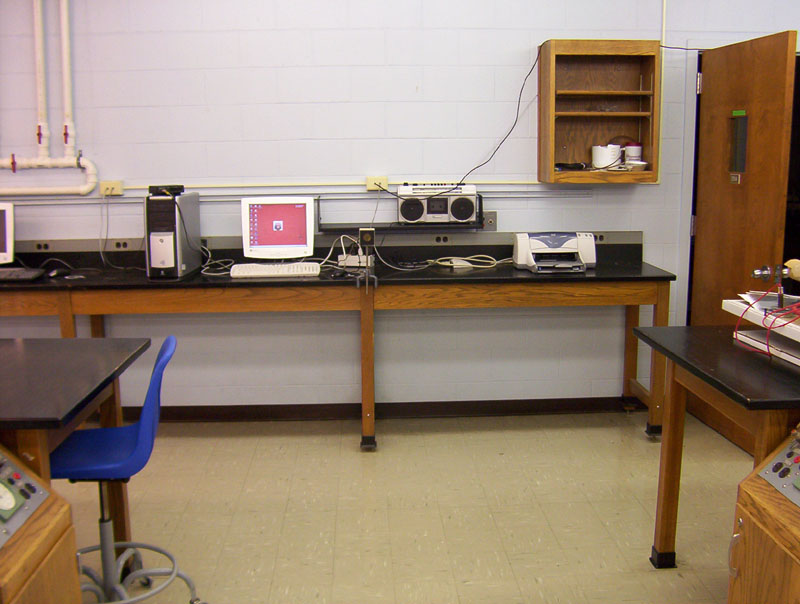
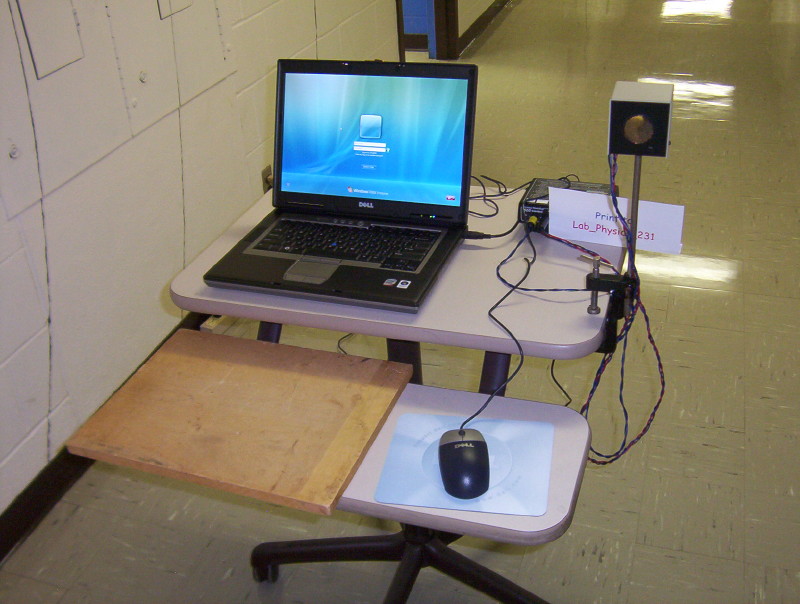
Computer #1 setup
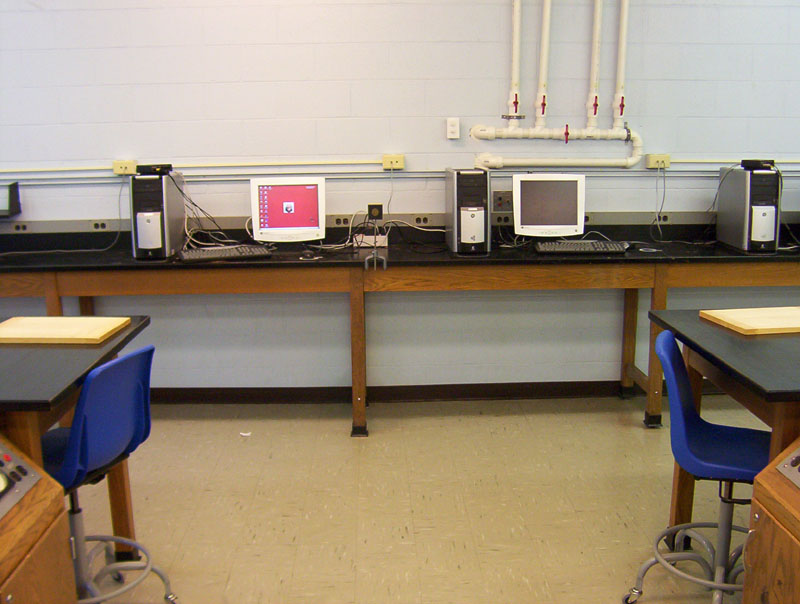
Sonic ranger on computer #1 is
centered in aisle
Likewise ranger on computer #2 is centered

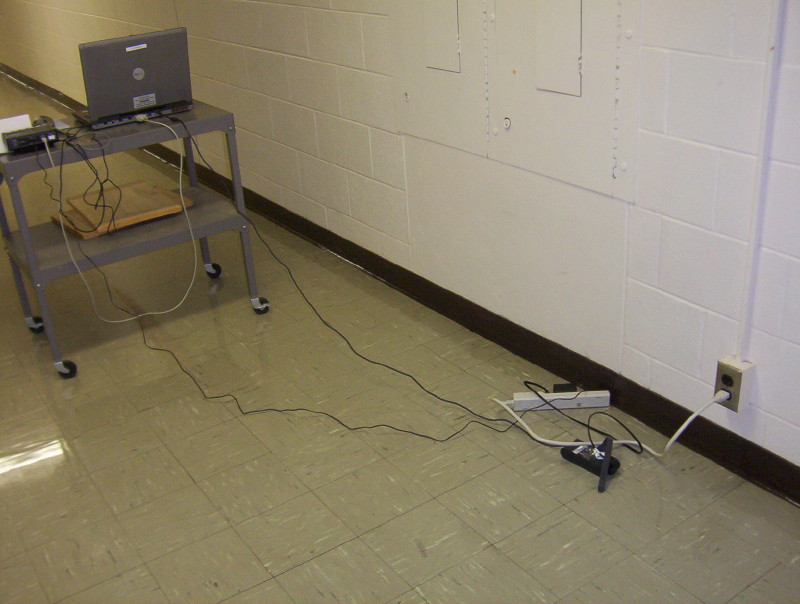
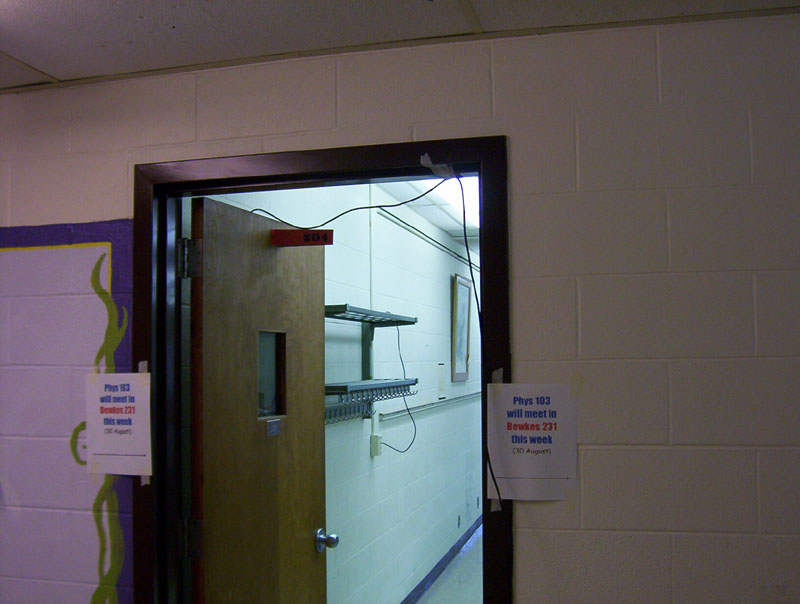
Place laptop on sink; attach ranger to
left side of sink
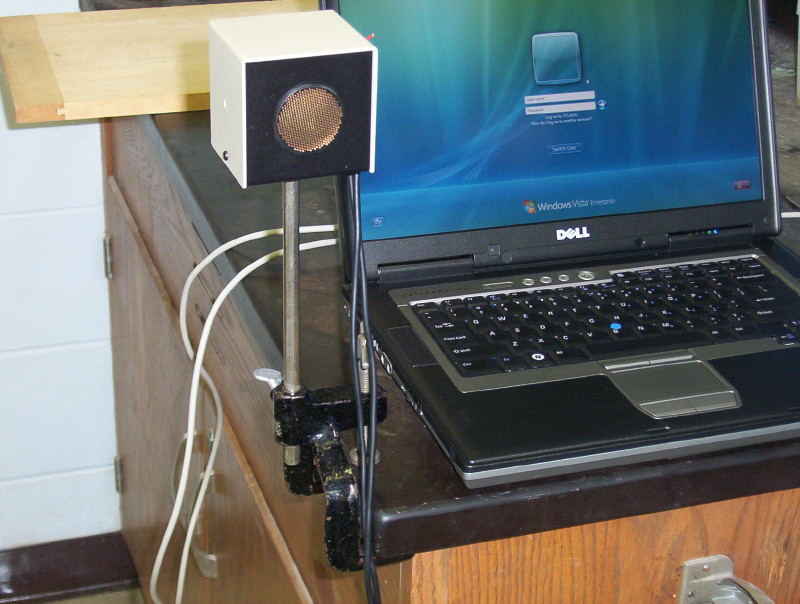
Detail of clamp connection to sink
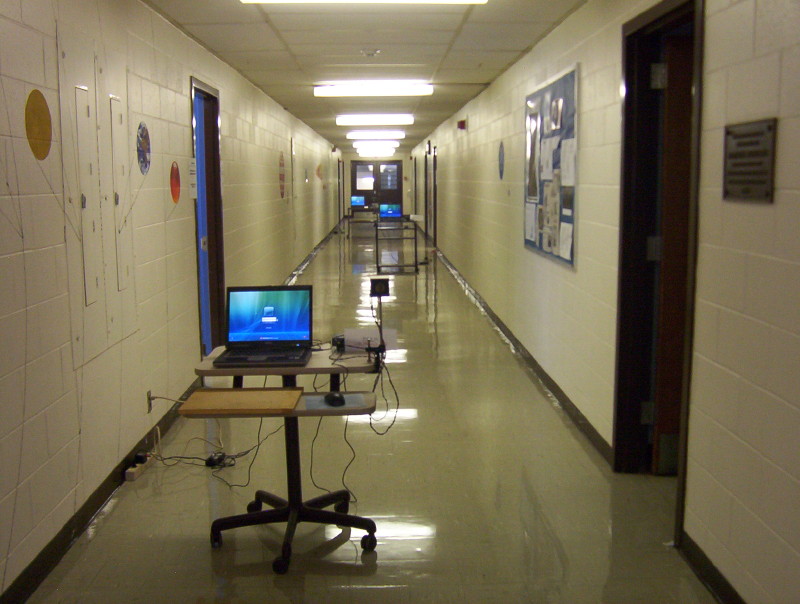
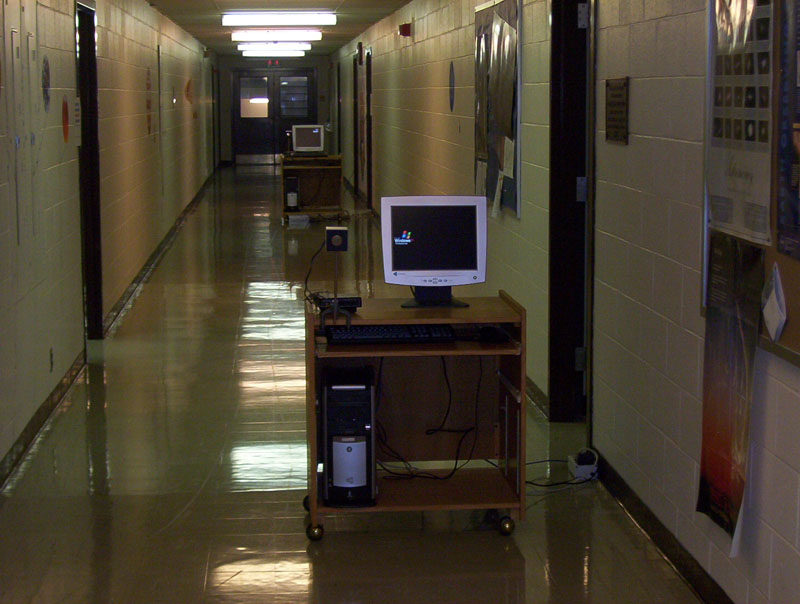
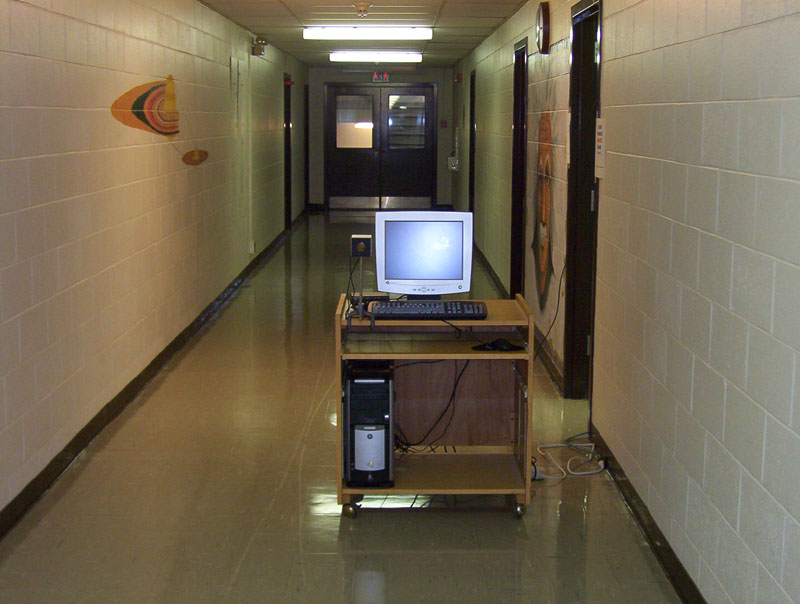
Computers #4, #5 and #6
Note left-right-left hall position
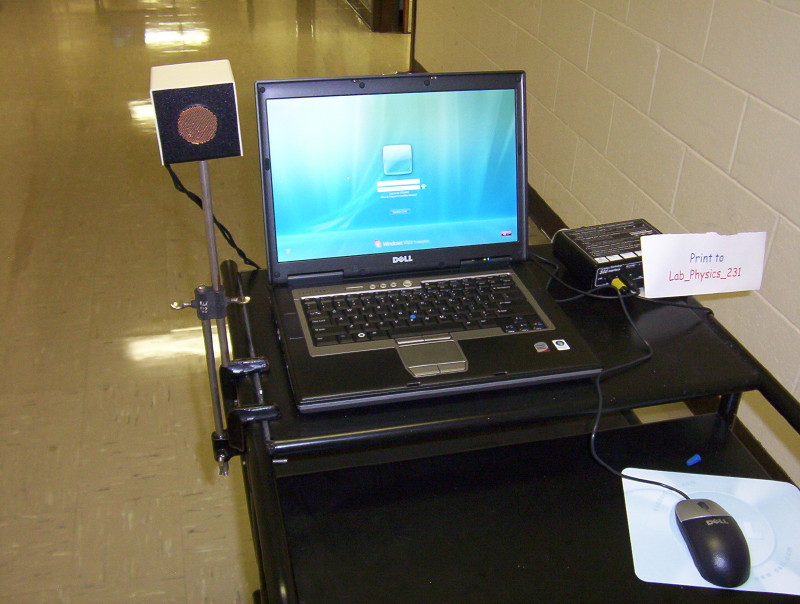
Computer #4: Clamp ranger to right side of cart
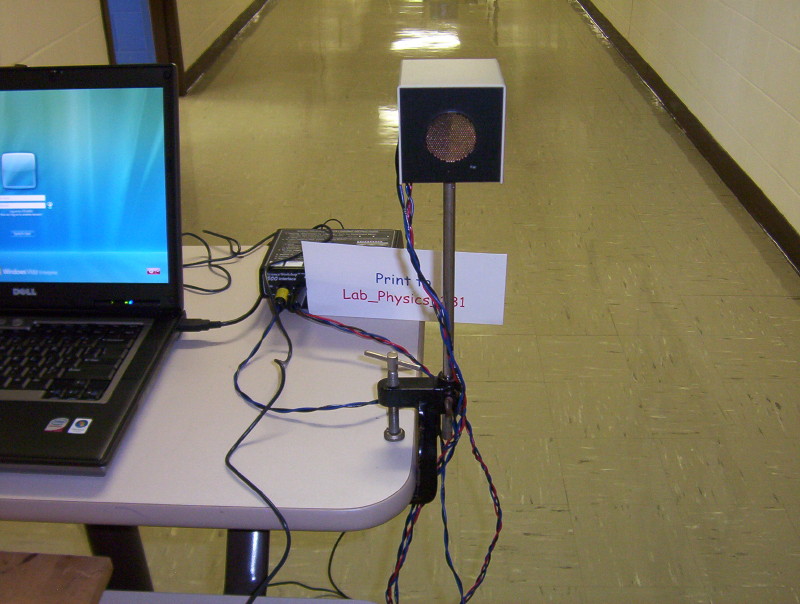
Computer #4: Clamp detail
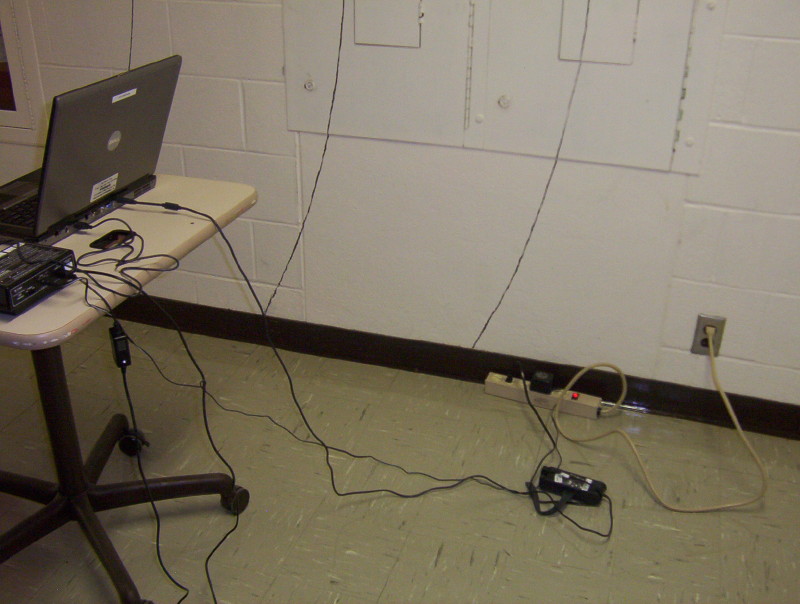
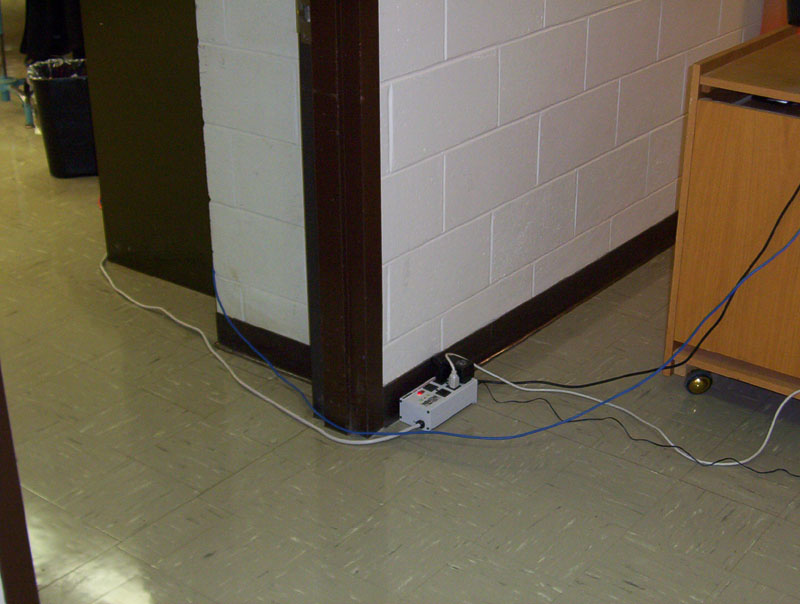
Computer #4: Power detail. Plug into hall outlet by terrestrial planets paintings
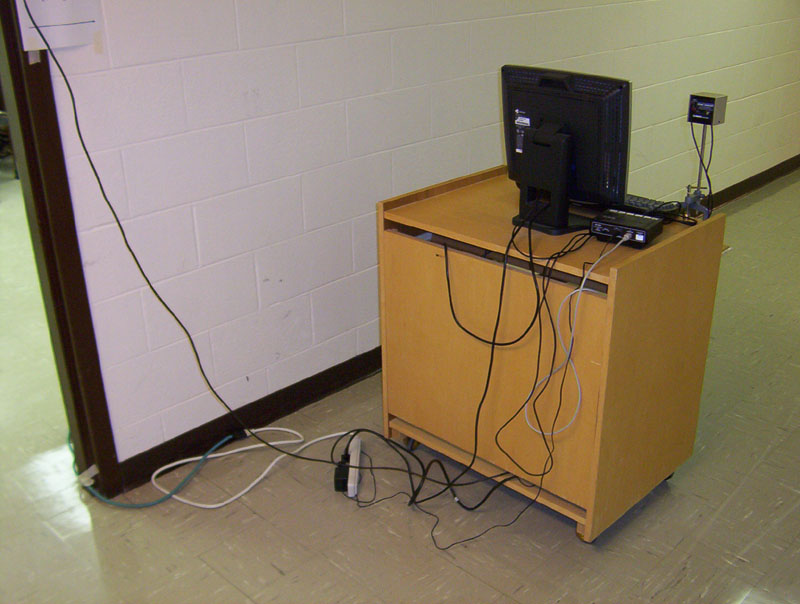
Computer #5: Clamp ranger to left side of cart
Computer #5: Clamp detail.
Need parallel extension for this cart.
Computer #5: Power detail.
Use extension cord plugged into BH 204
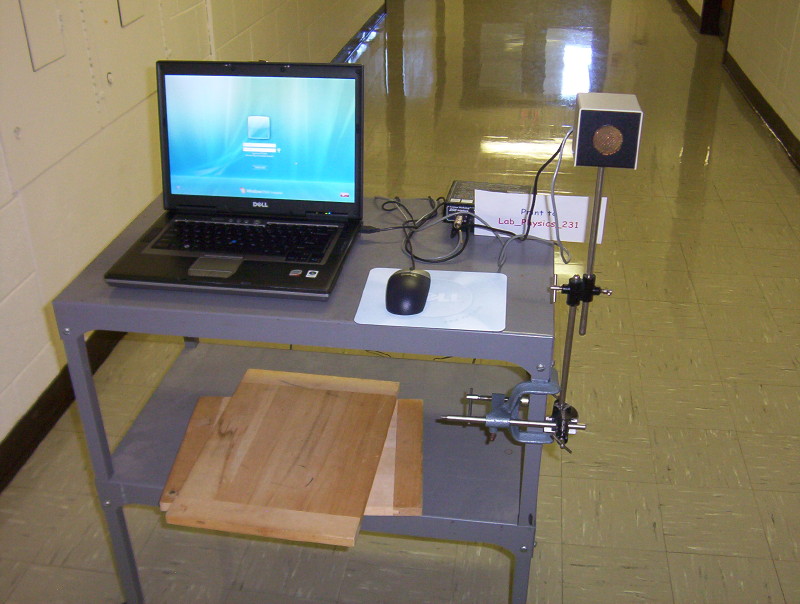
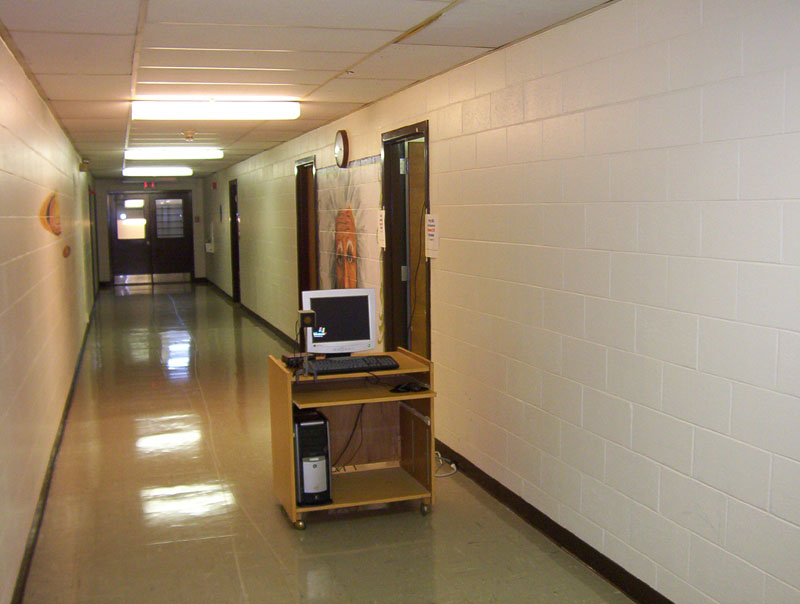
Computer #6: Clamp ranger to right side of cart
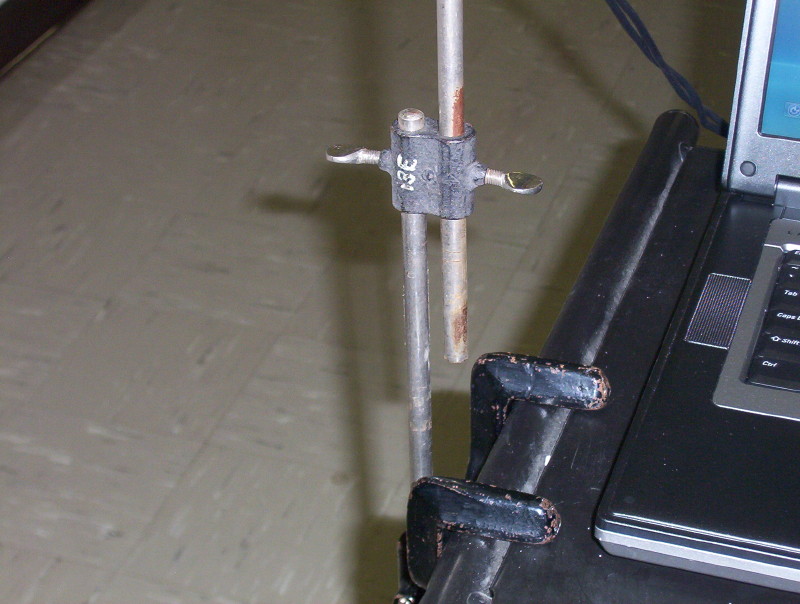
Computer #6: Clamp detail.
Need to be creative with right angle & parallel clamps
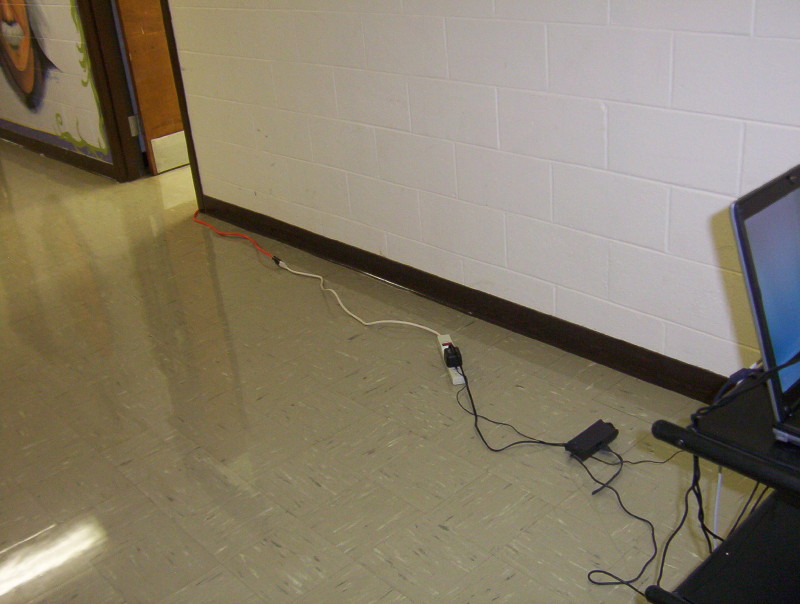
Computer #6: Power detail. Plugged into hall outlet near Astro lab (BH 232)
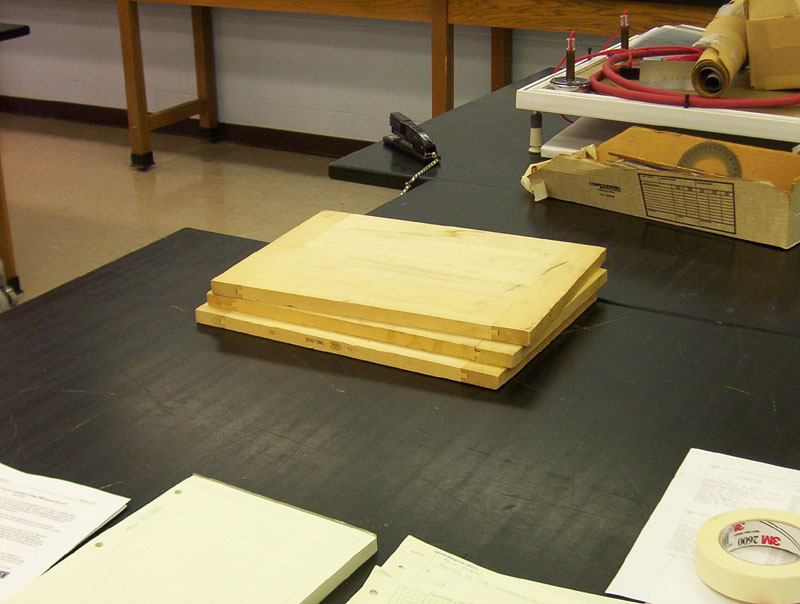
Place 3 drafting boards on bench in lab;
3 more boards, one with each hallway cart
Cart is placed so ranger is centered in aisle
on left side of cart.
and paper towel dispenser.
Use laptops (3) for the hallway
Use outlet on other side of the hallway; wireless neworking is used for laptops
of ranger on left side of cart
connected in Bewkes 204
have to do this anymore
Place drafting boards (5) on lab bench