 Room setup |
 Tracks staggered on bench |
 Equipment setup |
 Laptop connected to LabPro Interface |
 LabPro Interface connections (top right, clockwise): Motion detector (in Dig/Sonic1), computer, AC power, force sensor (in CH1) |
 Motion detector connected to LabPro Interface |
 Motion Detecor |
 Motion detector is attached to mounting bracket; detector is only a few cm from track end |
 Right side of track: Motion detector, laptop, meter stick |
 Motion detector connected to Mounting bracket; Thumb screw into motion detector; pin on right aids alignment |
 Detail of mounting bracket; right-most (threaded) hole is for storing thumbscrew. Silver pin is for alignment; oval hole is for mounting to motion detector |
 Mounting bracket slides into groove on track; note that plastic washer is above the track |
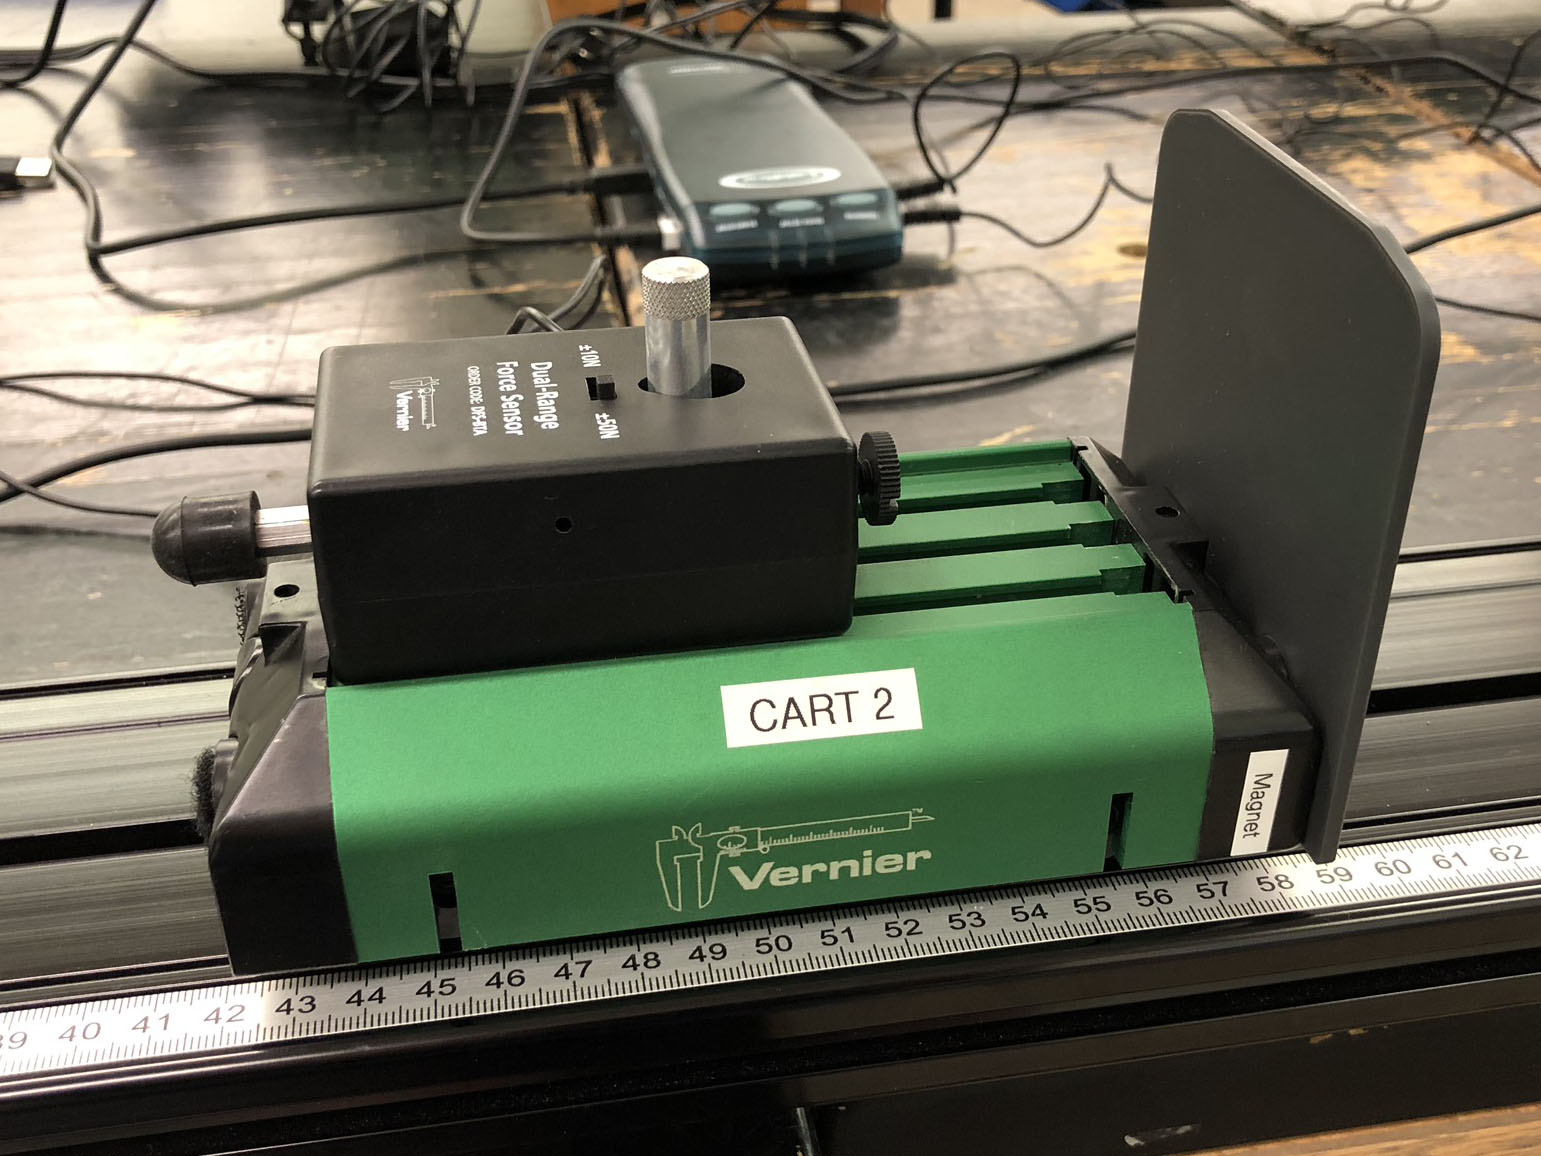 Cart with force sensor attached and motion detector flag; mount sensor at leading edge of cart. 'Magnet' side of cart is to right |
 Cart, force sensor, wire spaghetti and interface |
 Mount track bracket to left end of track; acts as a bumper |
 Box for small parts Contents: spring bumper, clay holder, small & large lumps of clay Note: Bubble level not needed for student use |
 Meterstick clamp attached to base |
|
 Meterstick clamp detail |
 0.5-m meter stick attached to clamp |
|
|
||
| © | St. Lawrence University | Department of Physics |
| Revised: 02 Nov 2018 | Canton, NY 13617 |